Automatically convert media added to a Google sheet
Our Zapier integration is getting a lot of interest recently. Just last week, three different customers/prospects inquired about how to automate some of their business processes using Transloadit and Zapier. While helping them get set up, I decided to document these steps as well, and to write a blog. So far now, we've shared step-by-step guides on how to:
- Automatically burn logos into videos added to Google Drive for food delivery service Deliveroo
And today, we're sharing about Salesgym and their desire to automatically concatenate calls that are added as columns to newly added rows of a Google Sheet. Salesgym would like to deploy something like that as part of their Sales training process.
As Mark from Salesgym explains:
- I need to have a unique identifier (that signifies each unique call) passed to Transloadit from Zapier when the request is initiated, and then passed back to Zapier from Transloadit once the concat is done. That identifier is the field CALLID and here is a sample of what that value could be “CA813a0b10076388069dd8928d8309d11f”.
- I also need to ensure that audio files get concatenated in a specific order (first file 1, then file 2 and then file 3). In the original template I built, the final result was not in the order that I thought it would be.
- If possible, I would love to set the file name of the final concatenated file that is stored in Amazon S3 as the CALLID number I mentioned in point #1 above. And I need the full URL address of the file stored in AmazonS3.
Luckily for Mark, all of that is possible with Transloadit and Zapier. Let's jump right into it!
To follow along, you’ll need:
- A Google Sheet (and to be okay with giving Zapier access to it)
- A Zapier account
- A Transloadit account (and to be okay with giving Zapier access to it)
- A cloud storage service such as Amazon's S3, Dropbox, Google Sheets or even your own SFTP server

In this post, I choose to use Amazon S3 as the selected cloud storage service since they're one of the most popular choices for web hosting. Make sure to have your AWS IAM credentials at hand, with write access to an S3 bucket that you are also comfortable giving transloadit access to.
In Google Sheets
Mark has a Sheet with rows, each having three columns that point to recordings of sales conversations. It roughly looks like this.
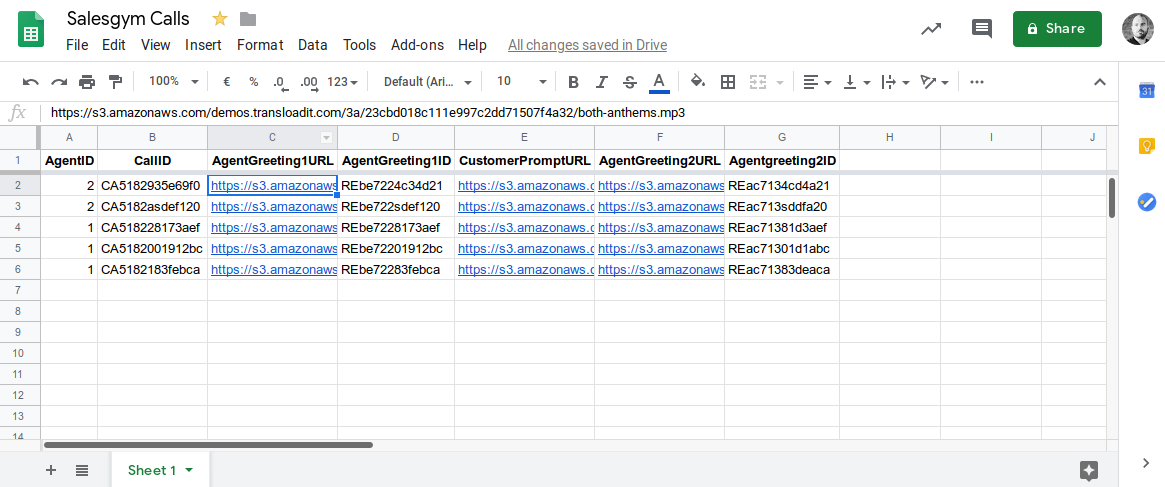
When new rows are added, Zapier picks up on them automatically and then passes the newly added rows to Transloadit for media processing. In this case, the URLs are downloaded on our end and then fed into our /audio/concat Robot.
At Transloadit
Let's set up a Template (along with Credentials) that can digest what Zapier will throw at us.
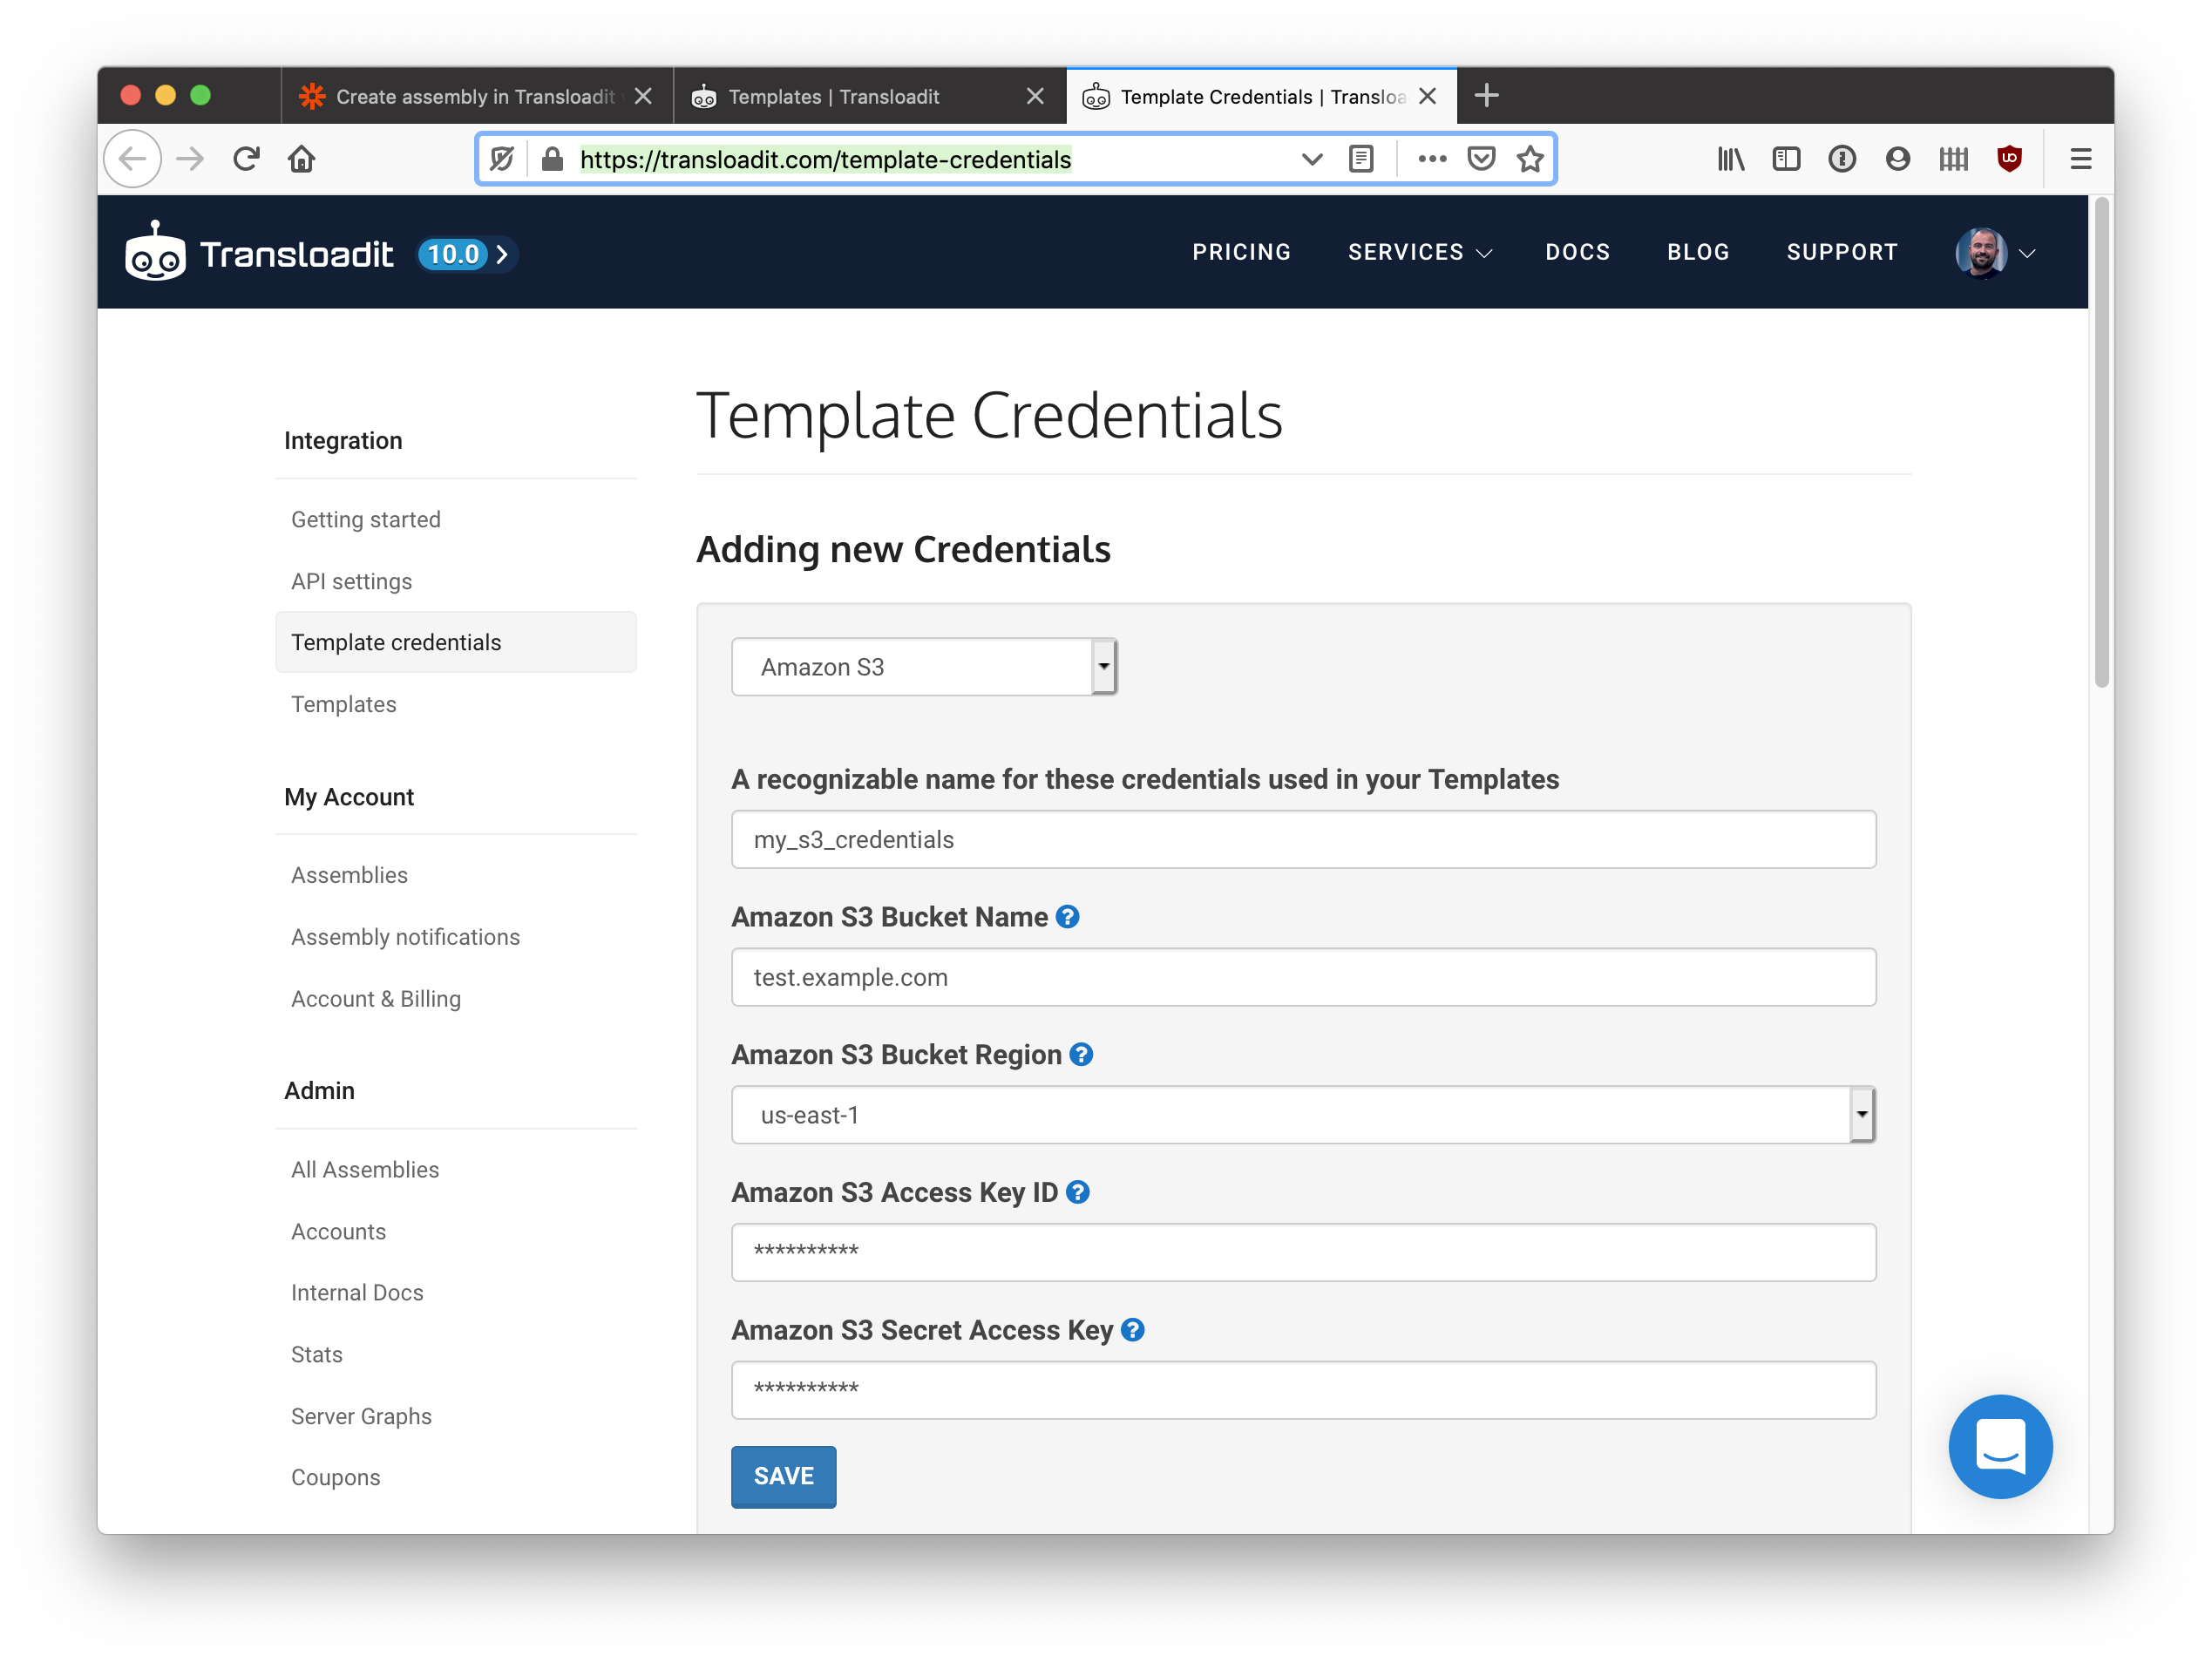
- Proceed to Template Credentials, then under Adding New Credentials, select Amazon S3:
- Go to Templates, click create new Template and select "Concatenate two Audio files" from the examples dropdown. The copied example Instructions are not quite right yet, but they will give me a headstart.

- Here's the full Template after I've made some adjustments to accommodate SaleGym's use
case. Note that I also replace the S3 credentials with the name I just created,
my_s3_credential, and that for saving the concatenated results to S3, I use theCallIDfield in thepath. If you are worried about overwriting files when someone uploads files with the same identifiers or name, consider adding${unique_prefix}to thepath:
{
  "steps": {
    ":original": {
      "robot": "/upload/handle"
    },
    "concatenated": {
      "use": {
        "bundle_steps": true,
        "steps": [
          {
            "name": ":original",
            "fields": "file",
            "as": "audio_1"
          },
          {
            "name": ":original",
            "fields": "file_2",
            "as": "audio_2"
          },
          {
            "name": ":original",
            "fields": "file_3",
            "as": "audio_3"
          }
        ]
      },
      "robot": "/audio/concat",
      "ffmpeg_stack": "v6.0.0"
    },
    "exported": {
      "use": [":original", "concatenated"],
      "robot": "/s3/store",
      "credentials": "my_s3_credential",
      "path": "${fields.CallID}-${file.url_name}"
    }
  }
}
- For the Template name, fill out
concat-from-zapier-sheetand click Save new Template, and copy the Template ID.
At Zapier
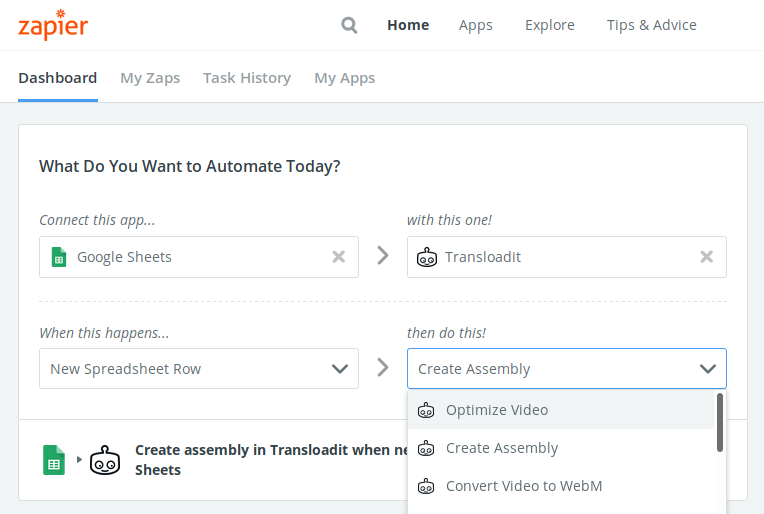
- Select Google Sheets and set its action to "New File Spreadsheet Row". Also select Transloadit and set its action to "Create Assembly", and click Use Zap:
- Click Sign in to Google Sheets, sign in, and Continue:
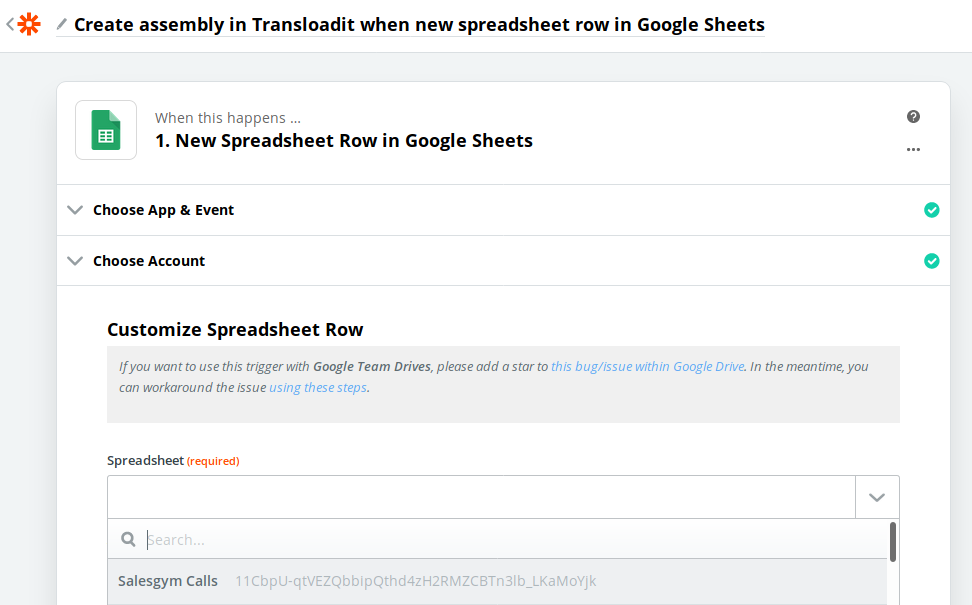
- Select the Spreadsheet and Worksheet you intend to monitor for incoming rows with media and click Continue.
- Click Test & Continue.
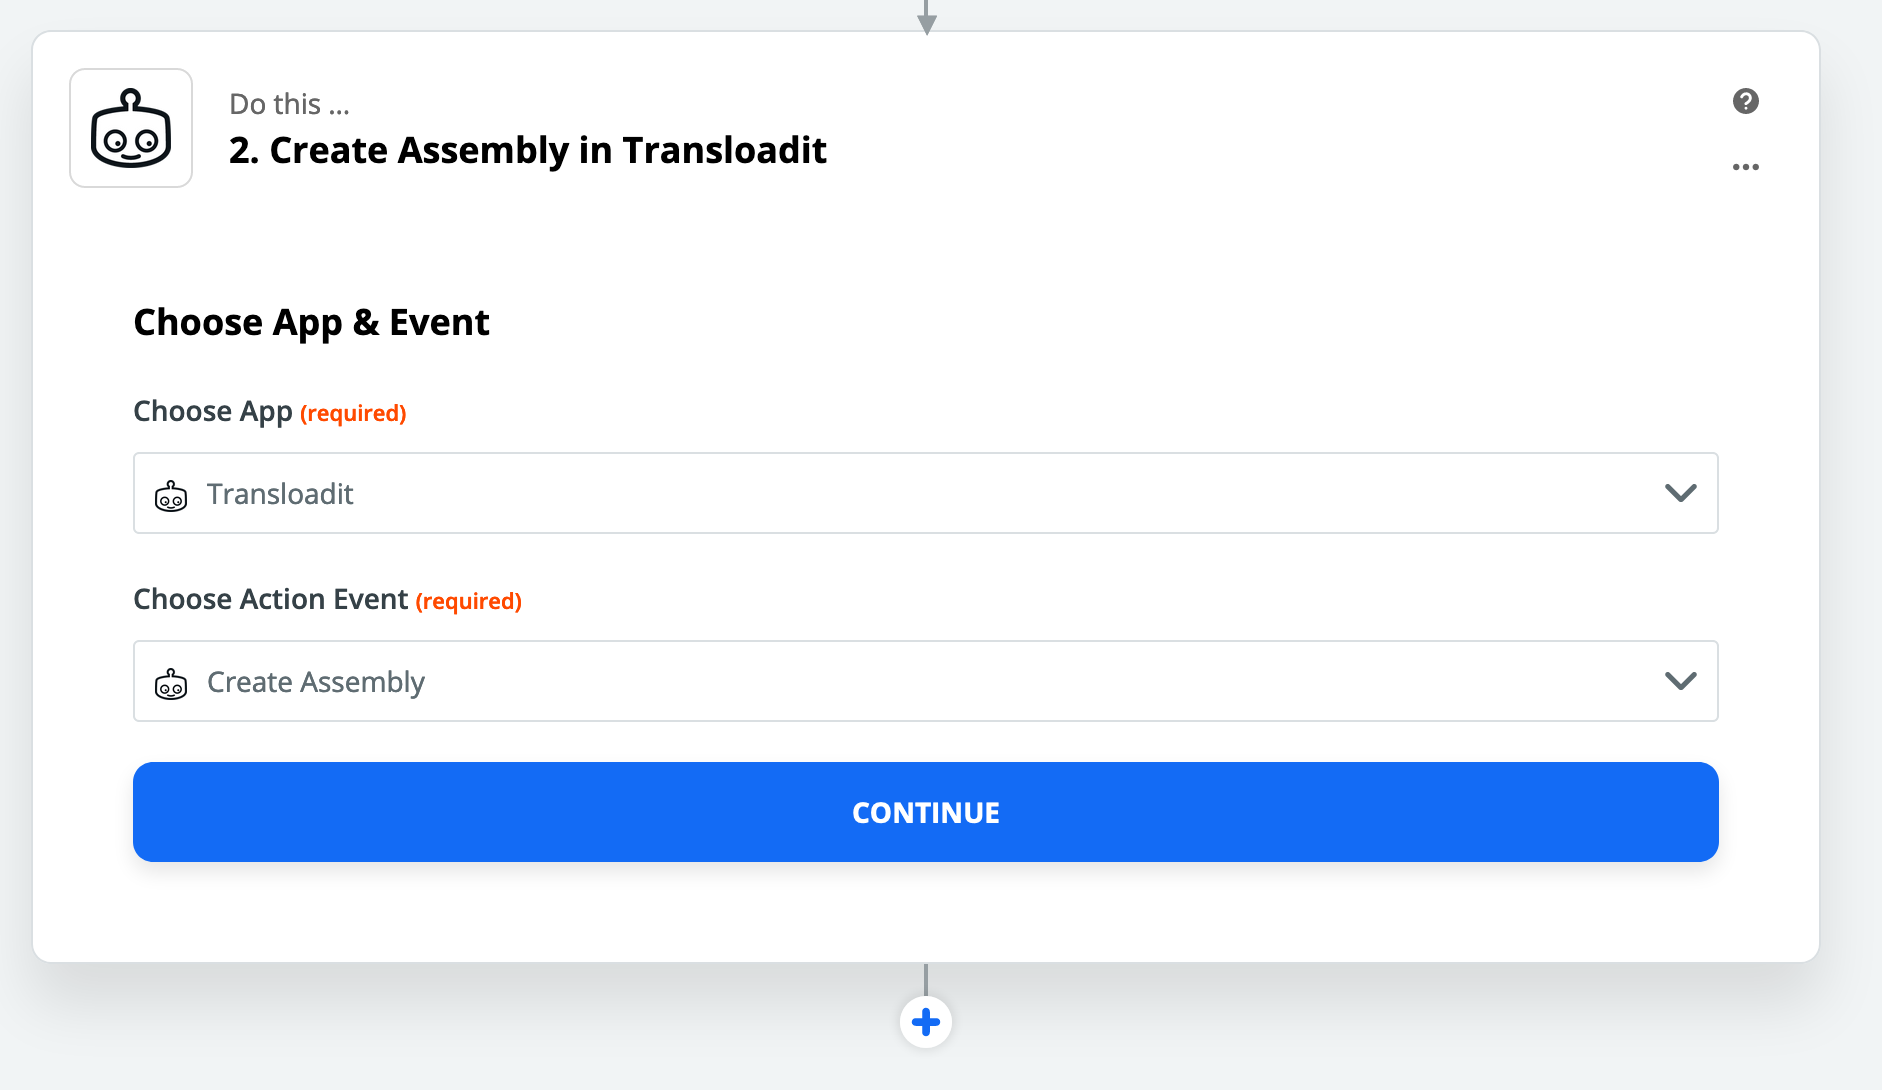
- Select App: Transloadit, Action: Create Assembly, and click continue:
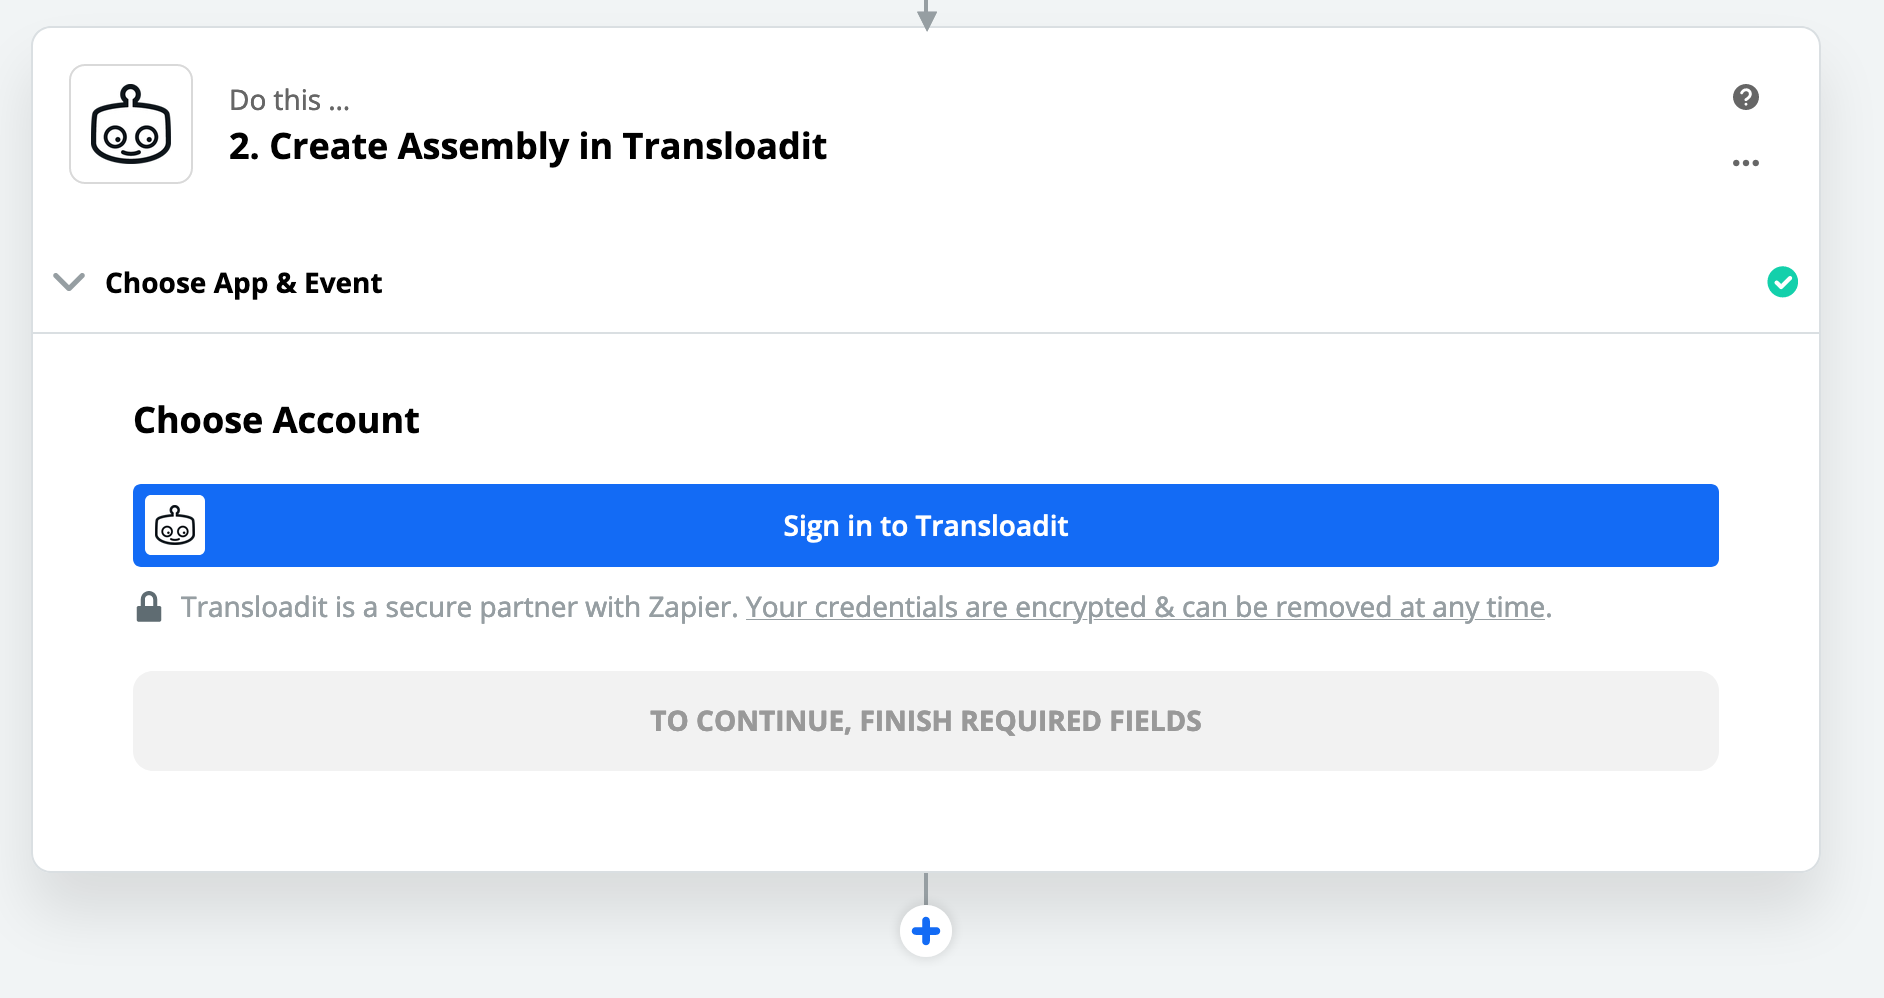
- Click Sign in to Transloadit:
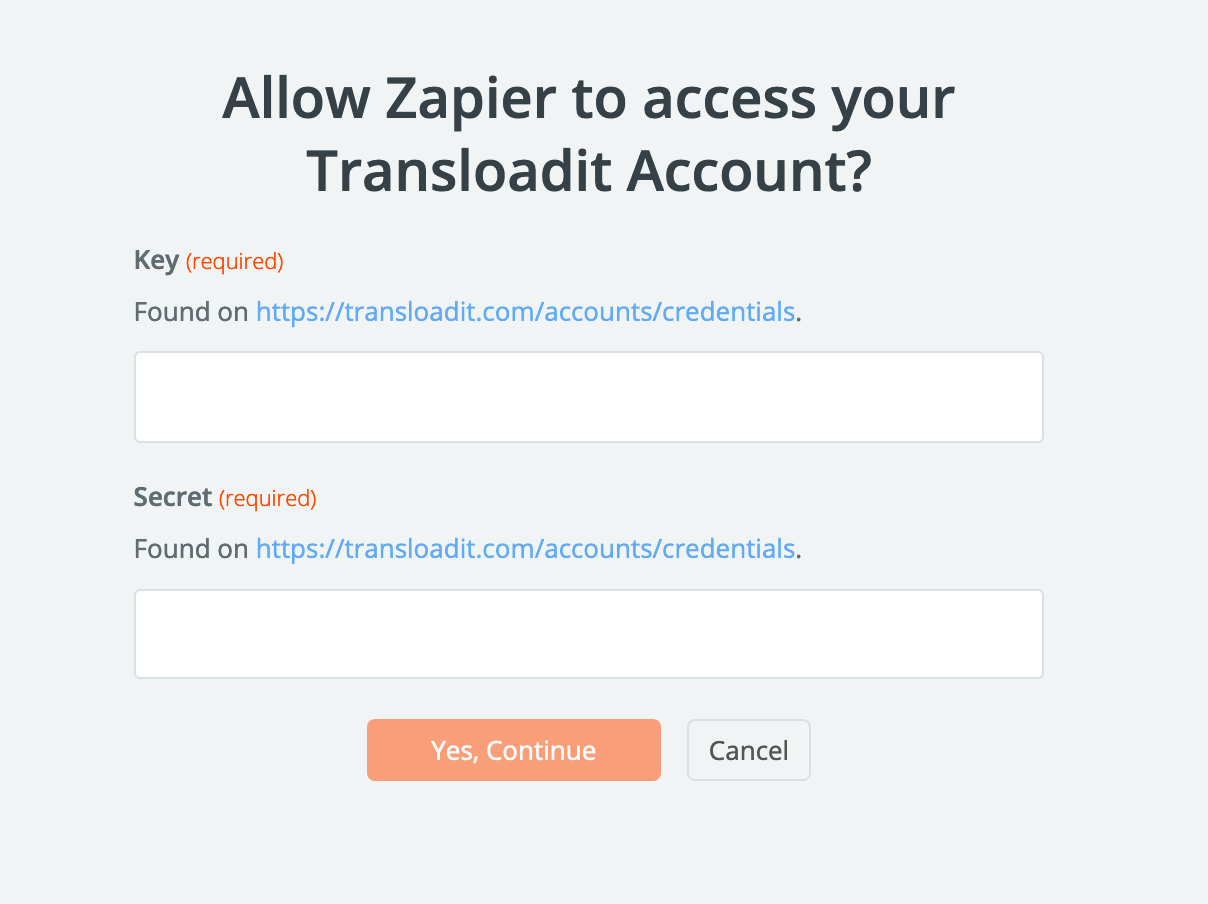
- Go to your credentials and copy your account key and secret, paste them into Zapier, and click Yes, continue:
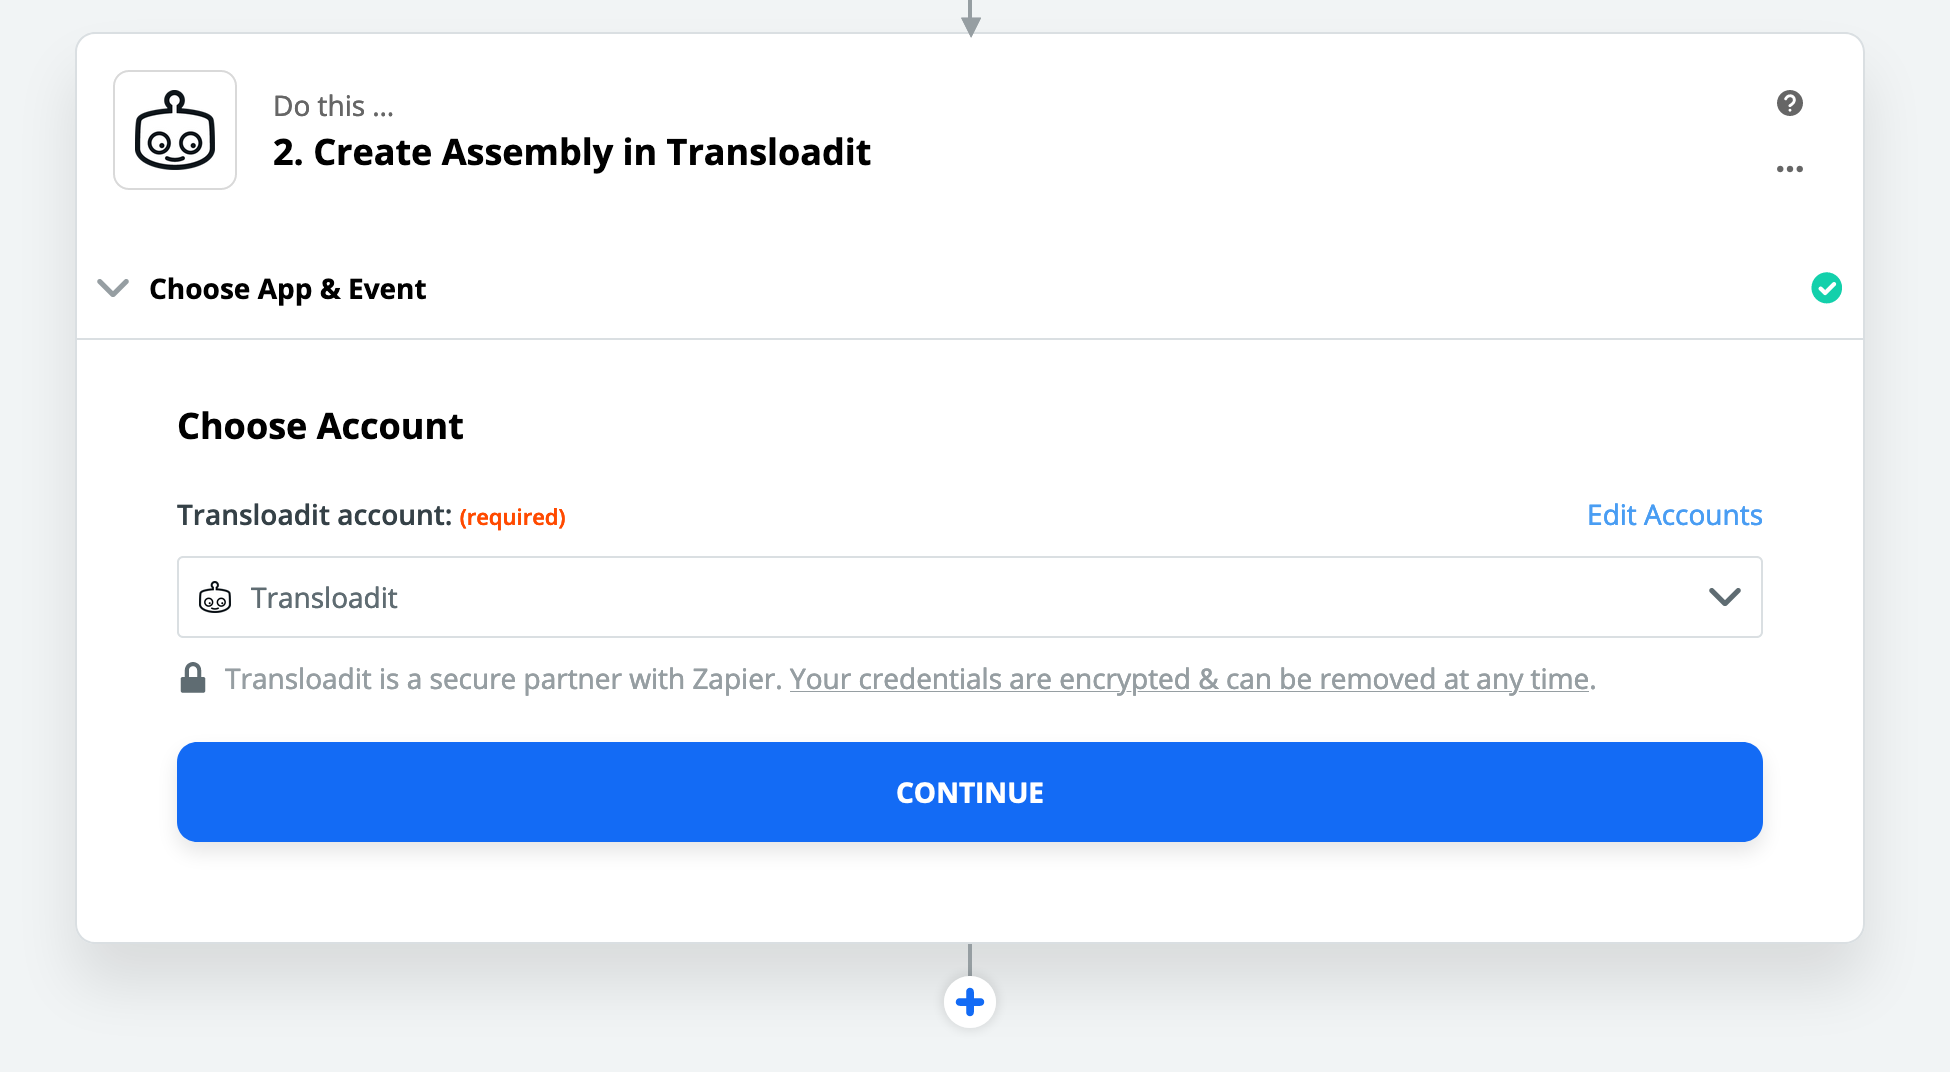
- If there are multiple versions offered, make sure you are on version 2 or higher. Version 2 is where support for multiple files was introduced. If you don't see that and are on a previous version, you may first need to disconnect Transloadit under My Apps. Otherwise, click Continue:
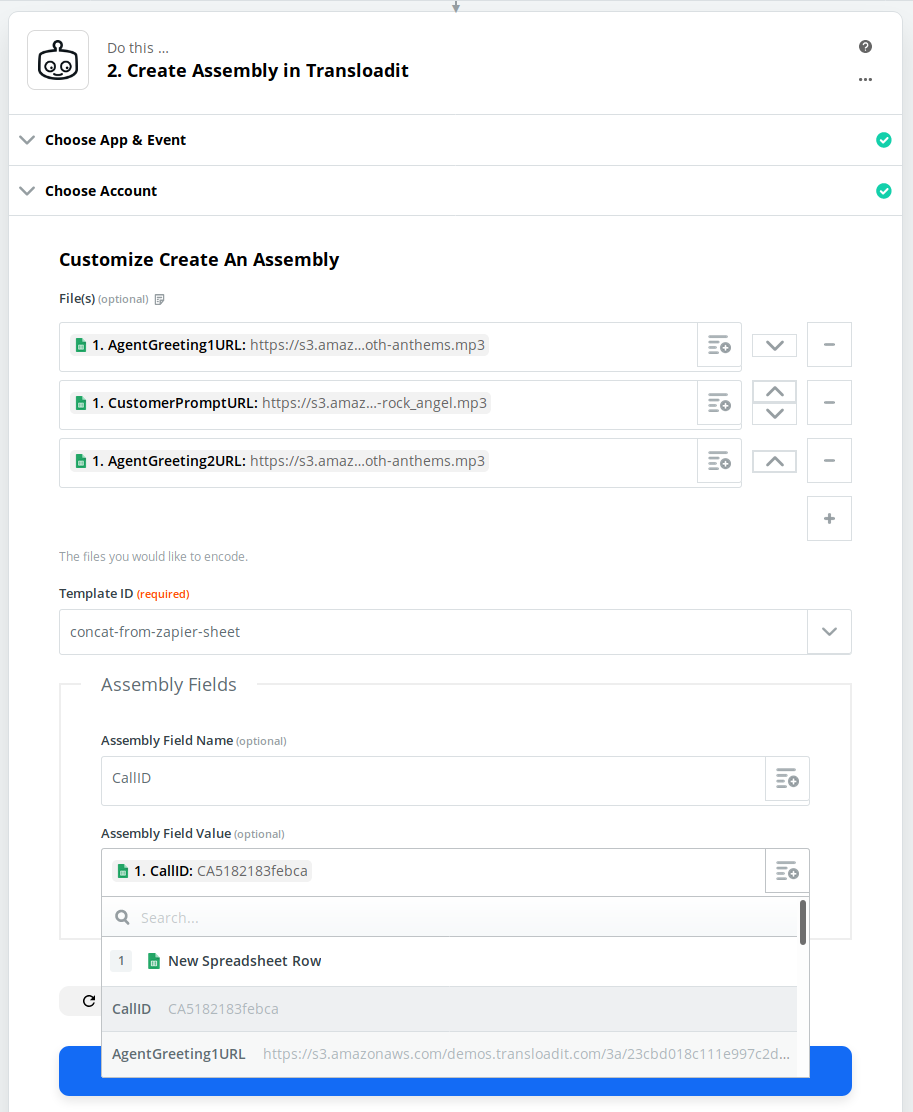
- I now select the three columns that hold the audio URLs and add them as Files, each time clicking
the plus icon. Afterwards, I add the
CallIDas an Assembly Field Name and Value. Then I click Continue, and afterwards: Test & Continue:
- If you see a success message, click Done Editing.
- Then Switch on the the Zap:

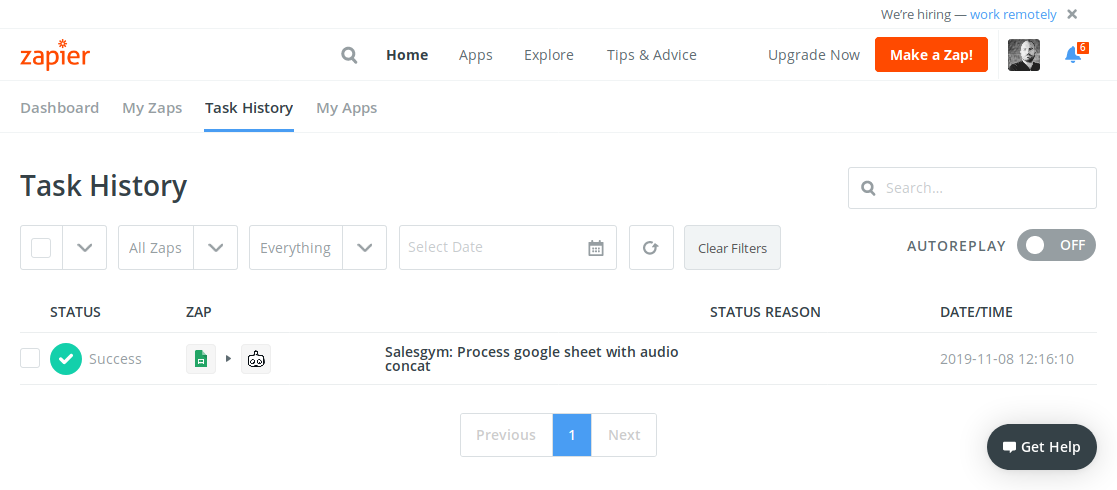
Done! Try adding new rows to your Google Sheets and they’ll automatically be processed by Transloadit and exported to S3. You can monitor jobs on the Zapier side by clicking on Task History.
At Transloadit
You can also monitor encoding work that Transloadit does for you in real time.
- Check for new jobs/Assemblies coming in at https://transloadit.com/assemblies/
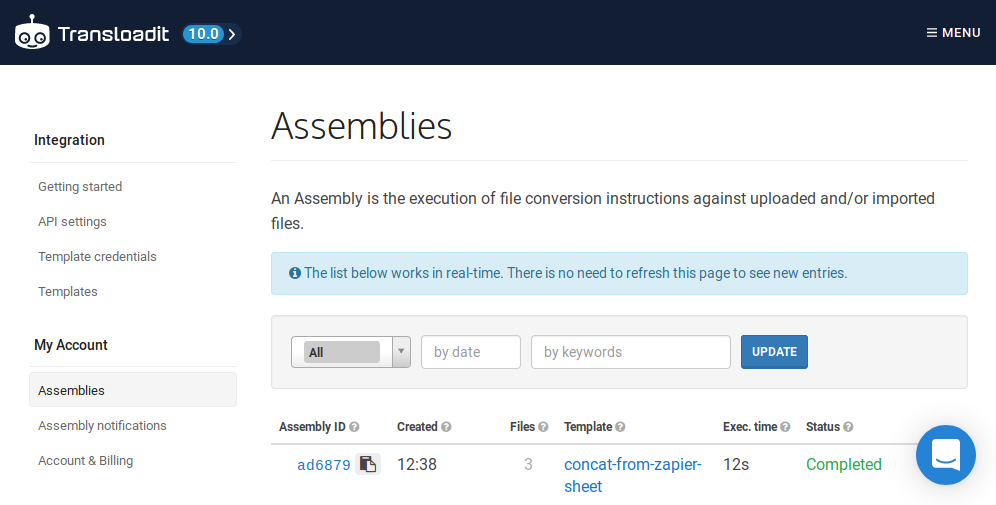
- Click the newly executed Assembly, scroll down to its Results, and Open the
concatenatedfile. - You should should now hear the audio play, where all three tracks have been stringed together.

Without making any changes to your Zapier integration, you can now make changes to your Template to further customize the encoding pipeline. For instance, you could add a predefined intro and outro to the audio, add artwork to the resulting file, or save the result in a Dropbox instead of, or in addition to, S3.
- Go back to Templates, open your
concat-from-zapier-sheetTemplate and change the Assembly Instructions accordingly. For inspiration, check out our many demos.
Of course, concatenating audio files is just one thing Transloadit can do. We can transform many file types in many different ways. For a complete overview, check the other Robots.
Can’t wait to see what you’ll build with this!