What is content localization?

As the world becomes increasingly interconnected, it's more important than ever to be able to communicate effectively across language barriers. In this blog, we explain how our powerful /text/translate Robot can help your content localization strategy, by creating localized versions of your documents in seconds. We'll also show you how to securely export these files to an S3 bucket for later retrieval. Don't let language differences stand in the way of effective communication, and join us as we delve into the world of translation and localization.

Our Assembly Instructions
Let's get straight to the beating heart of this blog post: our Assembly Instructions – which are simple, yet powerful.
{
  "steps": {
    ":original": {
      "robot": "/upload/handle",
      "result": true
    },
    "de": {
      "use": ":original",
      "robot": "/text/translate",
      "result": true,
      "provider": "aws",
      "target_language": "de"
    },
    "es": {
      "use": ":original",
      "robot": "/text/translate",
      "result": true,
      "provider": "aws",
      "target_language": "es"
    },
    "ja": {
      "use": ":original",
      "robot": "/text/translate",
      "result": true,
      "provider": "aws",
      "target_language": "ja"
    },
    "exported": {
      "use": ["de", "es", "ja"],
      "path": "${previous_step.name}/${file.name}",
      "robot": "/s3/store",
      "credentials": "S3_CREDENTIALS"
    }
  }
}
We provide a different language for each of our
/text/translate Steps. For a full list of the
available language tags, check out the
AWS Supported Languages page
or, if you prefer, the
GCP Supported Languages page (note that you
need to switch the provider to gcp to use these options). In our short demo, I decided to
translate a text file into German, Spanish, and Japanese.
After translating our file into multiple different languages, we will export all resulting files to
an S3 bucket. By specifying the path parameter, we can choose where each file goes. Combining this
with the previous_step.name
Assembly Variable, we can
create a folder for each language. We can then use the file.name Assembly Variable to
preserve the file's original name within each folder. This is just what I chose to do, of course. I
encourage you to experiment with different Assembly Variables to see what works best for
you!
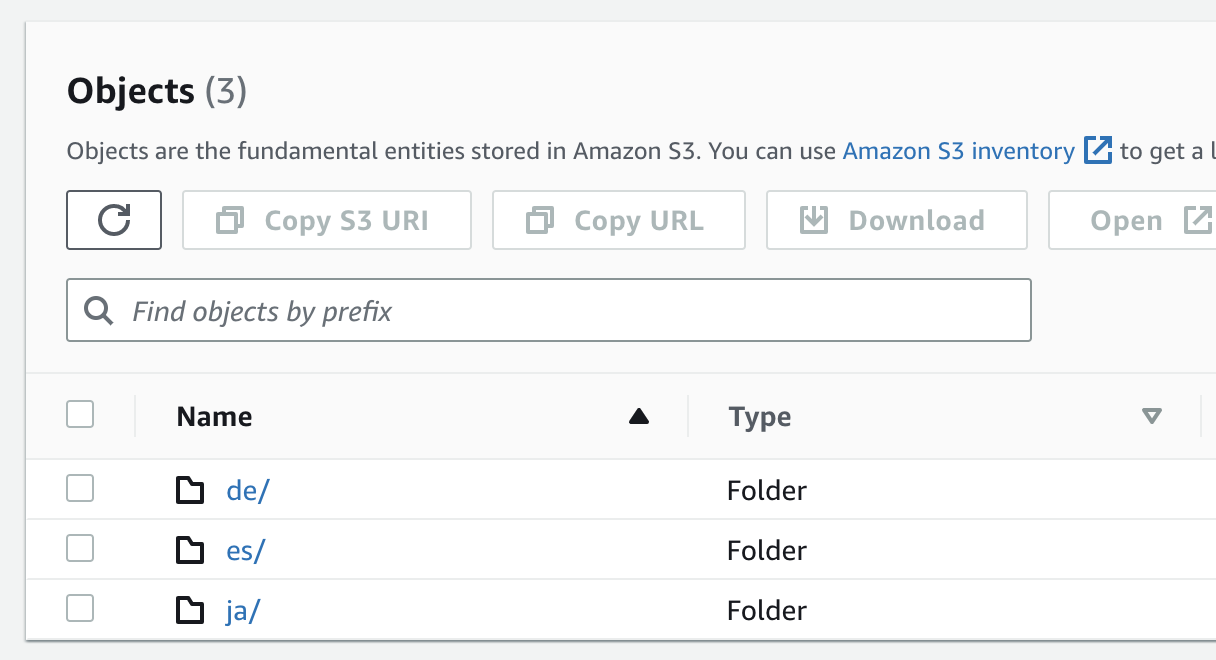
Here's what our folder structure ends up looking like in S3:
Using the Assembly
Just for fun, I decided to test our Template with the lyrics to Pitbull's Mr. Worldwide.
Let's see the chorus in German:
[Chor: Pitbull & Vein]
Sie nennen mich Mr. Worldwide
Lass uns ihnen zeigen, warum sie mich Mr. Worldwide nennen
Warum glauben Sie, nennen sie mich Mr. Worldwide?
Lass uns ihnen zeigen, warum sie mich Mr. Worldwide nennen
Warte, denn ich bin weltweit
And just like that, our text file was translated perfectly. Now let's see the chorus in Spanish:
[Estribillo: Pitbull & Vein]
Me llaman Mr. Worldwide
Vamos a mostrarles por qué me llaman Mr. Worldwide
¿Por qué crees que me llaman Mr. Worldwide?
Vamos a mostrarles por qué me llaman Mr. Worldwide
Espera, porque estoy en todo el mundo
And finally Japanese:
[コーラス:ピットブル&ヴェイン]
彼らは私をミスター・ワールドワイドと呼んでいます
彼らが私をミスター・ワールドワイドと呼ぶ理由を彼らに見せましょう
なんでミスター・ワールドワイドって呼ばれてると思う?
彼らが私をミスター・ワールドワイドと呼ぶ理由を彼らに見せましょう
ちょっと待って、だって私は世界中にいるから
Conclusion
As you can see, it's easy to start localizing your files with our /text/translate Robot. Hopefully, this post has inspired you to take your next step in connecting the world even further. If you're interested in learning more about the various members of our Robot family, you can check them out here. Finally, if you have any questions, feel free to reach out to us on Twitter.