Introducing the /dropbox/store Robot for easy exports

It's time to Re-loadit!
This blogpost will be the first of a series that we're calling Re-loadit. In this series, we will be covering a number of Transloadit's features that haven't yet received a proper introduction to our users.
Similar to other Robot introductions, we will give you some examples, explain the key functionality of the Robot and offer some tips on how to get started. I hope you'll enjoy learning more about leveraging Transloadit's breadth of features.
The /dropbox/store Robot
As cloud storage continues to rise in popularity, it looks like storing files only on your own disk might soon be going the way of the flip phone. With a tremendous 500 million registered user accounts, Dropbox stands out as one of the most prominent cloud storage services out there. We want to ensure our users have the freedom to integrate the service directly into their Transloadit Templates.
That is why we introduced the /dropbox/store Robot, which has been part of the Transloadit Robot family since May this year.

What can it do?
Its functionality couldn't be simpler - the /dropbox/store Robot will export all encoding results from your Assembly to a Dropbox storage location of your choosing. A nice example we can use here to show off its capabilities is how this Robot can help you to keep better track of important digital documents, such as your pay cheques or invoices.
Companies will often provide their invoices as an HTML page. Properly archiving these documents, which you are obligated to do if you run a company yourself, can be a cumbersome task if done by hand. Personally, I like to store my invoices in Dropbox so I can have them all in a single, safe location. So, for this example, I'll show you how you can use Transloadit to automatically 'print' HTML pages and store them as PDFs in a Dropbox.
Creating the Assembly
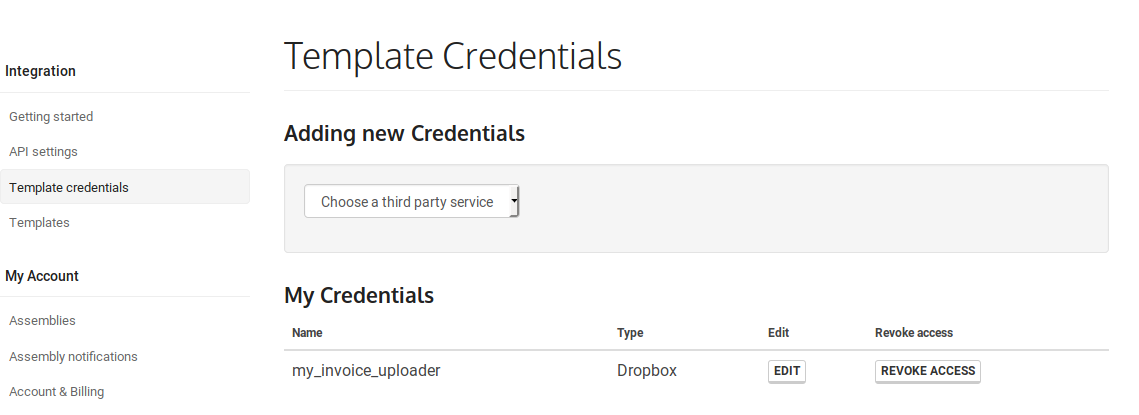
Before I can get started with creating my Assembly, I need to get my Dropbox access token. This is necessary for our Assemblies to use the Dropbox API. To generate my access token, I'll have to go to the Dropbox developers section. I highly recommend you store your access token in the Template Credentials here at Transloadit. This keeps your access key encrypted in our database and helps prevent malicious users from gaining access to it. As you can see in the screenshot below, I've named my Dropbox credentials my_invoice_uploader. I'll need this name later when I begin creating my Assembly.
These are the Assembly Instructions I used after setting up my access token correctly:
{
  "steps": {
    "screenshot": {
      "robot": "/html/convert",
      "format": "pdf",
      "url": "https://demos.transloadit.com/b2-invoice-example/2018-11-29-backblaze-tyler-invoice.htm",
      "width": 1024
    },
    "exported": {
      "robot": "/dropbox/store",
      "credentials": "my_invoice_uploader",
      "path": "invoices/${file.original_basename}.${file.ext}"
    }
  }
}
Everything here is pretty cut and dry. The /html/convert
Robot takes screenshots of a provided HTML webpage. Using the url parameter, I can
fetch a webpage directly from its URL. Next up, the format parameter determines the format of the
screenshot such as png, but I'm choosing for pdf in this case. And lastly, the width parameter
is set to 1024. The height of the screenshot is then automatically scaled along with this value to
keep matching the desired aspect ratio.
Oh, and in case you were starting to worry, we changed the numbers on that example Backblaze HTML invoice so they don't make any sense anymore! 😄
In the next Step, I export the PDF screenshot to the
/dropbox/store Robot. The credentials parameter
accesses the Dropbox access token I stored in my Template Credentials, named
my_invoice_uploader. The path parameter then stores the exported PDF into a folder named
invoices in my Dropbox storage and names each file by their original filename. If you are worried
about collisions, you could add additional
Assembly Variables to this path, such an
MD5 hash (${fle.md5hash}), or the ${unique_prefix}.
To try out my newly created Template, I run the following Node.js code, taking the webpage I want as an argument. Feel free to try it out yourself.
const TransloaditClient = require('transloadit')

const transloadit = new TransloaditClient({
  authKey: process.env.TRANSLOADIT_AUTH_KEY,
  authSecret: process.env.TRANSLOADIT_SECRET_KEY,
})

const options = {
  params: {
    steps: {
      screenshot: {
        robot: '/html/convert',
        format: 'pdf',
        url: process.argv[2],
        width: 1024,
      },
      exported: {
        robot: '/dropbox/store',
        credentials: 'my_invoice_uploader',
        path: 'invoices/${file.id}.${file.ext}',
      },
    },
  },
}

transloadit.createAssembly(options, (err, result) => {
  if (err) {
    throw err
  }

  console.log({ result })
})
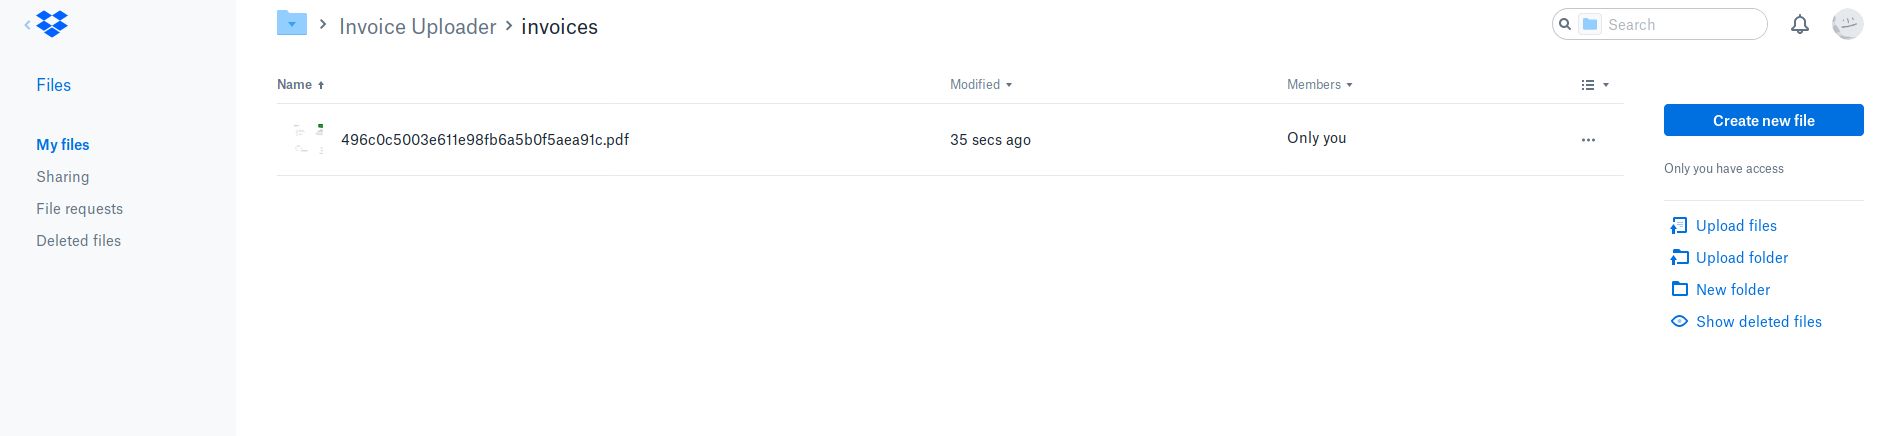
The results
Upon checking my Dropbox, it looks like everything has run successfully. My invoice is sitting quite comfortably as a PDF in the filepath specified 💖
I hope this post has demonstrated how powerful the /dropbox/store Robot is and how effortlessly it can be combined with the other features offered by Transloadit. That's it for the initial debut of the Re-loadit series, I hope you're already looking forward to the next part!