Last updated: May 29, 2024

<span aria-hidden="true" id="automate-video-watermarking-with-google-drive--zapier"></span>

# Automate video watermarking with Google Drive & Zapier

![Kevin van Zonneveld](/assets/images/teammates/avatar-kvz-4.jpg?dpl=dpl_6nhQNS5wkVkPZWuKMzXcWrAHNJL5)

**Kevin van Zonneveld**

Co-founder · Amsterdam, The Netherlands · Show bio

[](https://x.com/kvz)[](https://github.com/kvz)

I was recently approached by food delivery giant [Deliveroo⁠](https://deliveroo.co.uk/), who asked me if it was possible with Transloadit to monitor a folder in their Google Drive and automatically “burn” a logo into newly added files. I was happy to report that with our[Zapier integration](/blog/2018/03/automate-your-automation.md), you *can* do this, and I showed them all the steps involved.

It then occurred to me that this might interest others as well, so I decided to write this general how-to guide. Let's jump right into it!

To follow along, you’ll need:

* A Google Drive (and to be okay with giving Zapier access to it)
* A Zapier account
* A Transloadit account (and to be okay with giving Zapier access to it)
* A cloud storage service such as Amazon's S3, Dropbox, Google Drive or even your own SFTP server

In this post, I choose to use Amazon S3 as the selected cloud storage service since they're one of the most popular choices for web hosting. Make sure to have your AWS IAM credentials at hand, with write access to an S3 bucket that you are also comfortable giving transloadit access to.

<span aria-hidden="true" id="in-google-drive"></span>

## In Google Drive

* Select: New, Folder, type: `incoming`, click Create.
* Enter the `incoming` folder by double-clicking and upload a file:
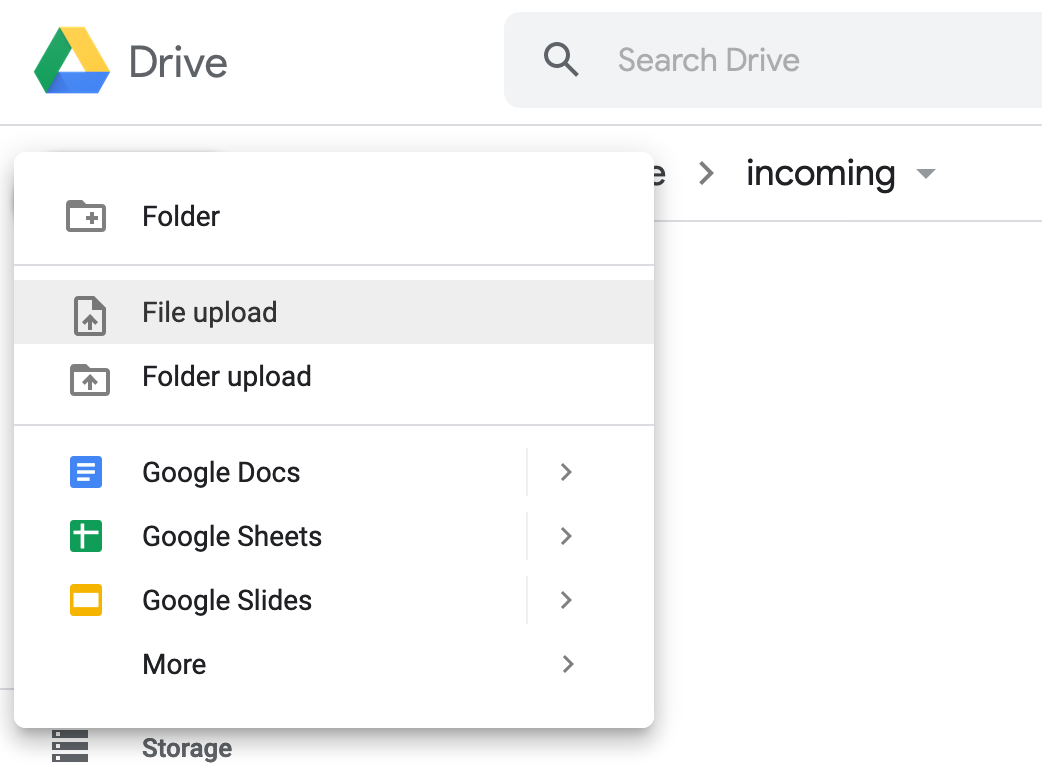
![Uploading a file on Google Drive](/_next/static/immutable/media/Screenshot_2019-10-29_at_13.37.14.2r8v8aze5l2ck.png)

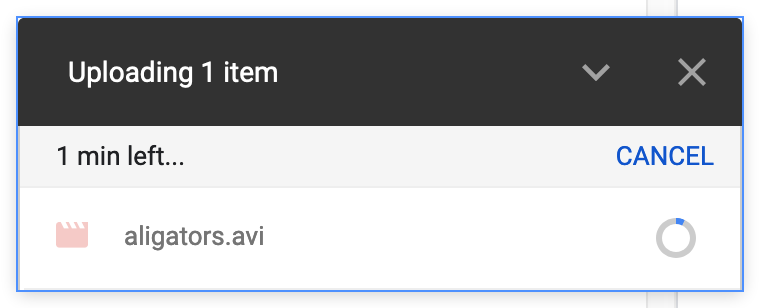
* Pick a video and upload:

![The upload in progress](/_next/static/immutable/media/Screenshot_2019-10-29_at_13.39.01.3v5odezceyc1f.png)

<span aria-hidden="true" id="at-transloadit"></span>

## At Transloadit

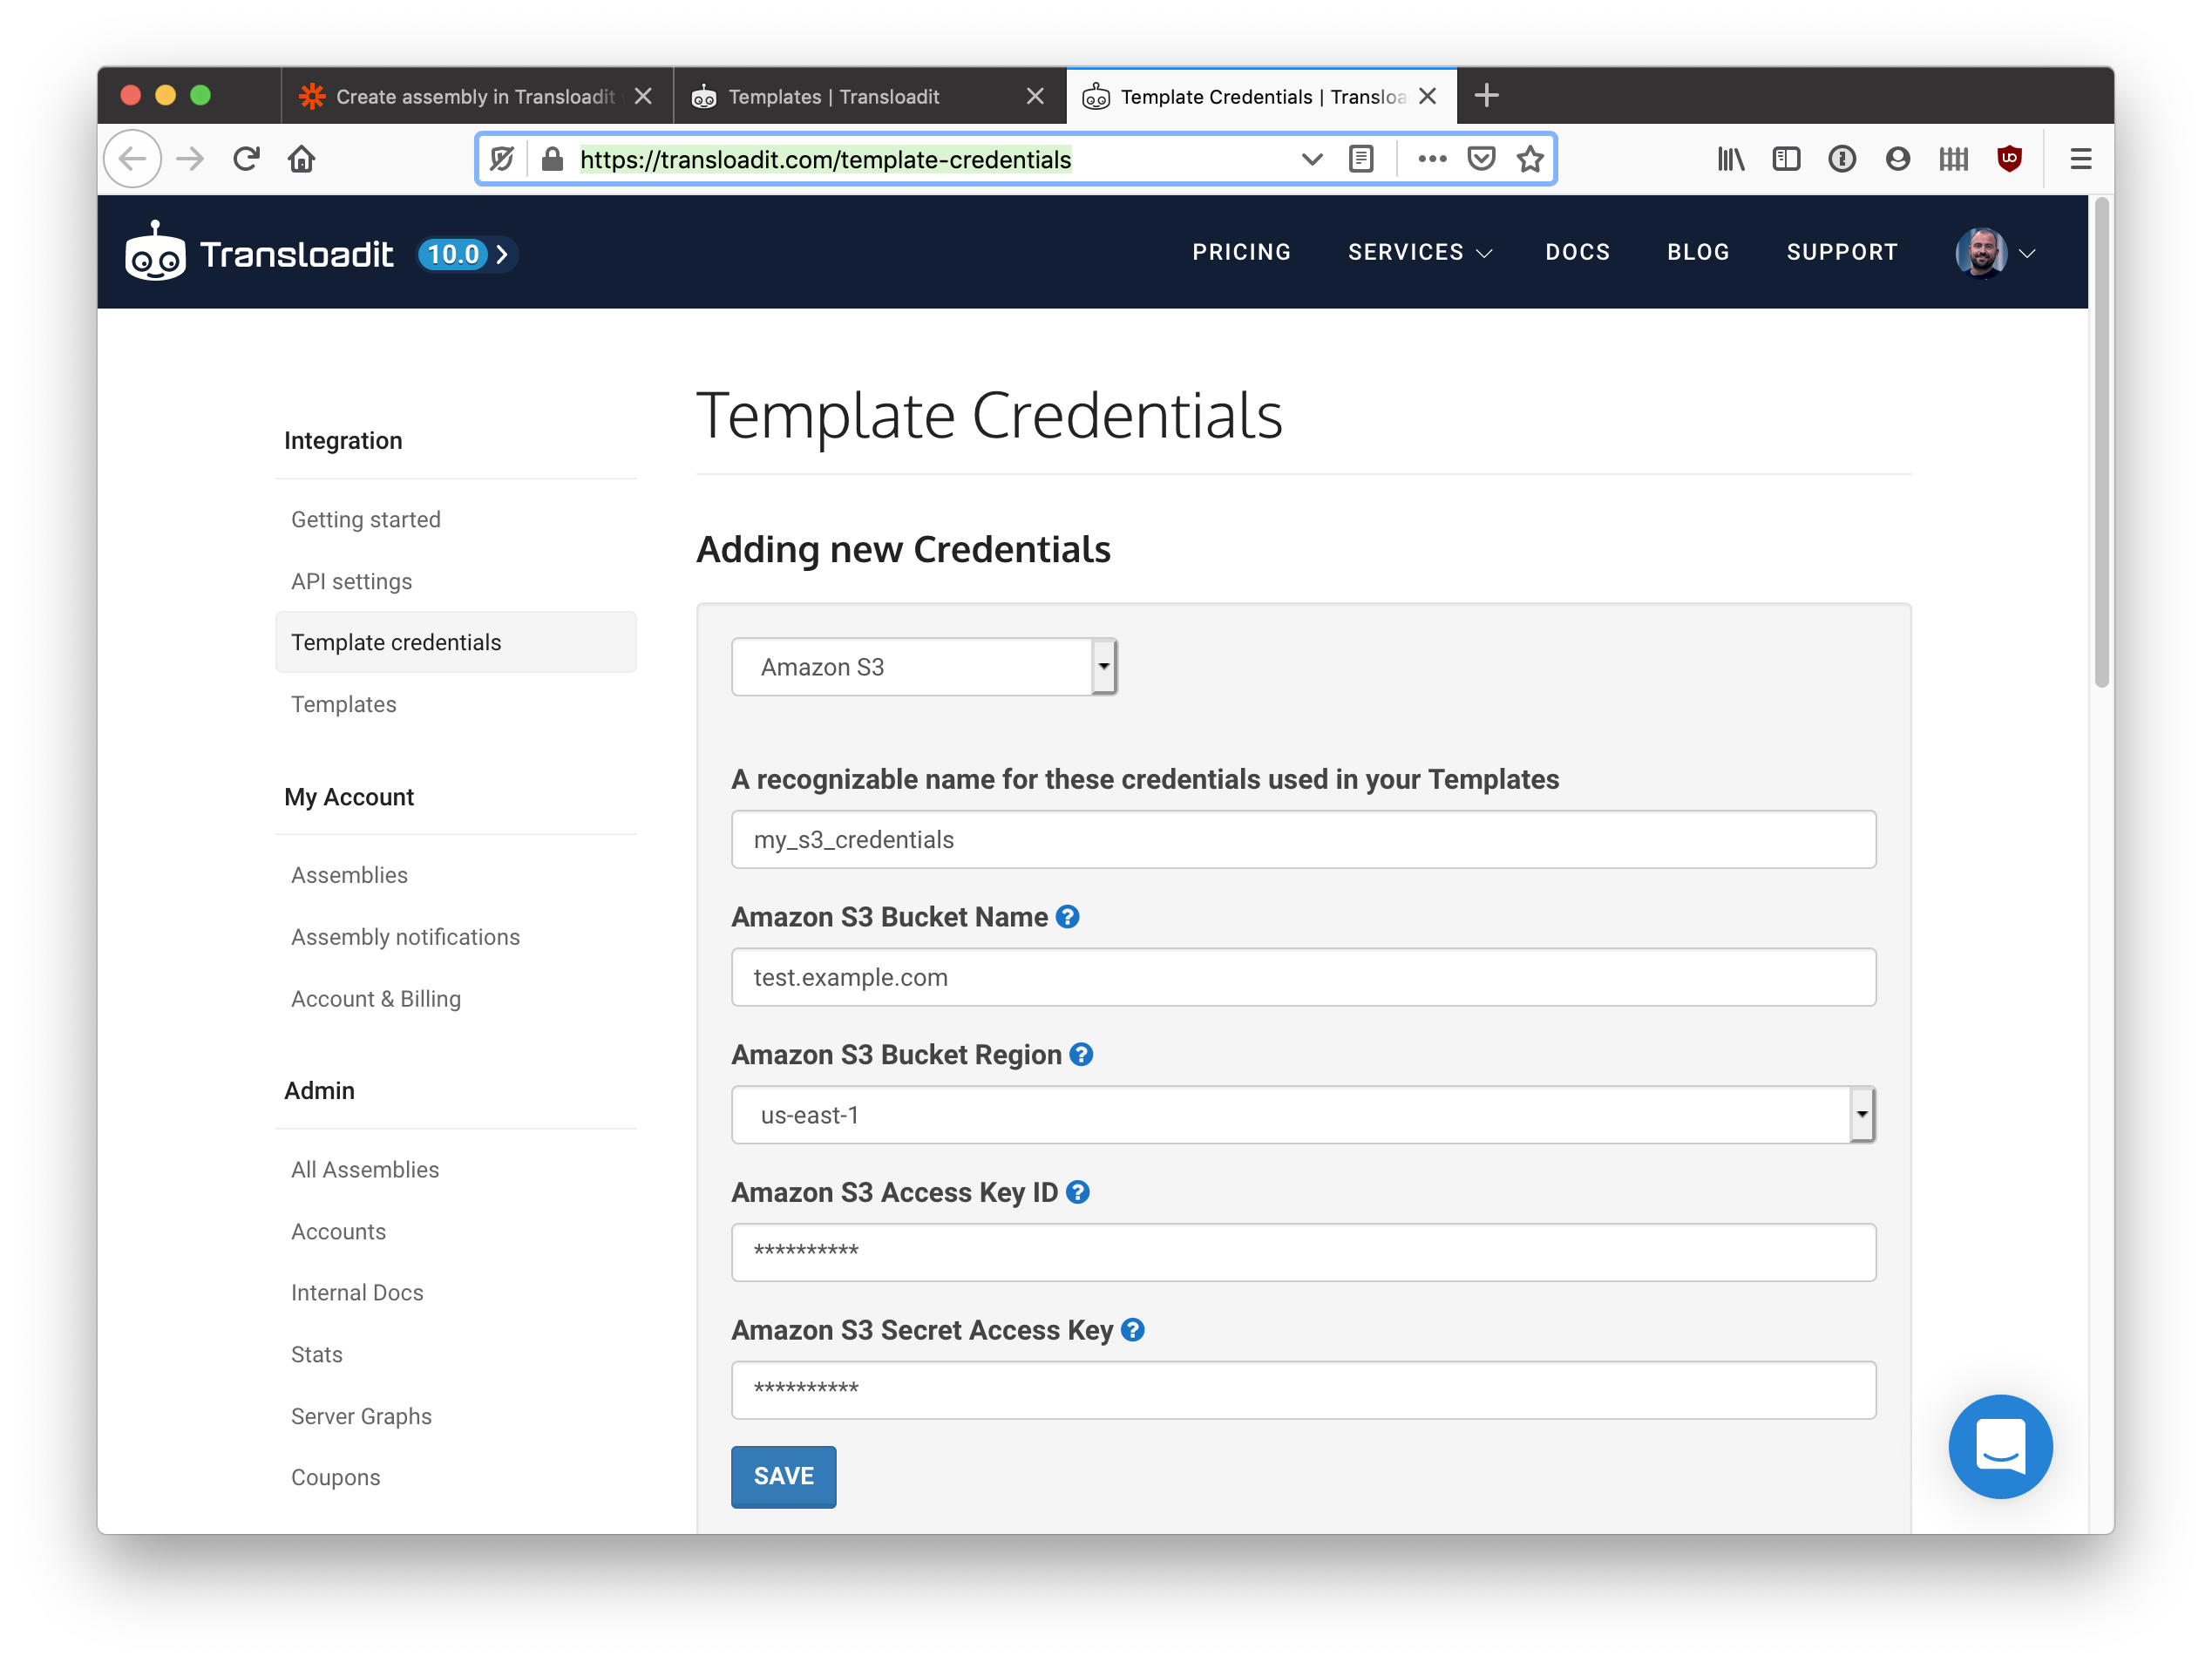
* Under [Template Credentials](/c/template-credentials/), create an Amazon S3 credential:

![Adding a new set of Amazon S3 Credentials on the Transloadit Template Credentials page](/_next/static/immutable/media/Screenshot_2019-10-29_at_13.55.25.1sbb2aqertw6o.png)

* Go to Templates, click create new Template and select "Apply a watermark to videos" from the examples dropdown:
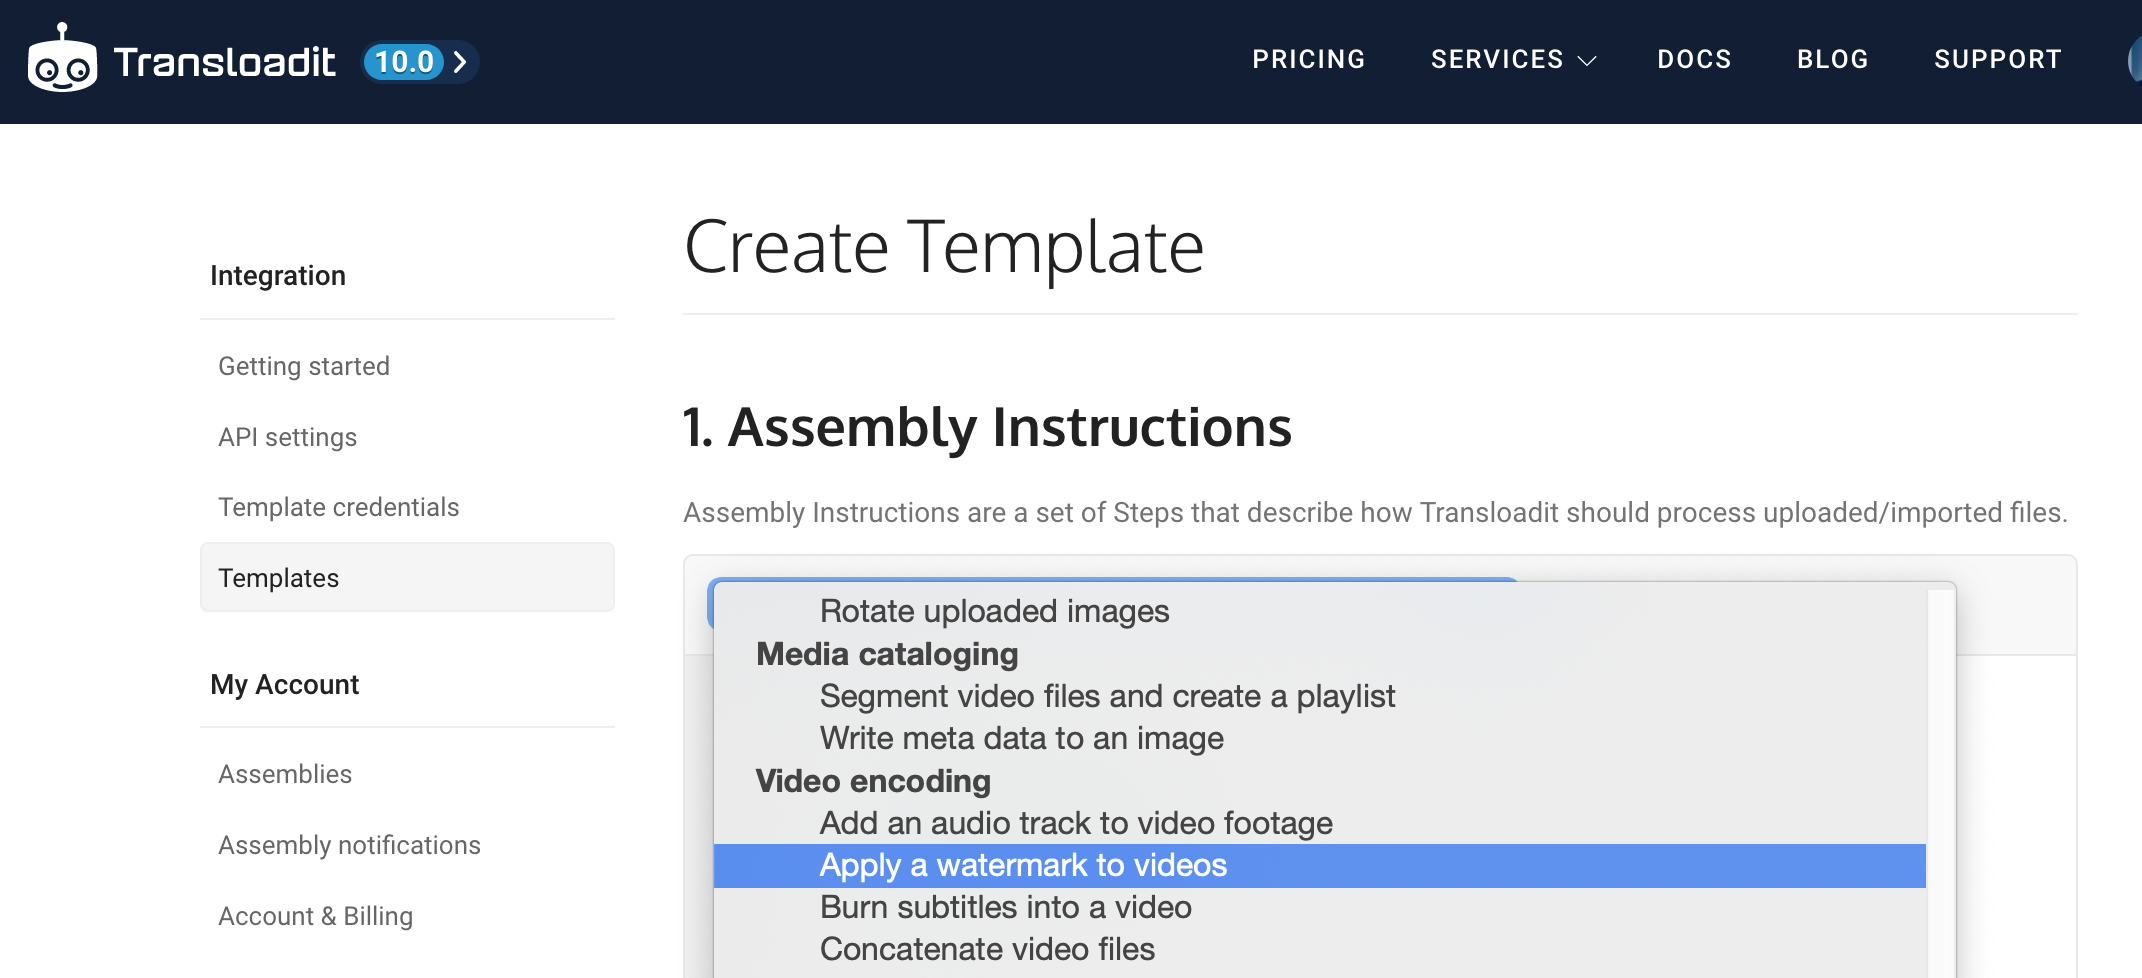
![Creating a new Transloadit Template from the 'Apply a watermark to videos' demo](/_next/static/immutable/media/Screenshot_2019-10-29_at_13.52.57.3c7e-njb9_h34.png)

* Replace the credential name with your own credentials:
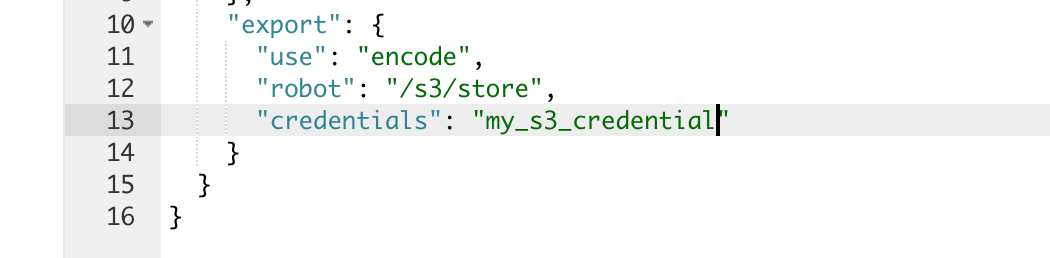
![The 'export' Step from the Template](/_next/static/immutable/media/Screenshot_2019-10-29_at_13.56.02.0wxulispvlk1q.png)

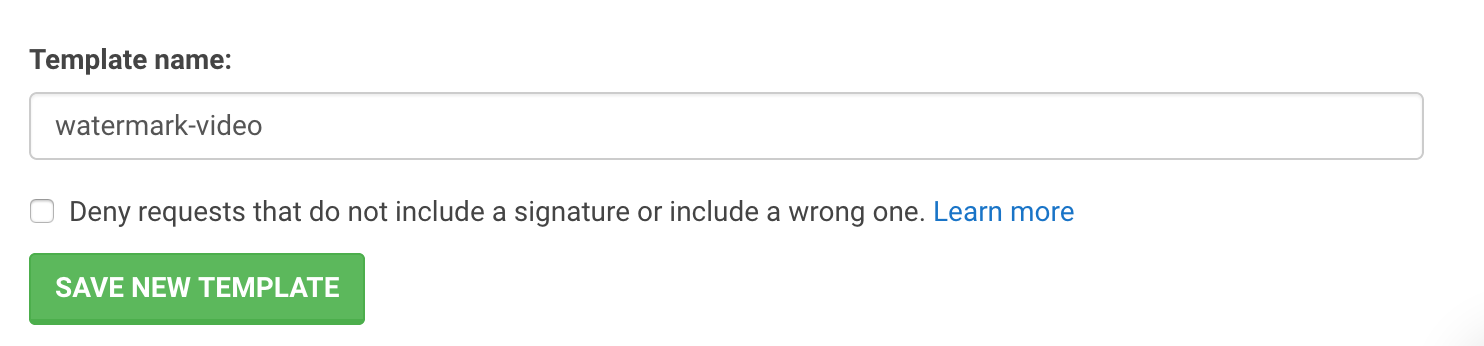
* For the Template name, fill out `watermark-video` and click Save newTemplate:

![Setting the Template name with a button saying 'SAVE NEW TEMPLATE' below](/_next/static/immutable/media/Screenshot_2019-10-29_at_13.57.05.047-fbt3_6-gj.png)

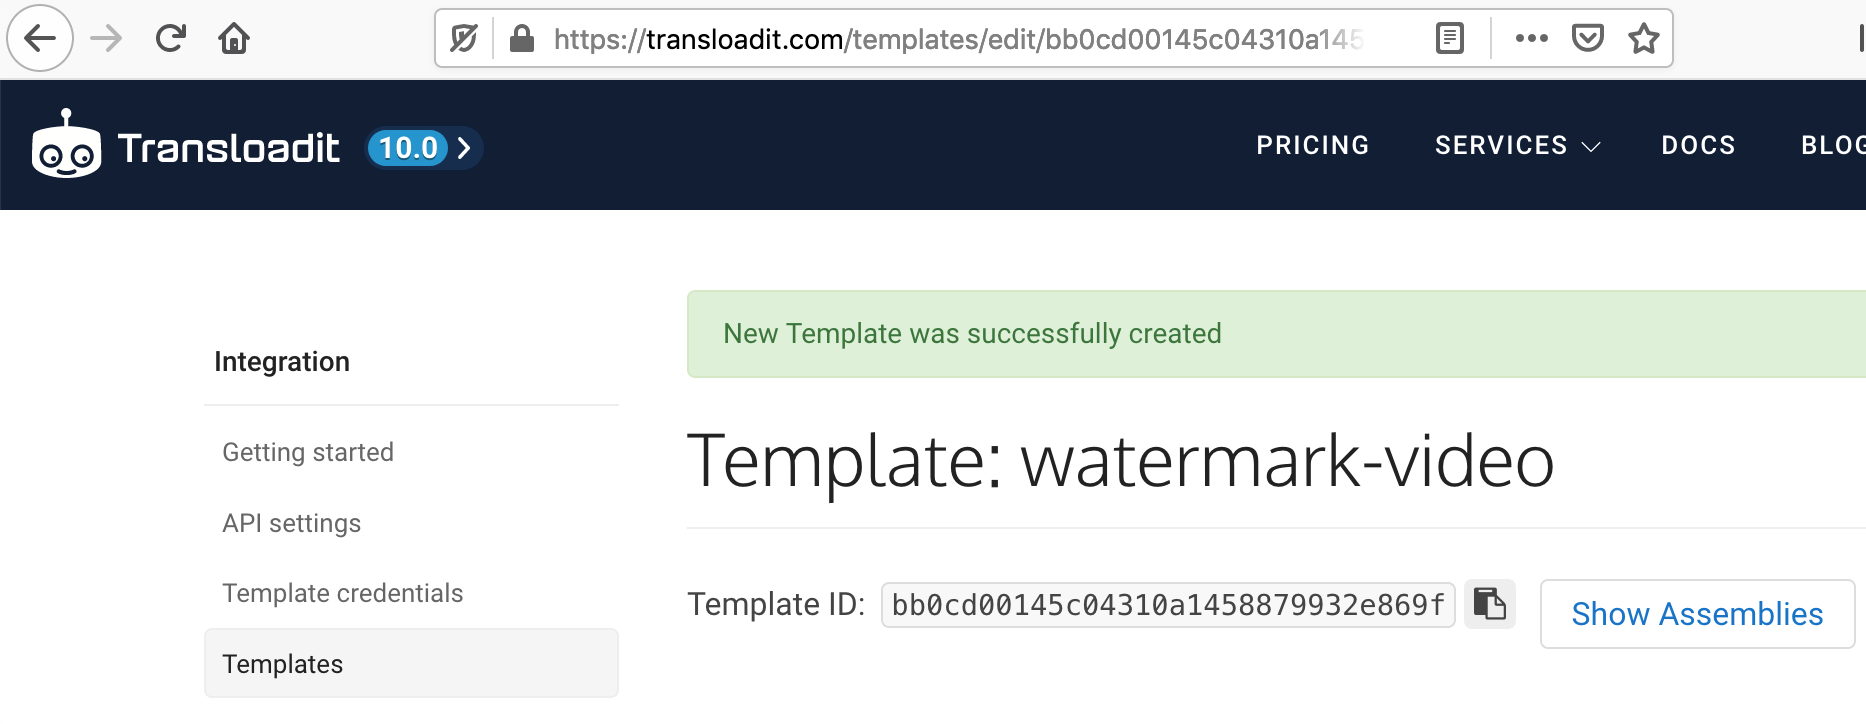
* Copy the Template ID:

![A pop up on the Template page saying 'New Template was sucessfully created'](/_next/static/immutable/media/screenshot_2019-10-29_at_13.57.51.2tb1r1dyjh41s.png)

<span aria-hidden="true" id="at-zapier"></span>

## At Zapier

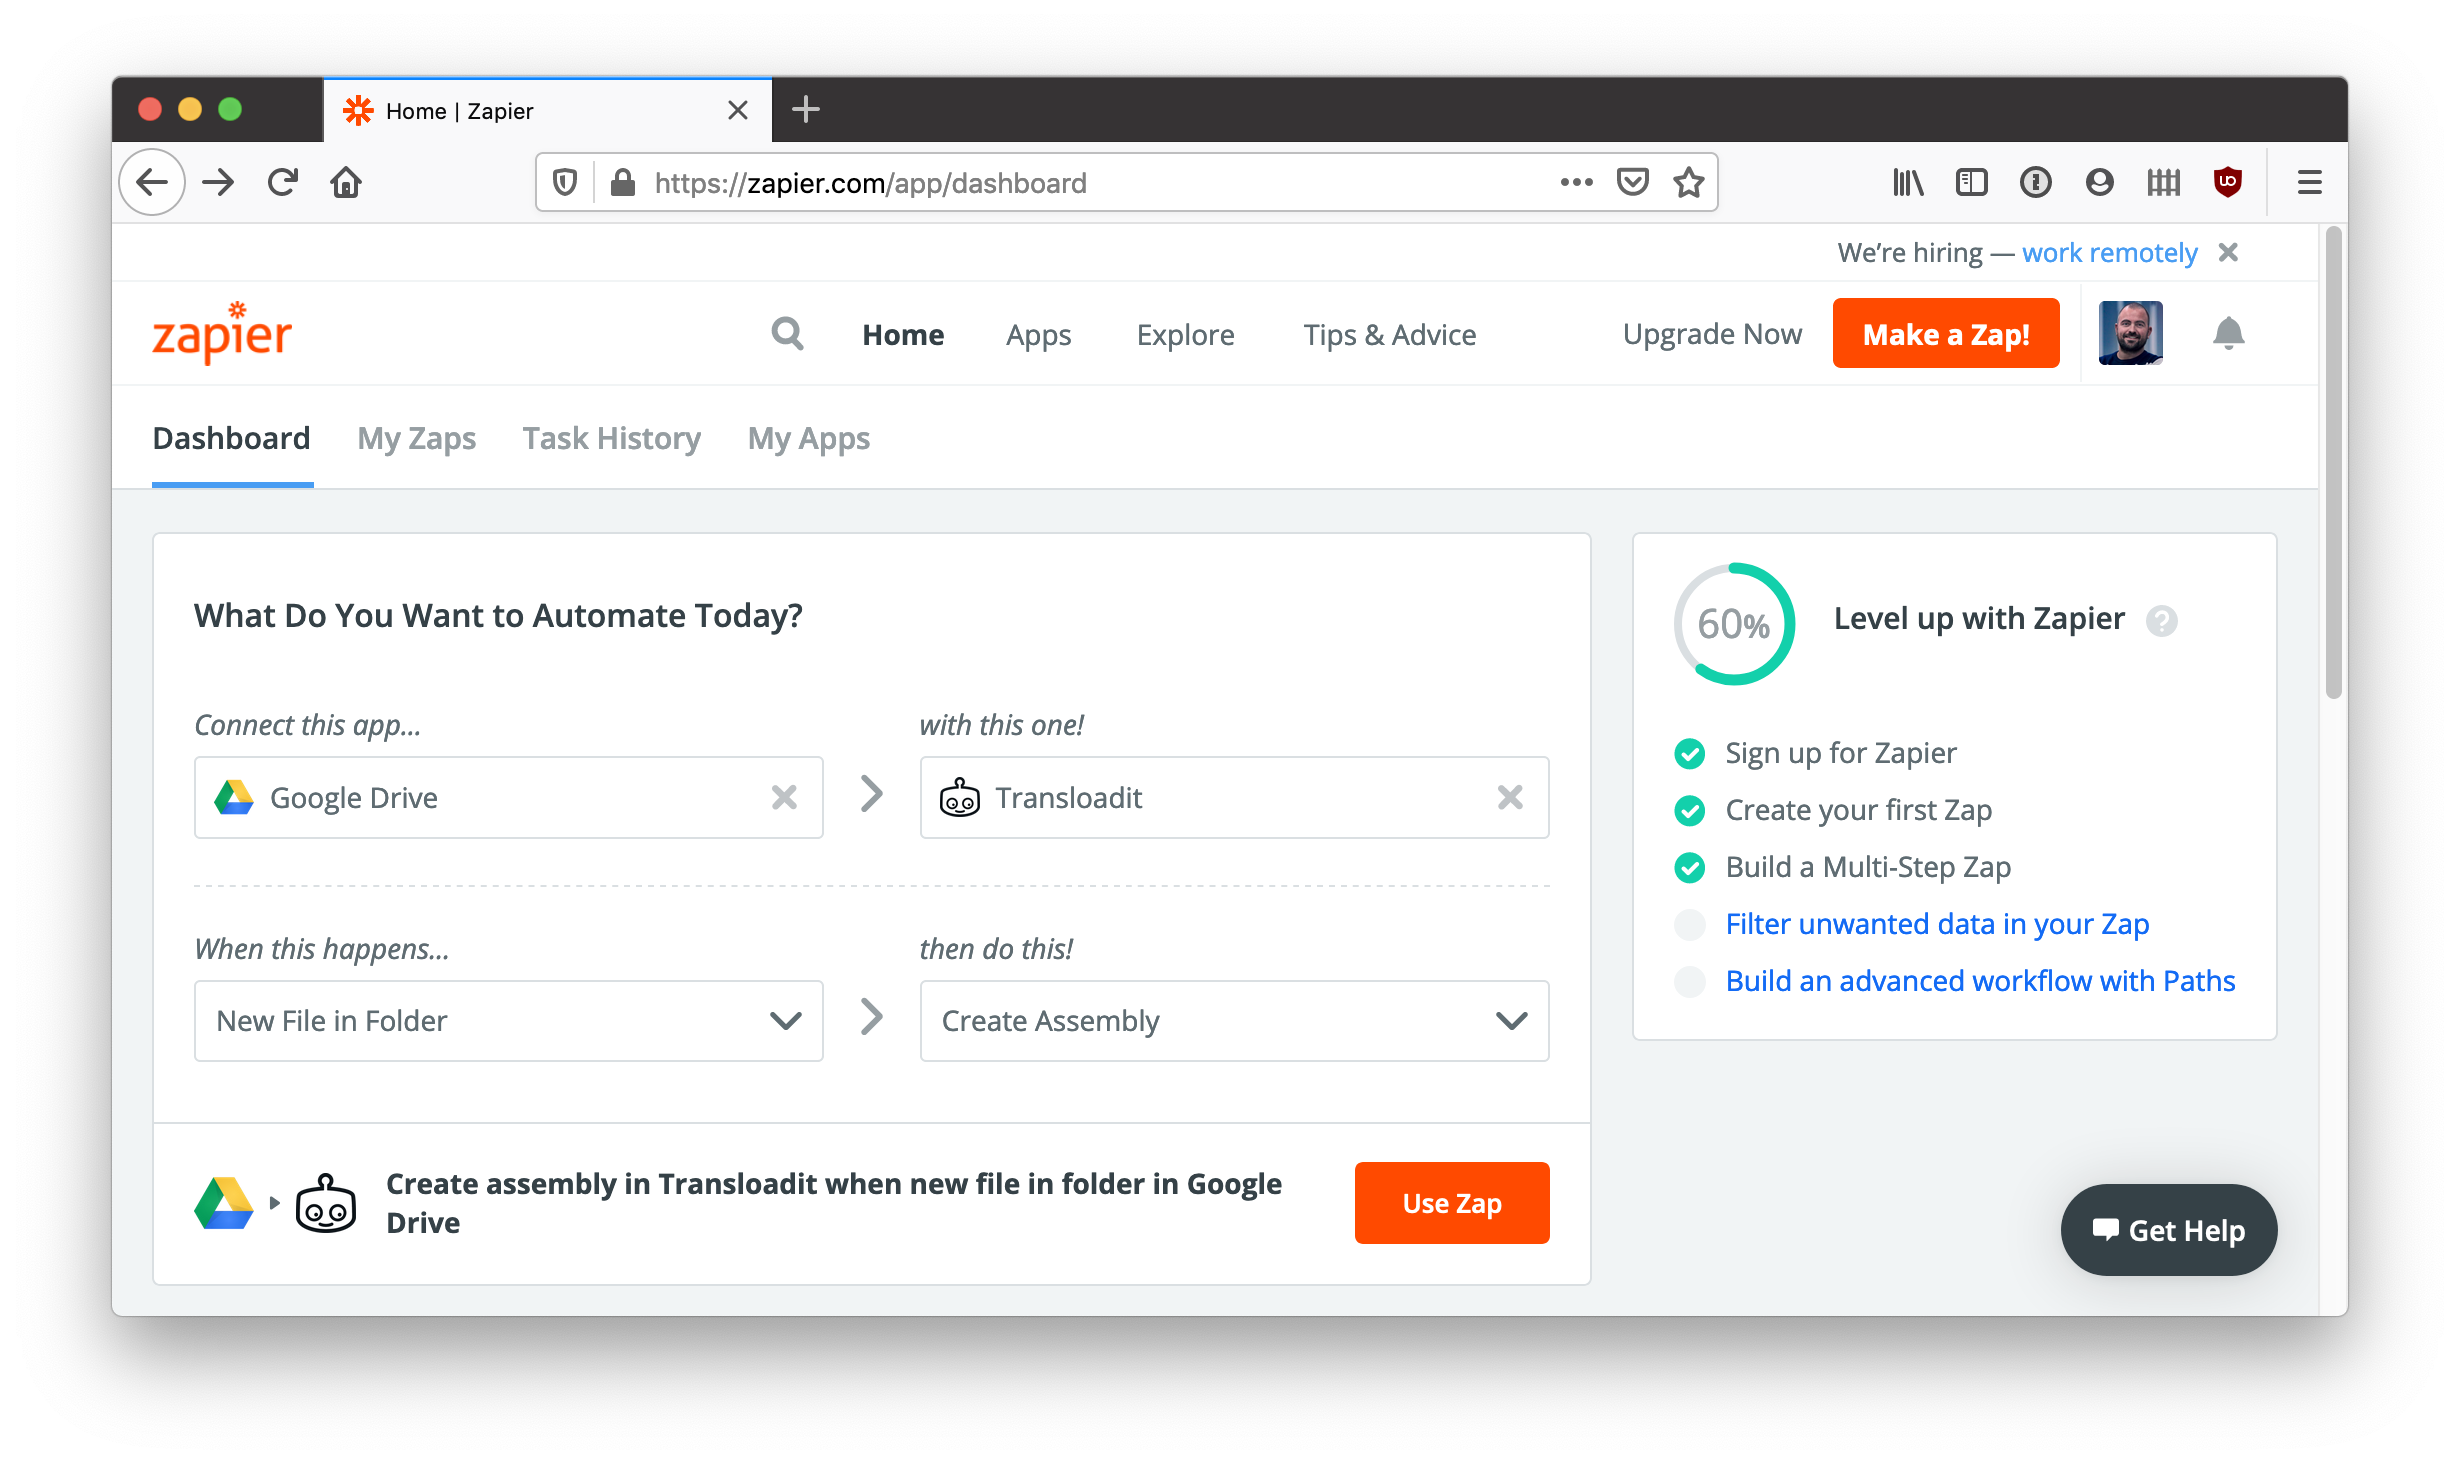
* Select Google Drive and set its action to "New File in Folder", also select Transloadit and set its action to "Create Assembly":

![Creating a new Zap on Zapier to connect Google Drive with Transloadit](/_next/static/immutable/media/Screenshot_2019-10-29_at_13.26.26.2vna1_h5sgajp.png)

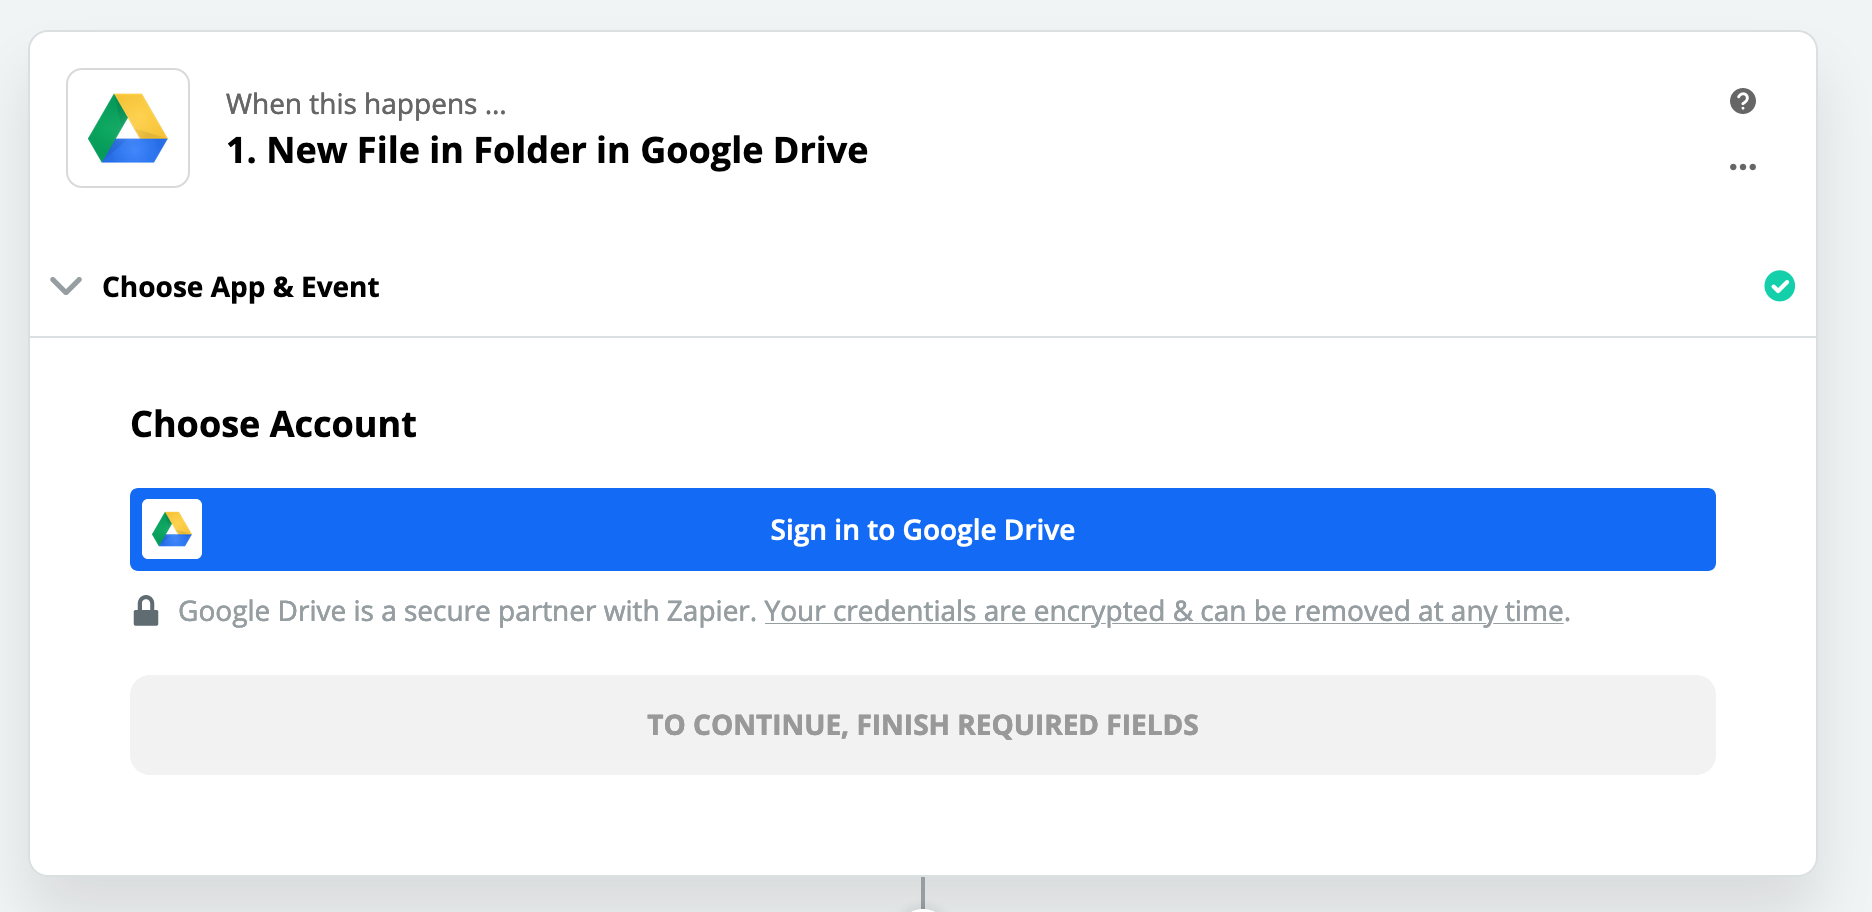
* Sign in to Google Drive:

![Connecting Zapier with Google Drive](/_next/static/immutable/media/Screenshot_2019-10-29_at_13.28.18.1-ne5m-z9yxc1.png)

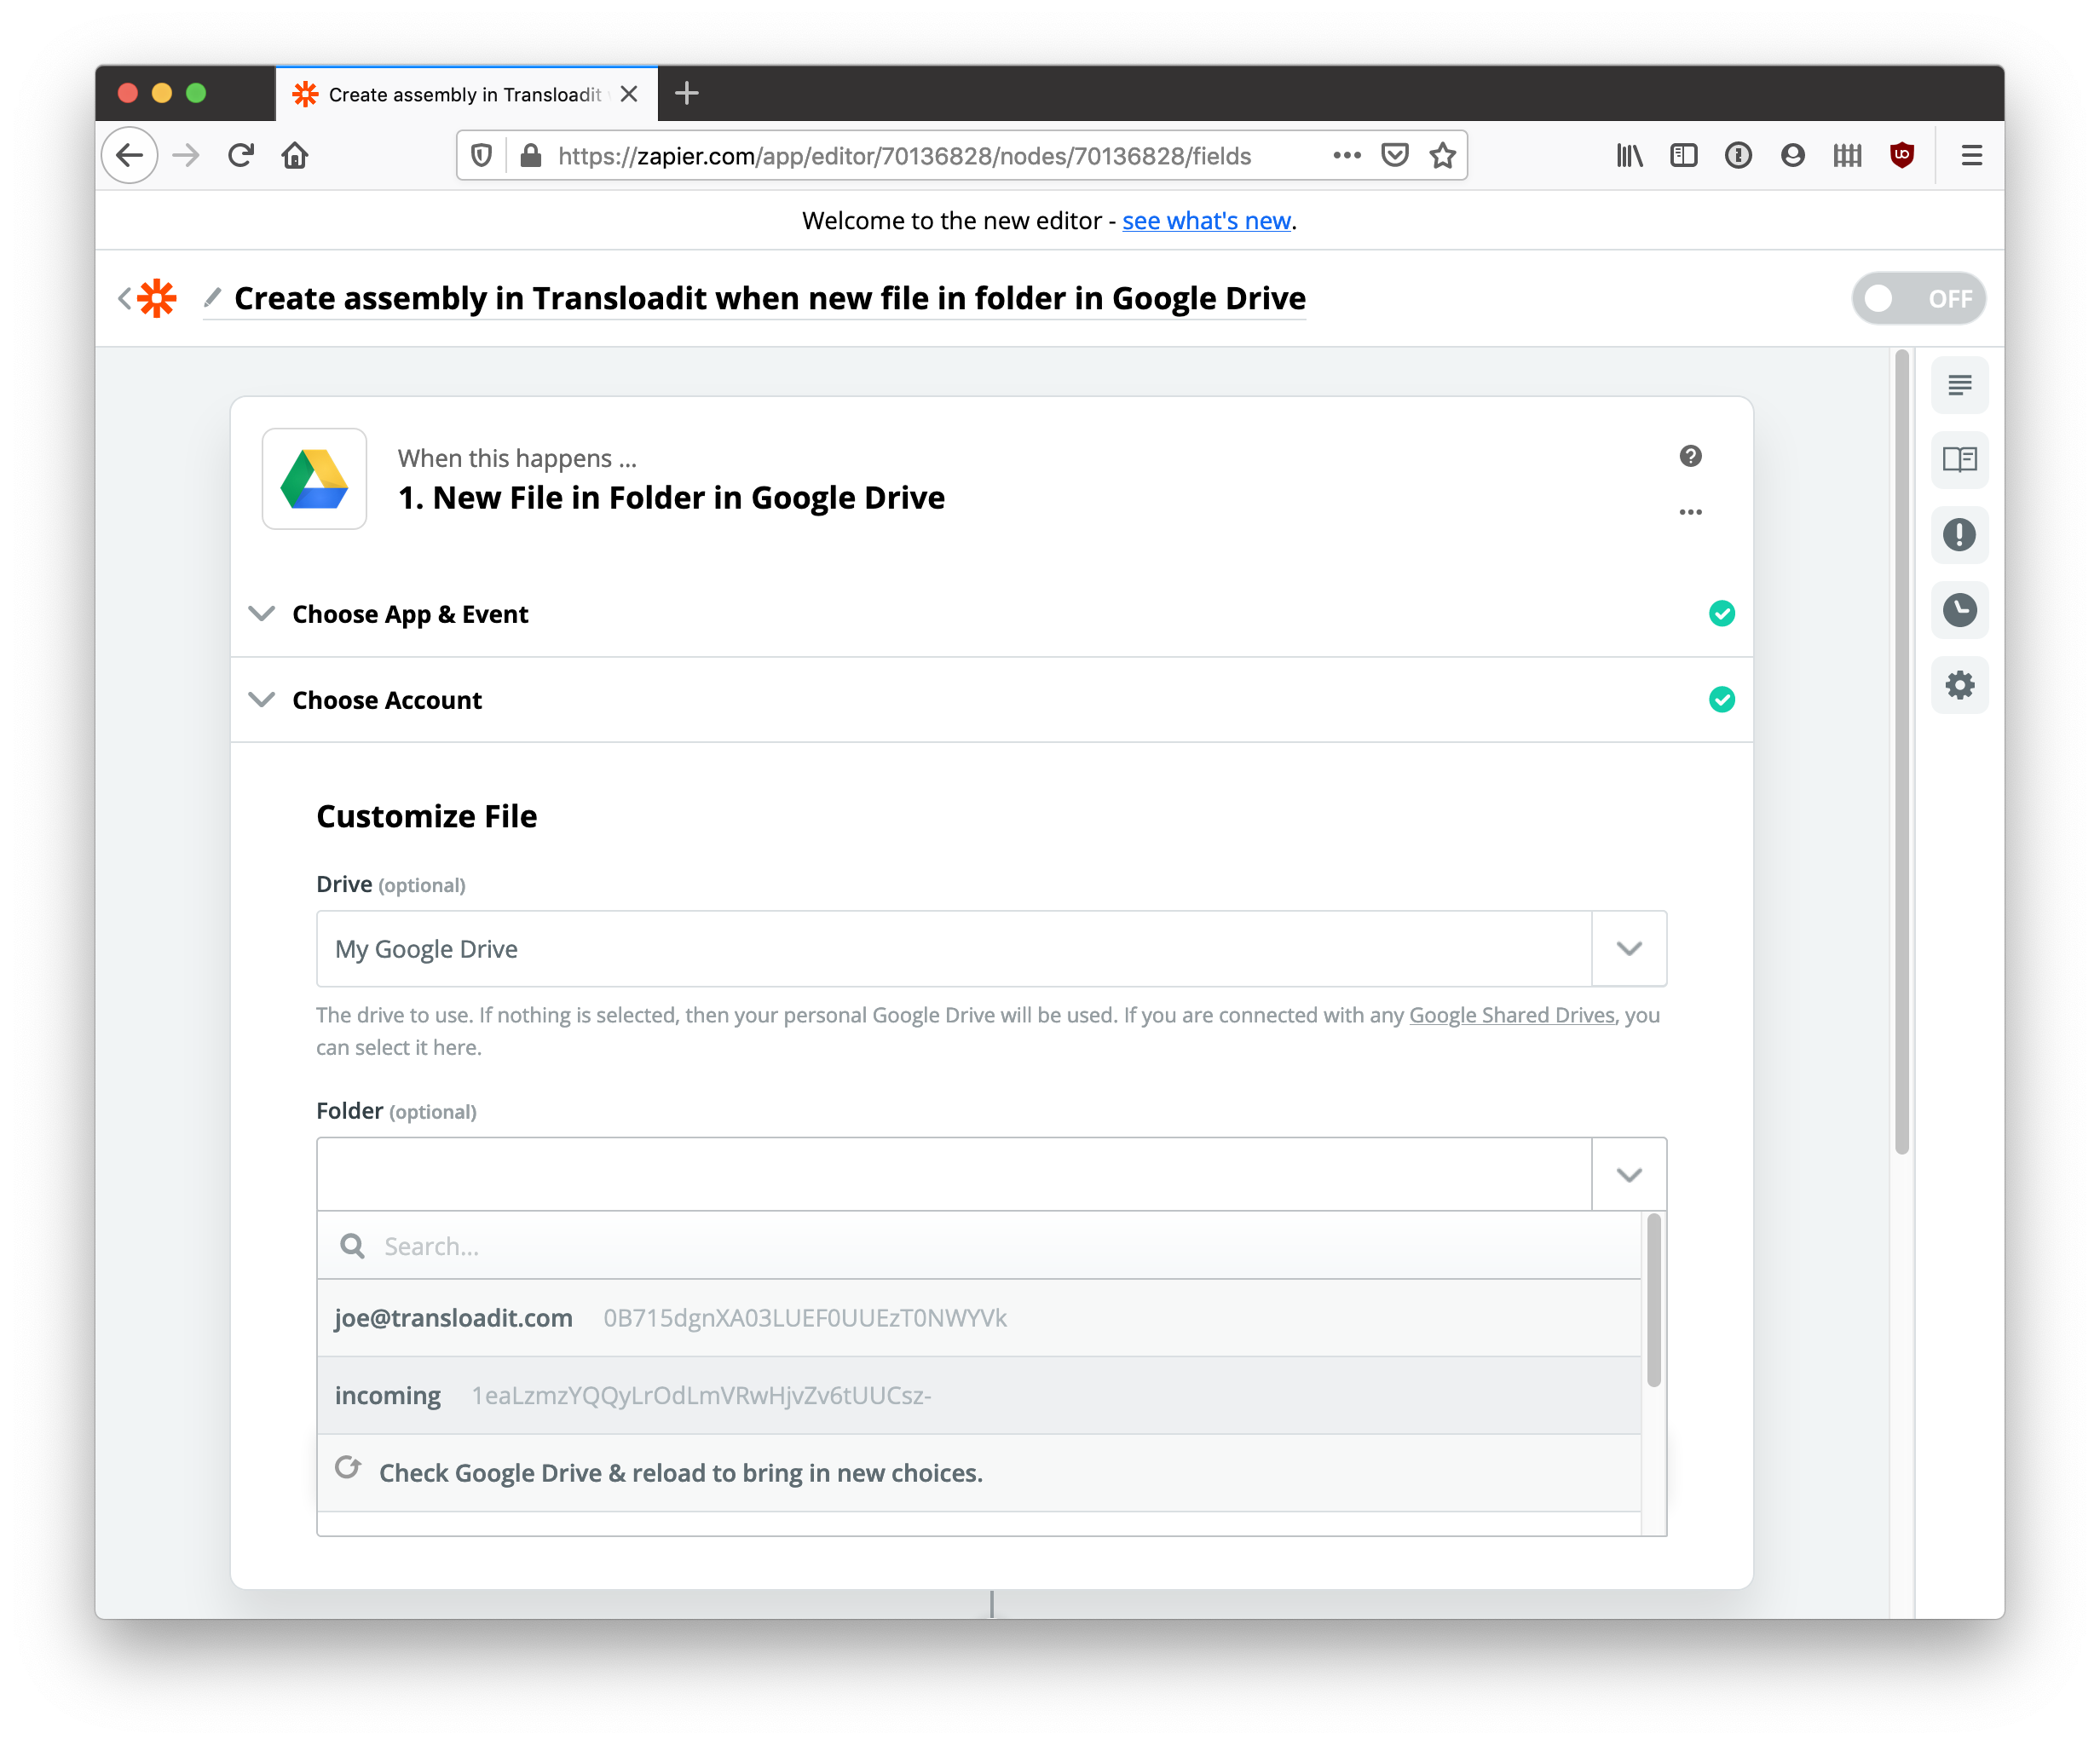
* Select `incoming` folder and click Continue.

![Configuring the action for the Zap to connect it with the right folder in the Google Drive](/_next/static/immutable/media/Screenshot_2019-10-29_at_13.32.12.253ft5-2n9iho.png)

* Click Test & Continue. If all goes well, Zapier will find the uploaded video file in the`incoming` folder in your Google Drive.
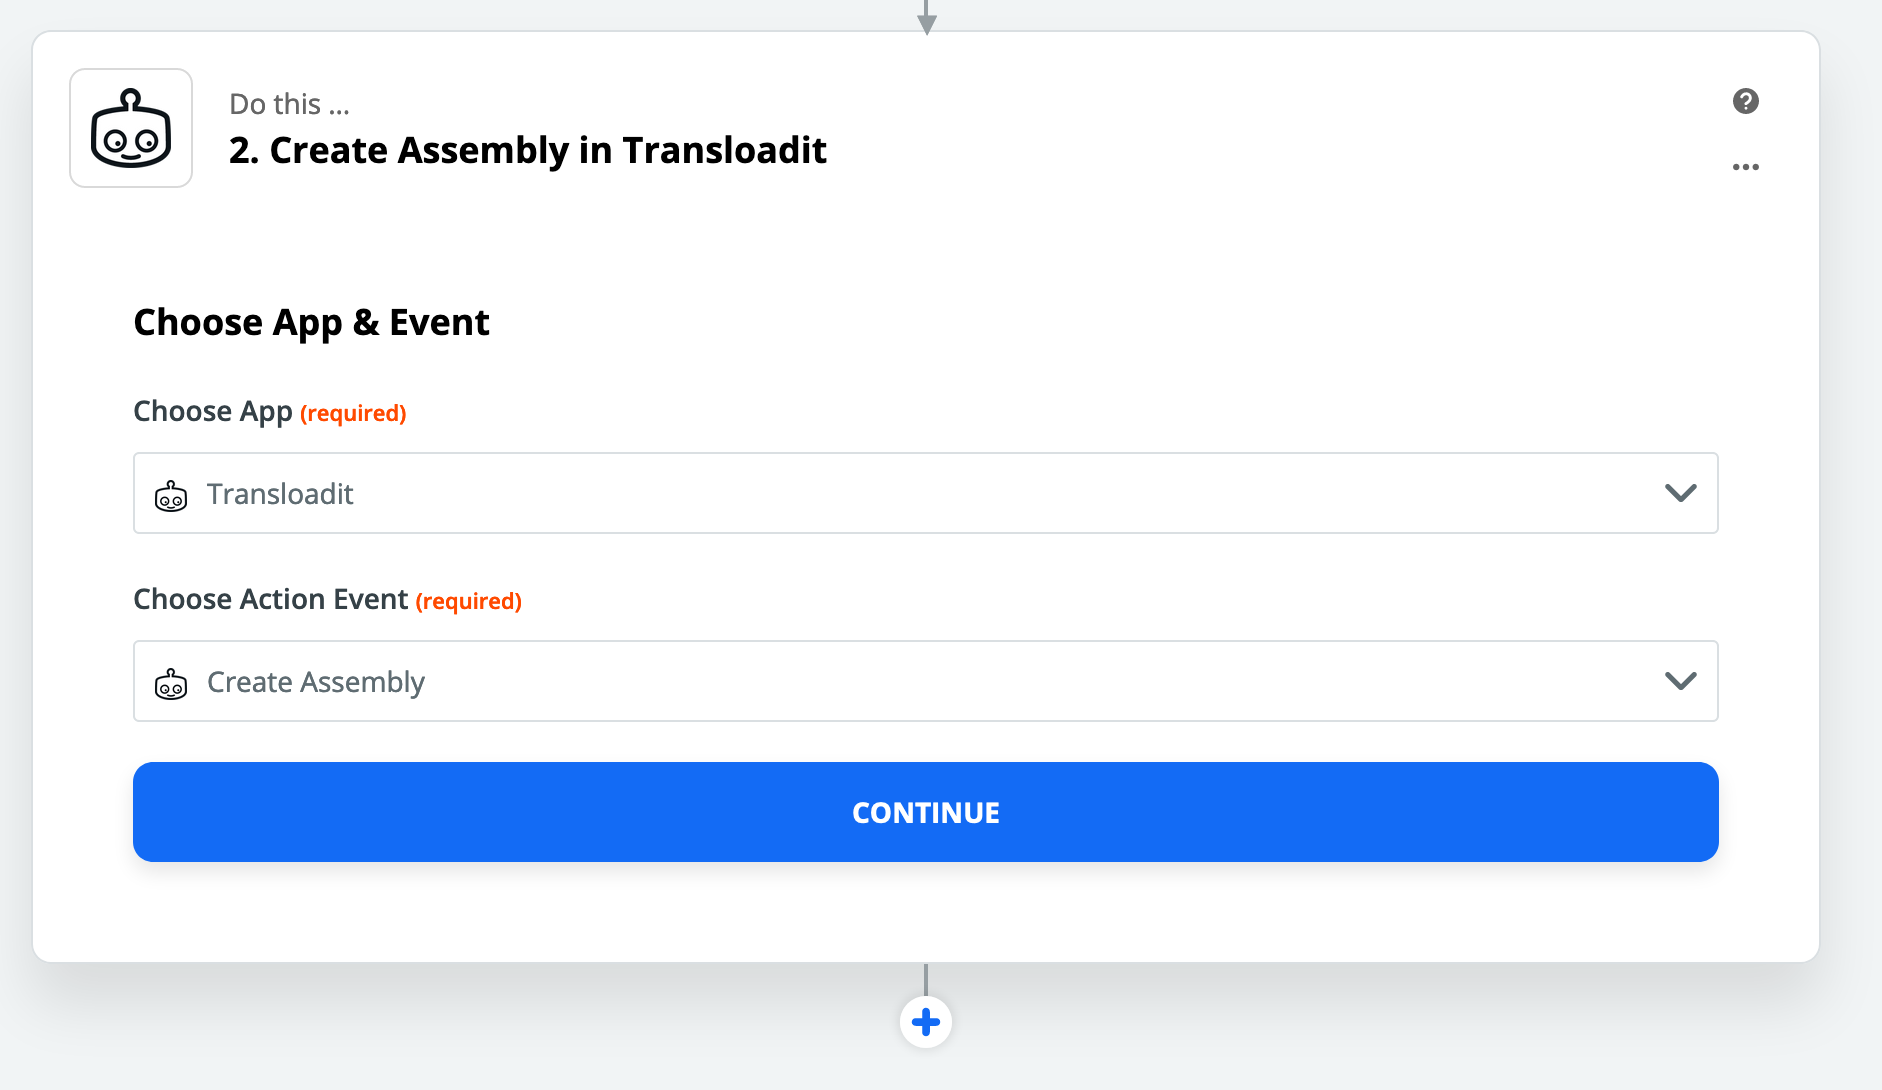
* Select App: Transloadit, Action: Create Assembly, and click continue:

![Adding the Transloadit action to the Zap to create an Assembly](/_next/static/immutable/media/Screenshot_2019-10-29_at_13.42.20.1rw8z_4eihodf.png)

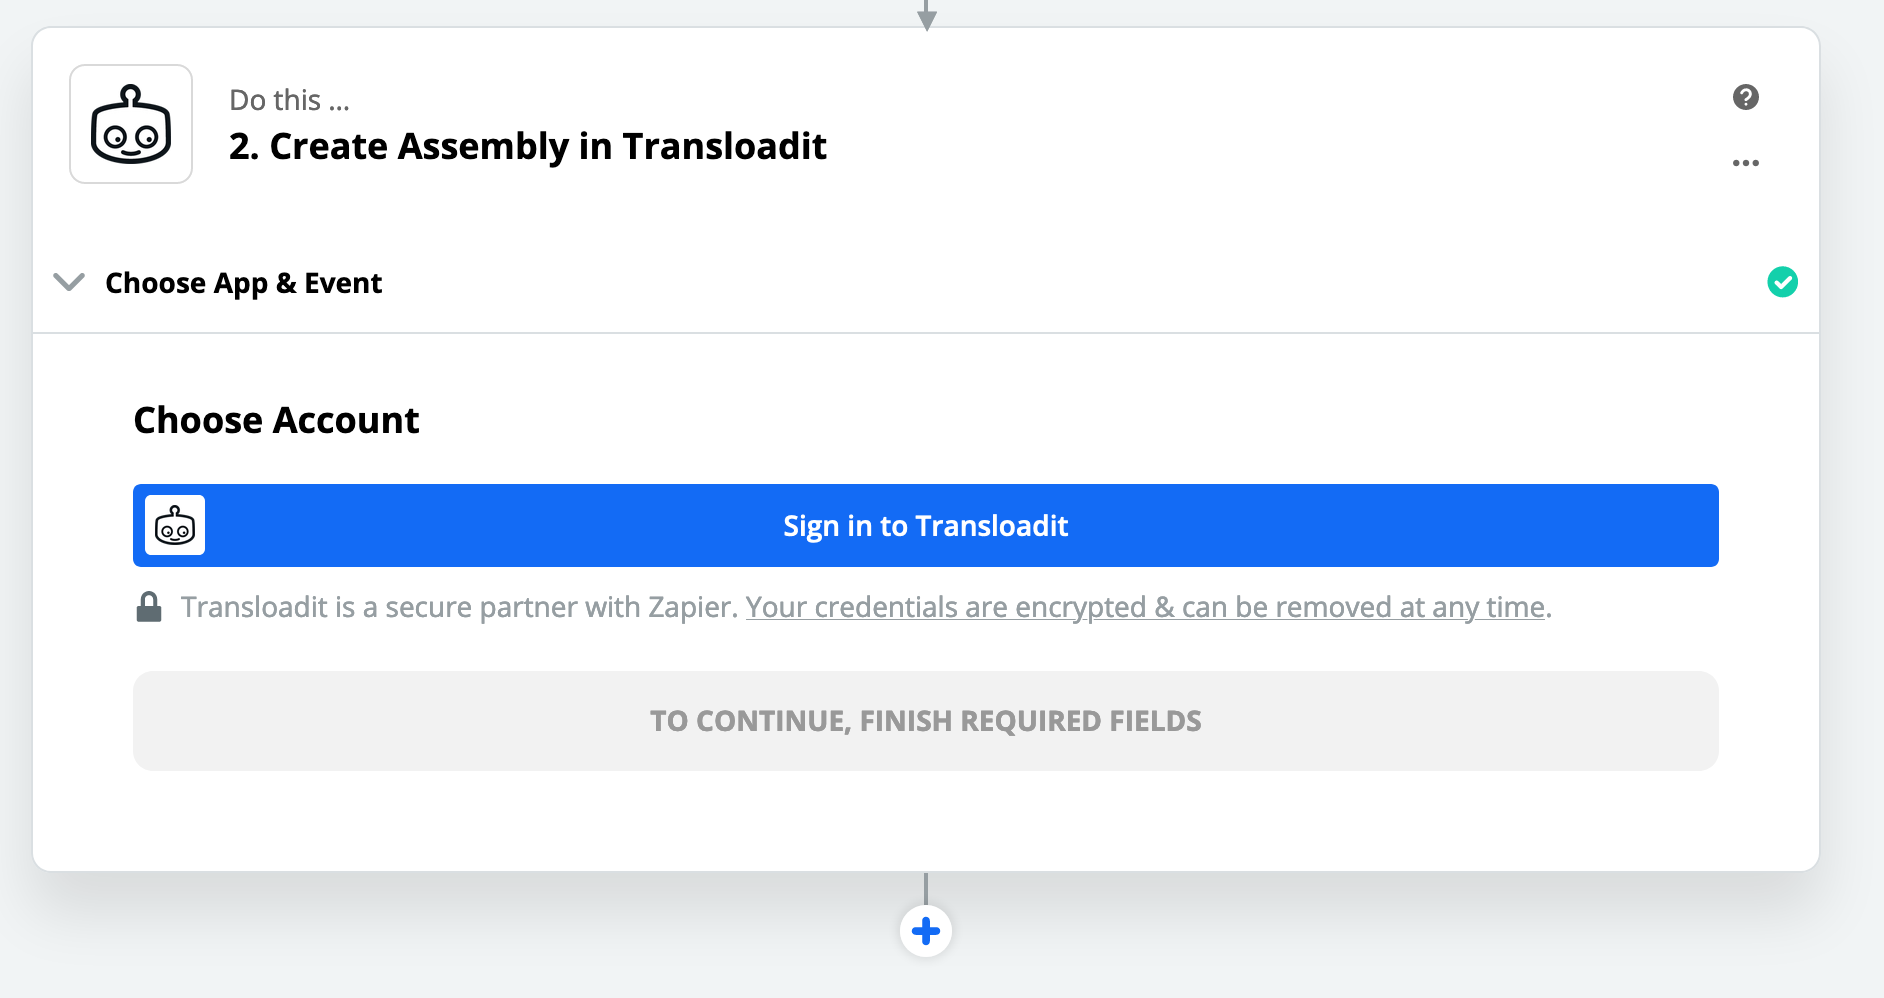
* Click Sign in to Transloadit:

![Connecting Zapier with Transloadit](/_next/static/immutable/media/Screenshot_2019-10-29_at_13.47.59.2s2bp_9j4w-36.png)

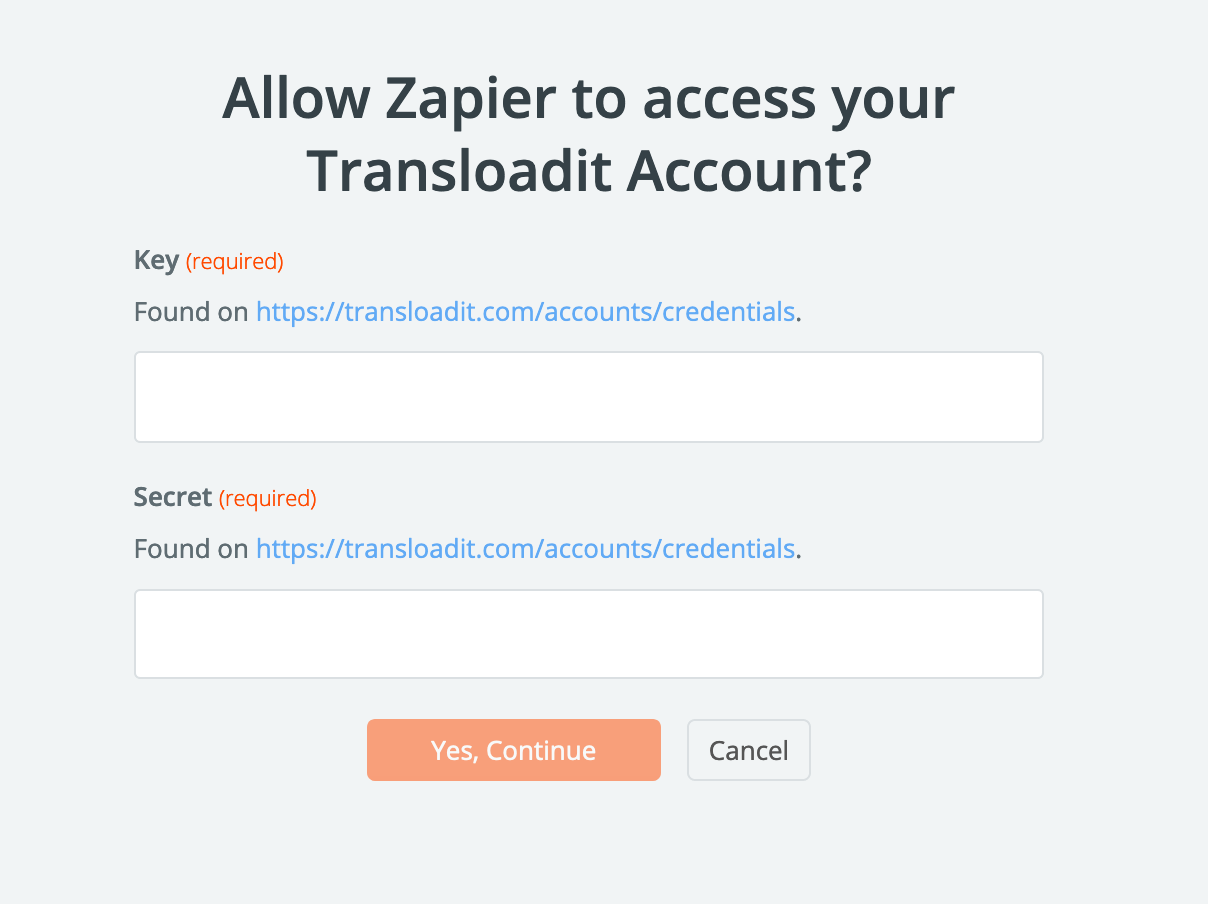
* Go to your [API Settings](/c/settings/) and copy your account key and secret, paste them into Zapier, and click Yes, continue:

![Providing the Transloadit key and secret to Zapier](/_next/static/immutable/media/Screenshot_2019-10-29_at_13.48.46.0jwbqv04xsahw.png)

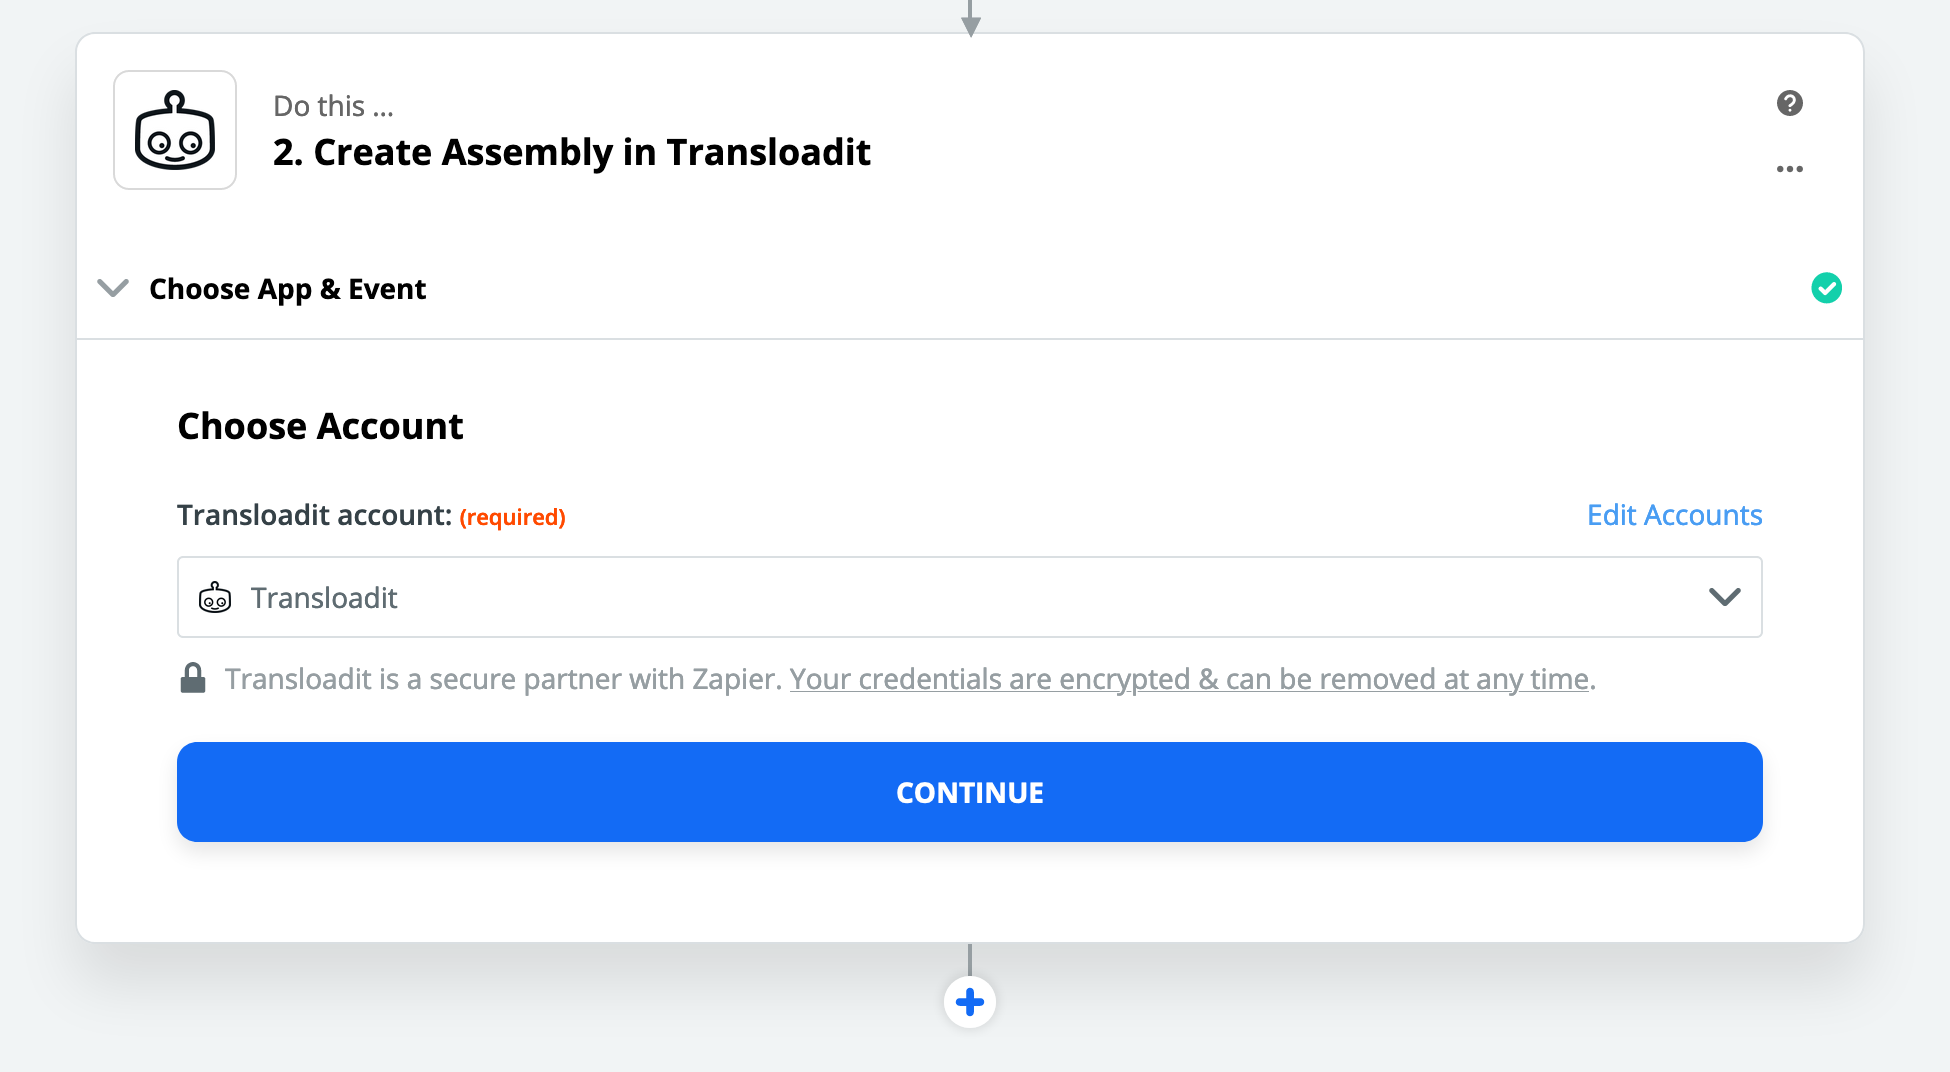
* Click Continue:

![The action is now connected to Transloadit](/_next/static/immutable/media/Screenshot_2019-10-29_at_13.50.36.1r3kw4tup4t8s.png)

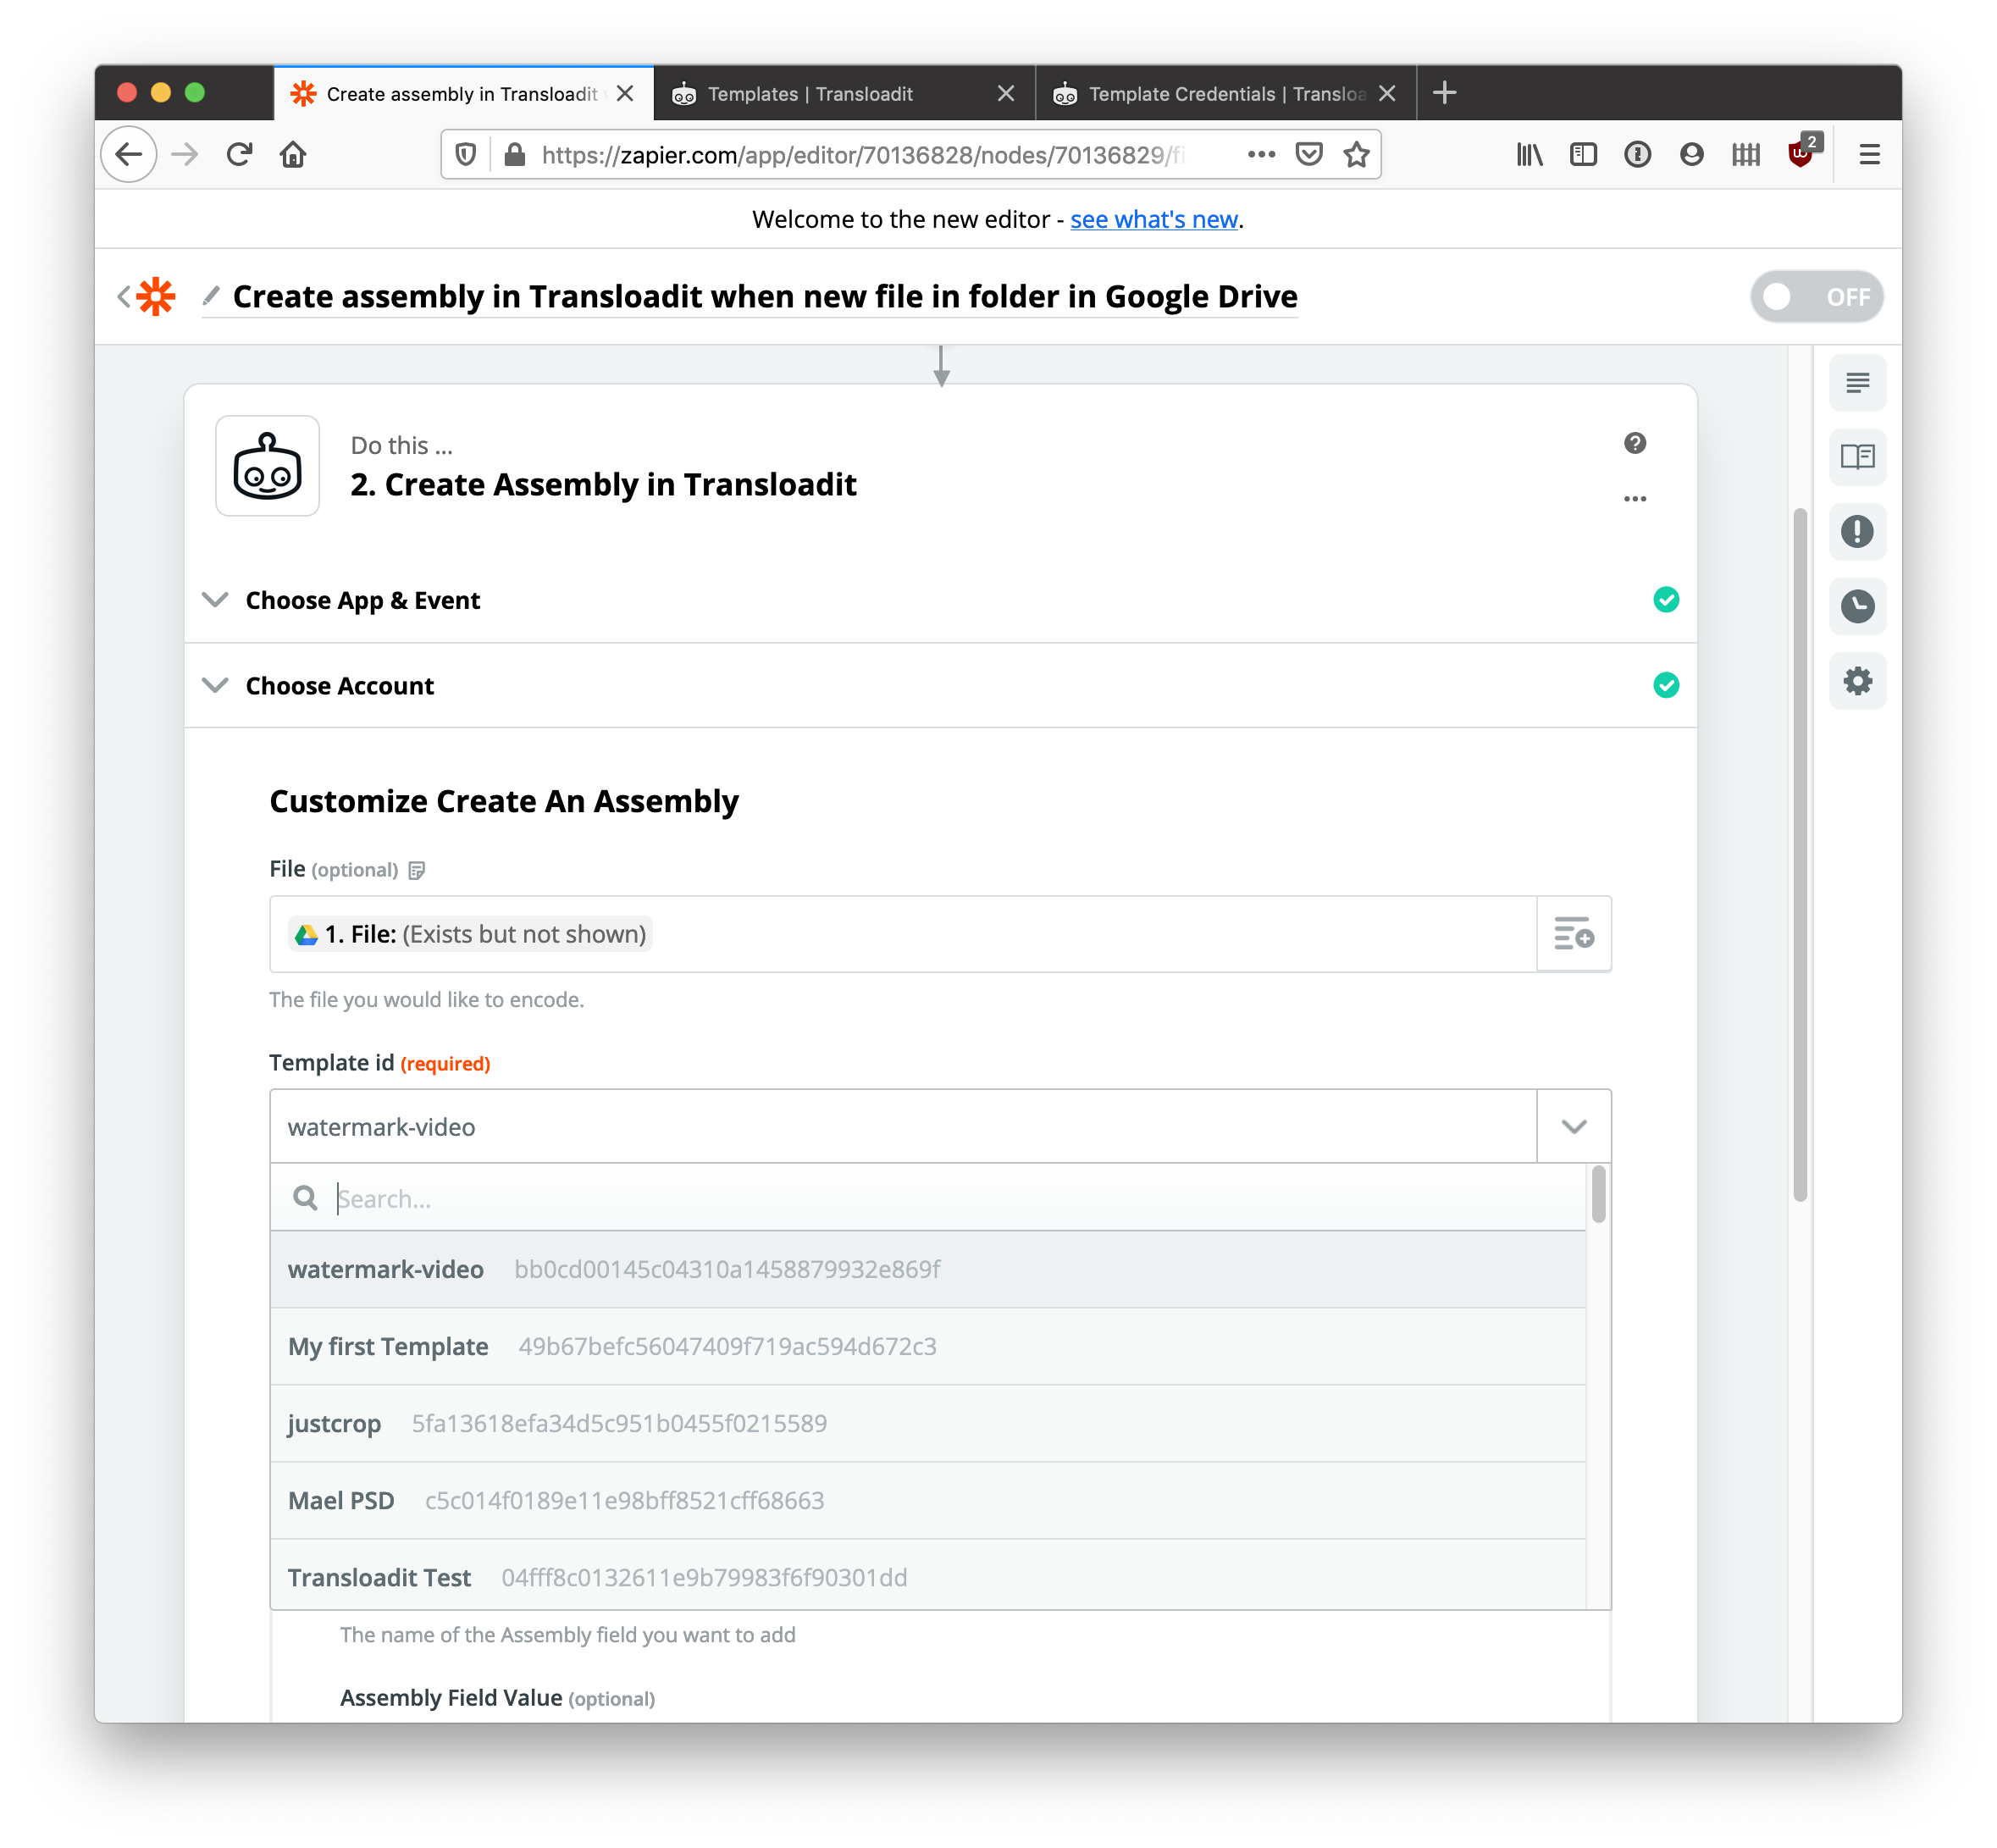
* Select File: File, Template ID: `watermark-video`, and click Test And Continue:

![Adding the Template to the action](/_next/static/immutable/media/Screenshot_2019-10-29_at_14.03.38.1ohrddfjinga8.png)

* If you see a success message, click Done Editing:
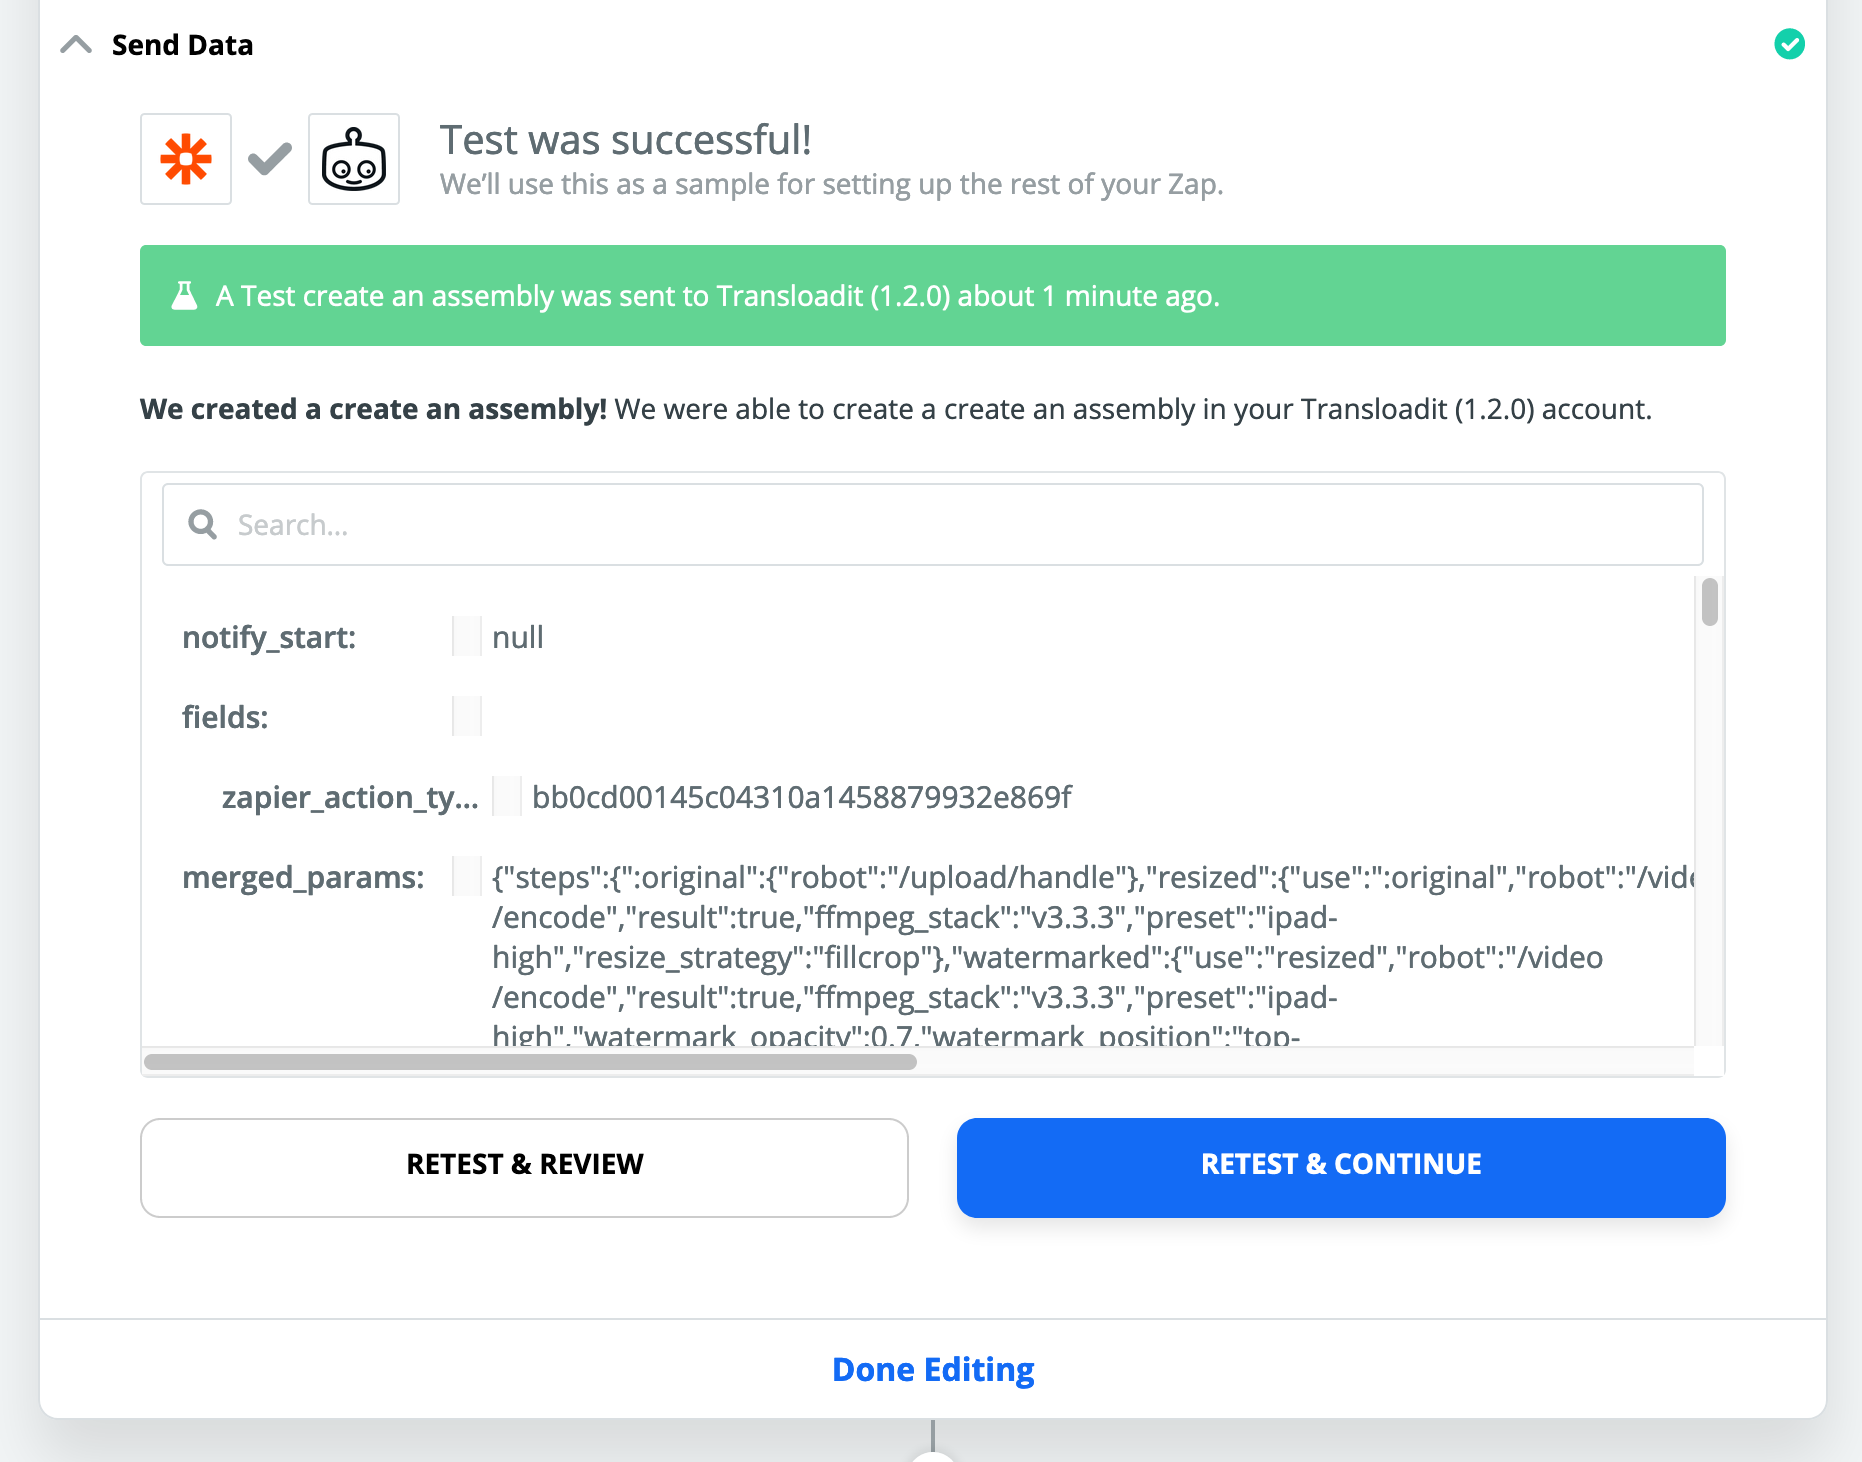
![The response from running the test successfully](/_next/static/immutable/media/Screenshot_2019-10-29_at_16.10.28.1anuyrptvkm0o.png)

* Then click Turn On Zap:

![A green toggle switch the label 'ON'](/_next/static/immutable/media/Screenshot_2019-10-29_at_16.11.44.3e4y7q5m3bheg.png)

Done! Try adding new videos to your Google Drive’s `incoming` folder and they’ll automatically be watermarked and exported to S3. You can monitor jobs on the Zapier side by clicking on Task History:
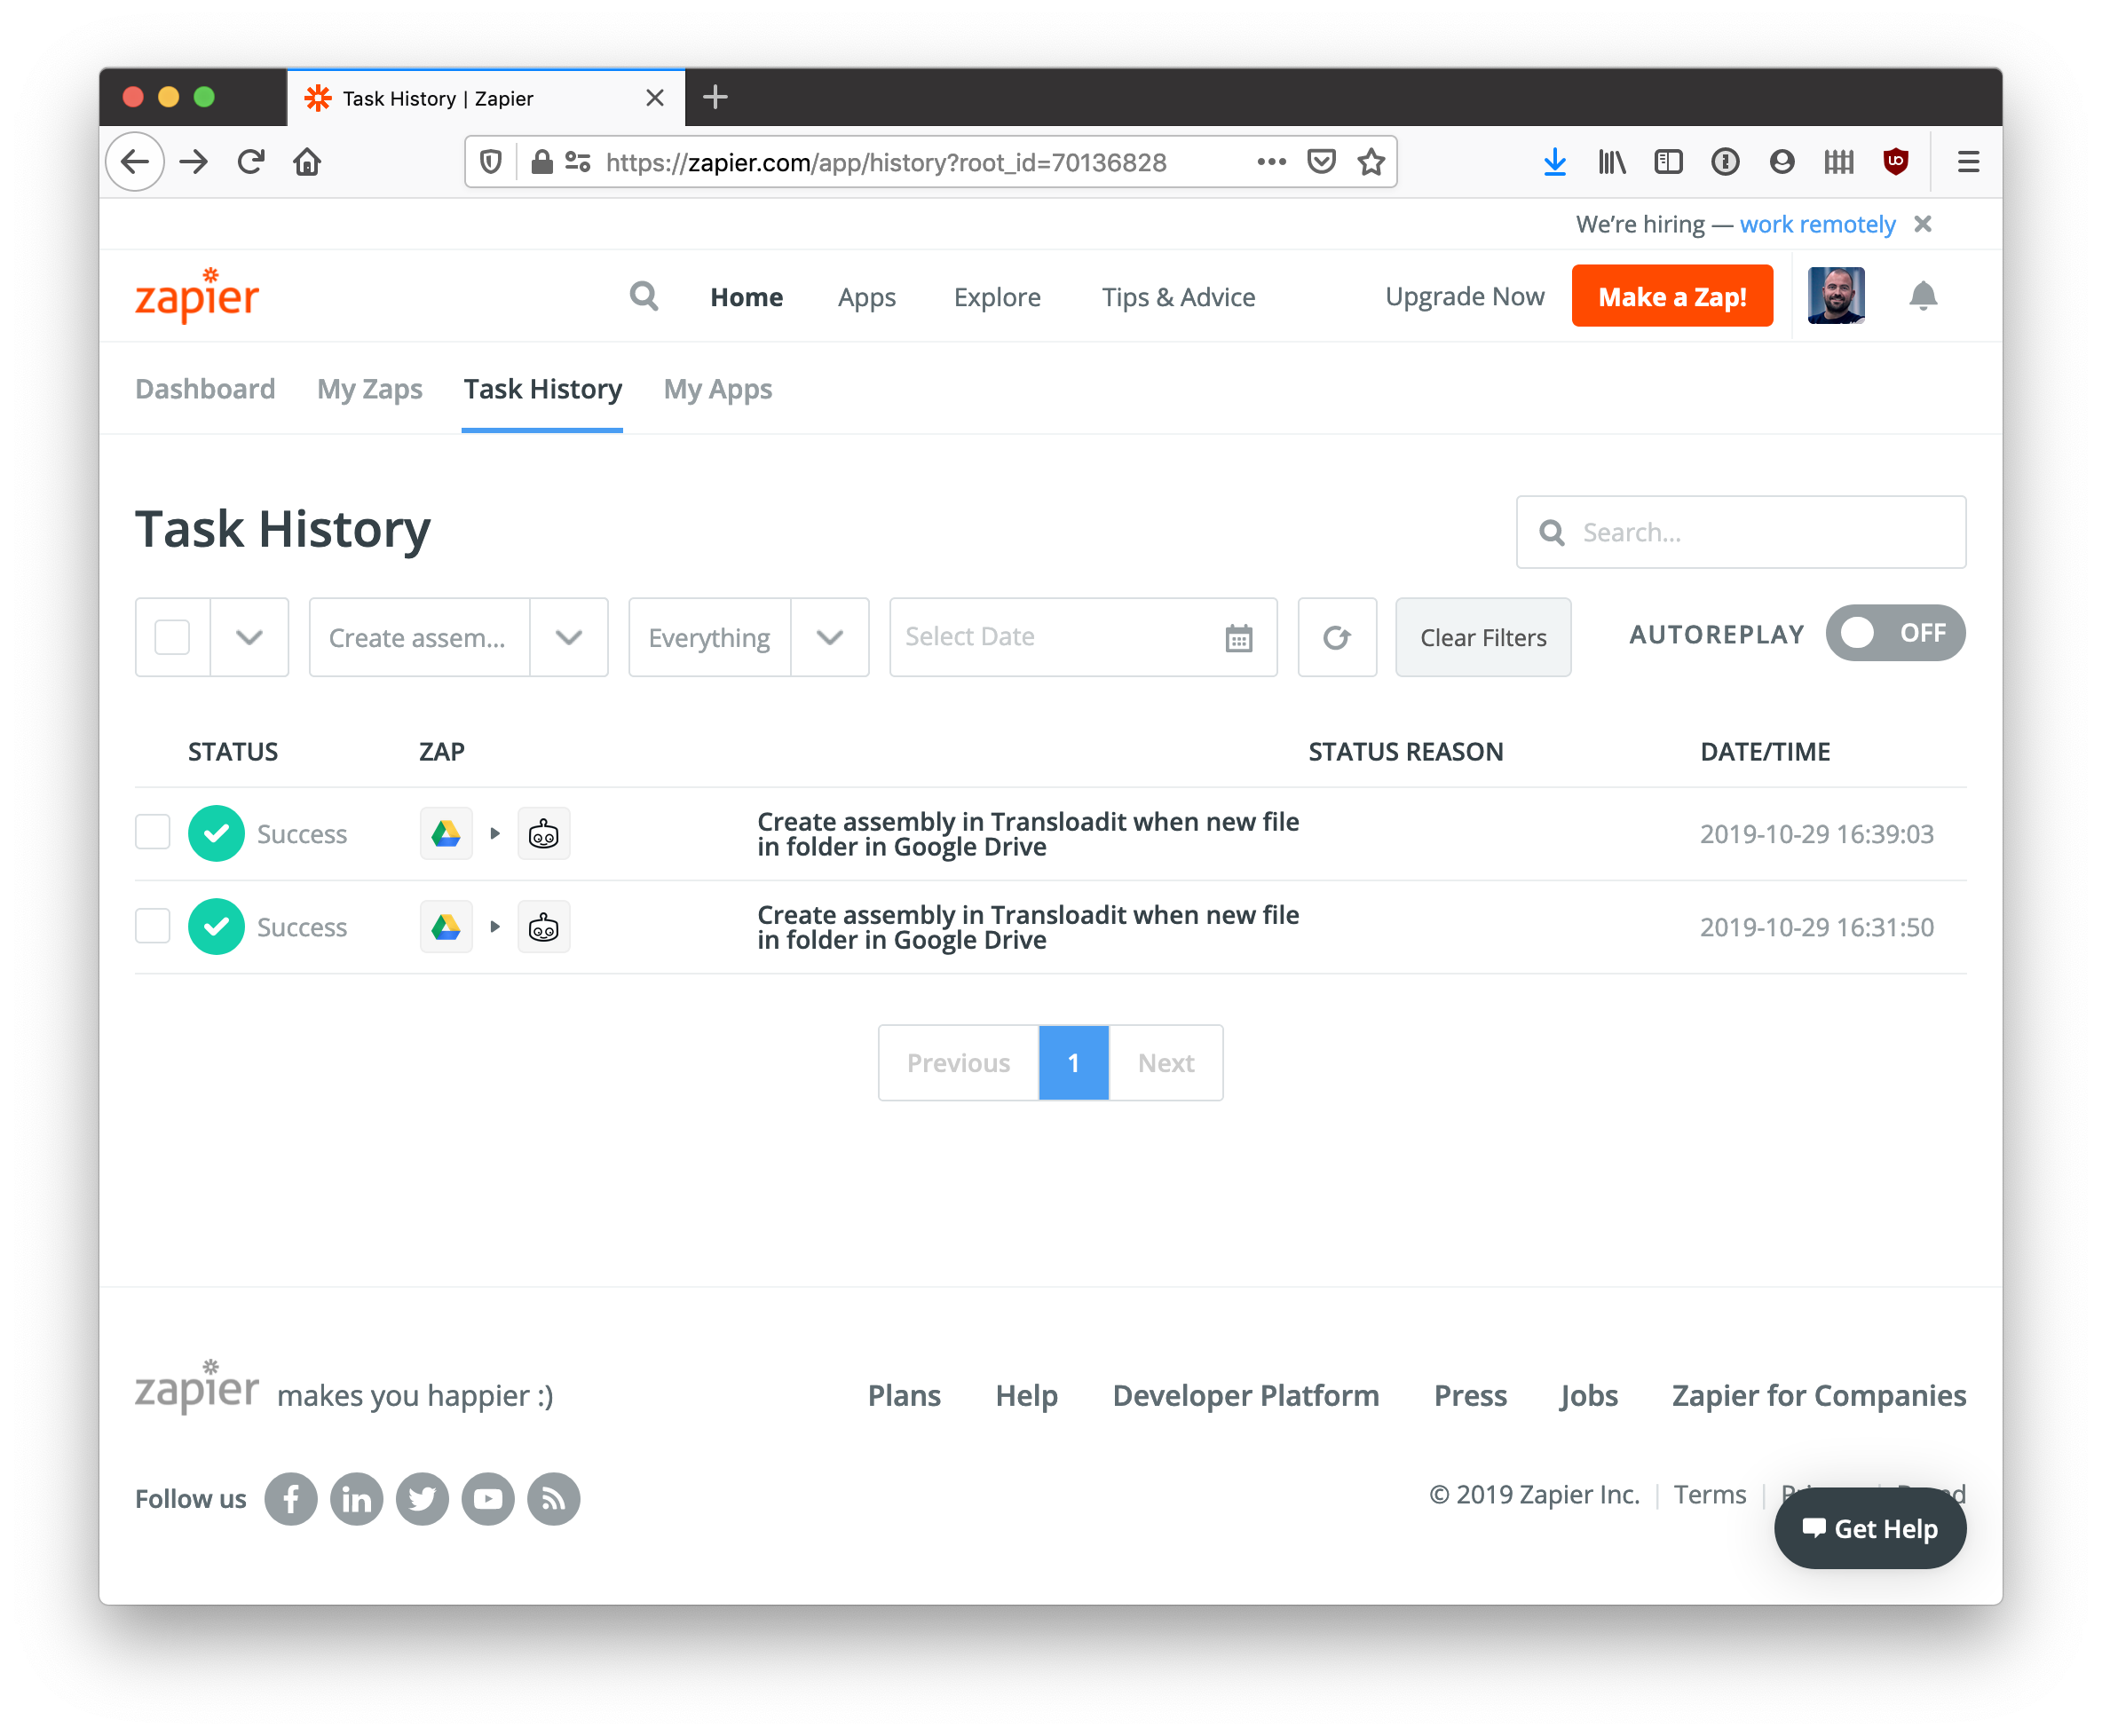
![The task history page on Zapier showing two completed Zaps](/_next/static/immutable/media/Screenshot_2019-10-29_at_16.40.16.0mv3eav2v2rsj.png)

Note that:

* Monitoring folders in this way detects files directly under the `incoming` folder, but not its subfolders.
* Even though Zapier indicates a Zap starts as soon as a Trigger is fired, in my case it still took some minutes between succesfully uploading a file to Google Drive and the Zap to fire. Fine for most use cases, but probably hold off debugging efforts until you‘ve given it, say, five minutes to show up in the Task History.

<span aria-hidden="true" id="at-transloadit-1"></span>

## At Transloadit

You can also monitor encoding work that Transloadit does for you in real time.

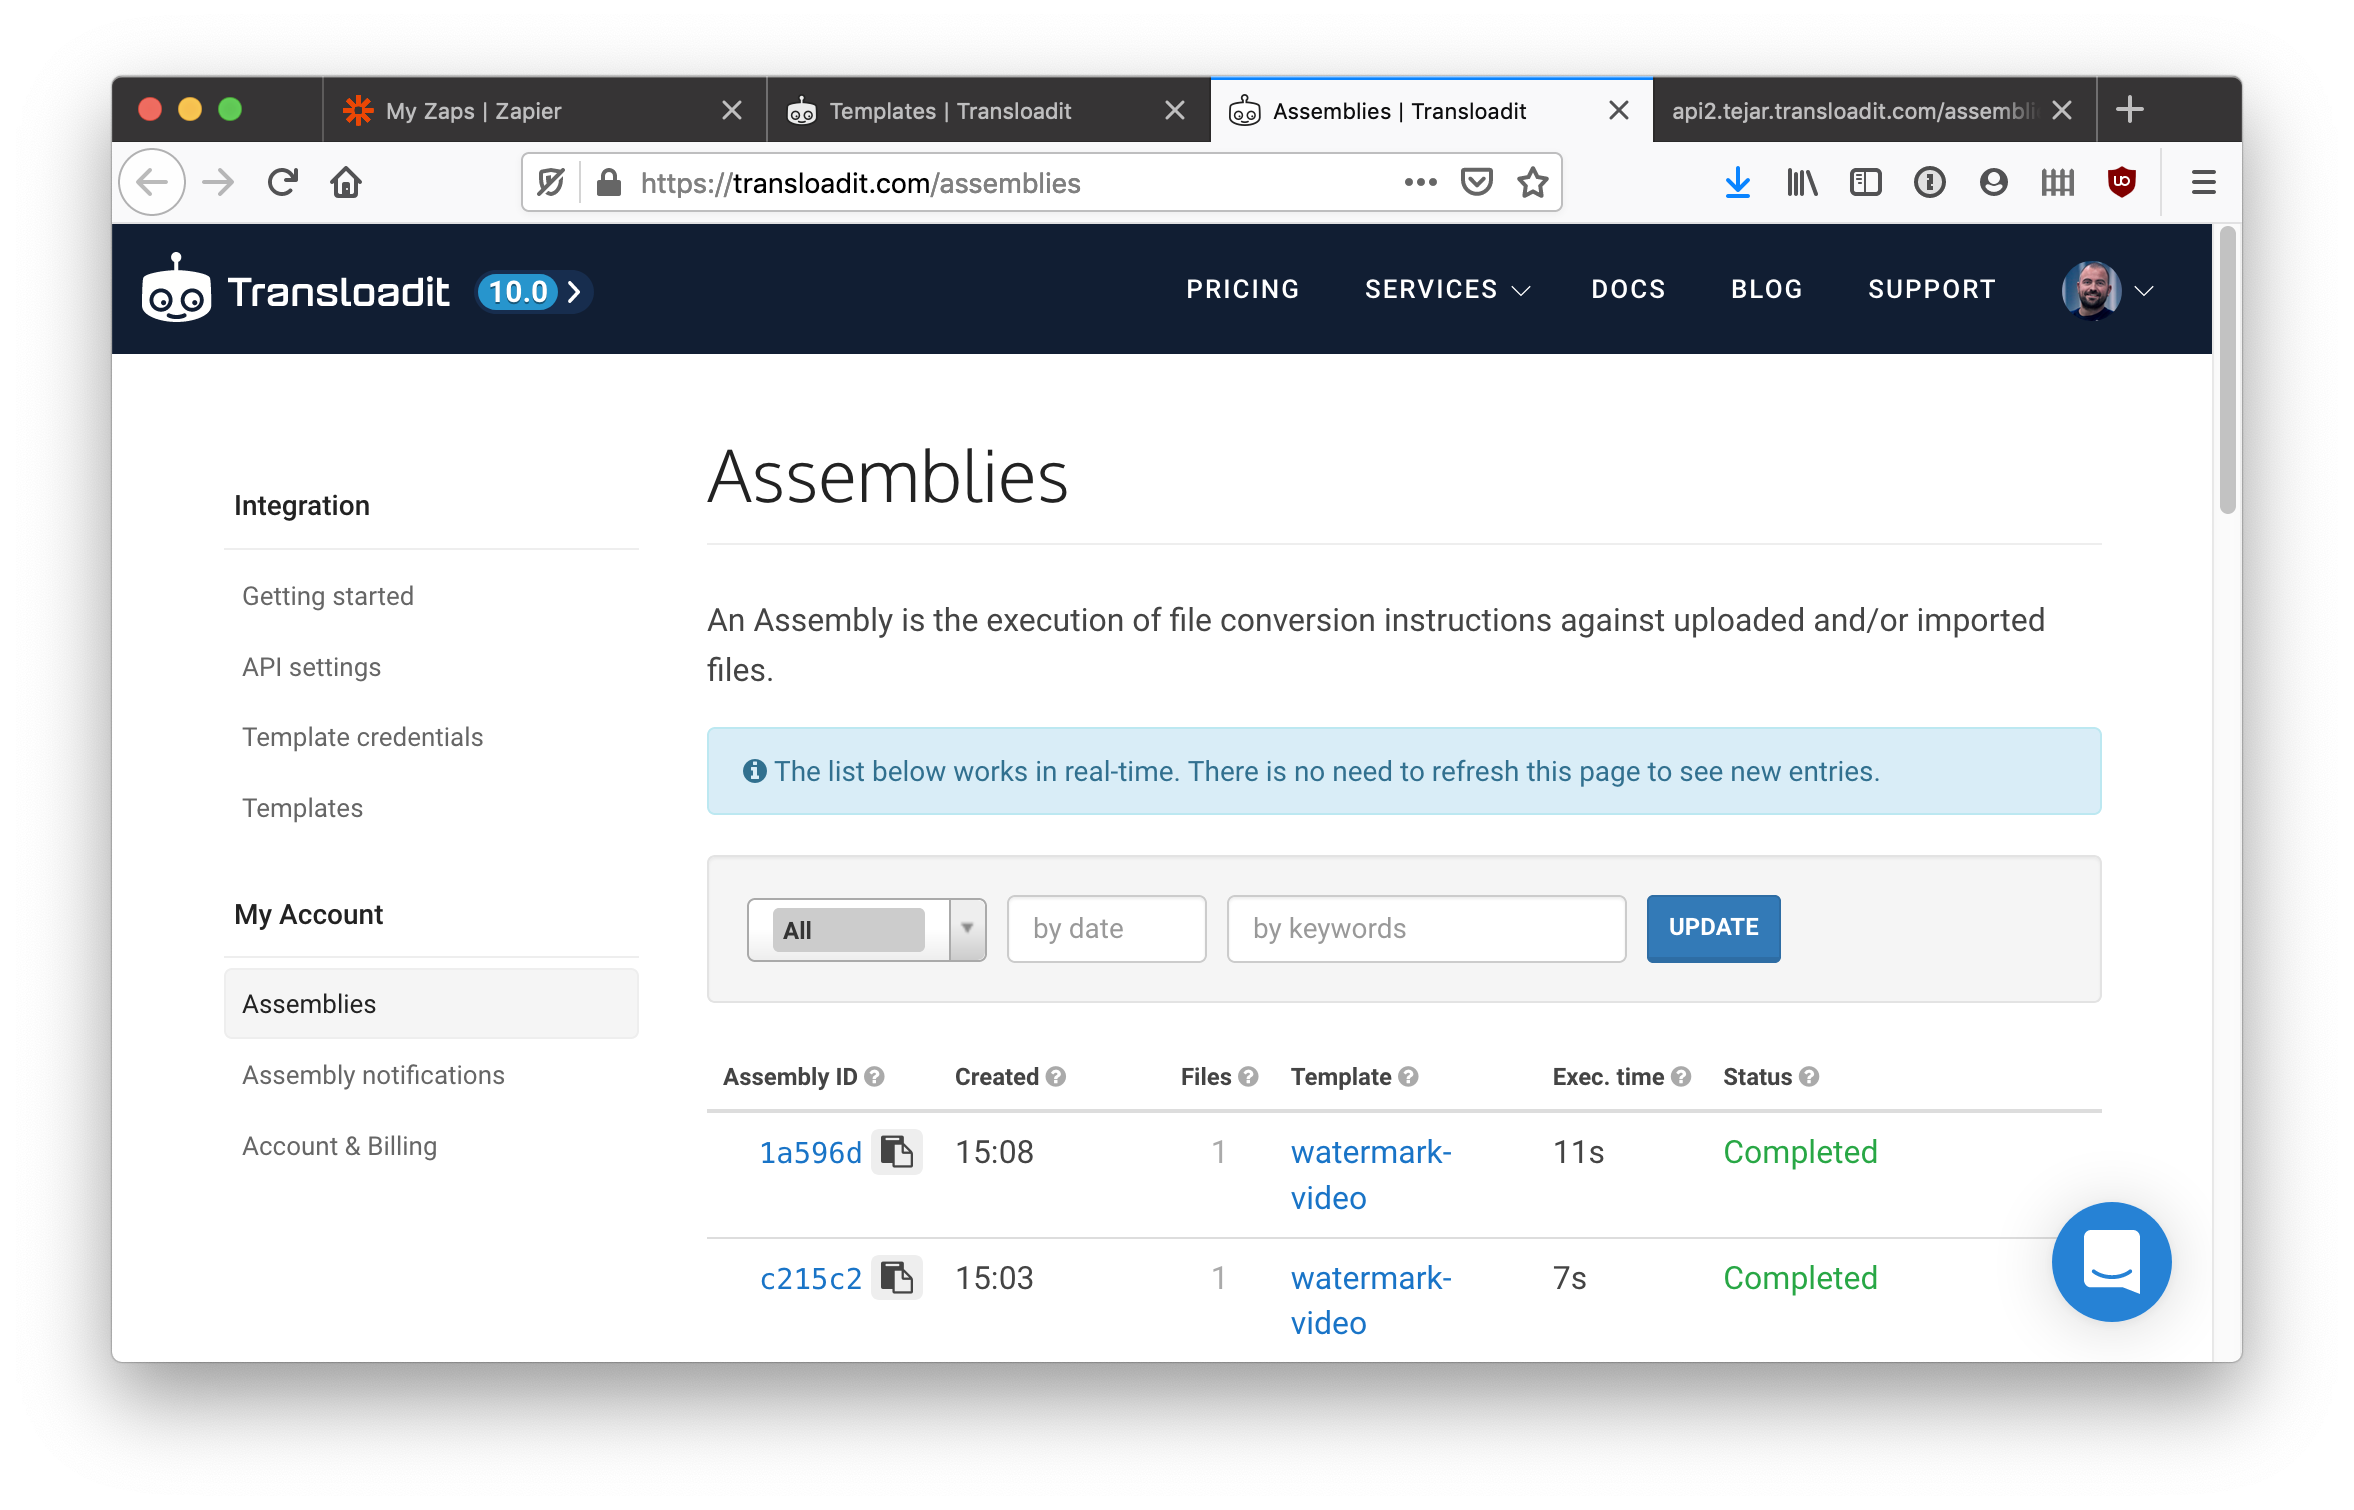
* Check for new jobs/Assemblies coming in at [https://transloadit.com/c/assemblies/](/c/assemblies/):

![The Transloadit Assemblies page with two successful Assemblies](/_next/static/immutable/media/Screenshot_2019-10-29_at_16.15.29.1wzc78qpb0mjp.png)

* Click an Assembly, scroll down to its Results, and Open the watermarked file:
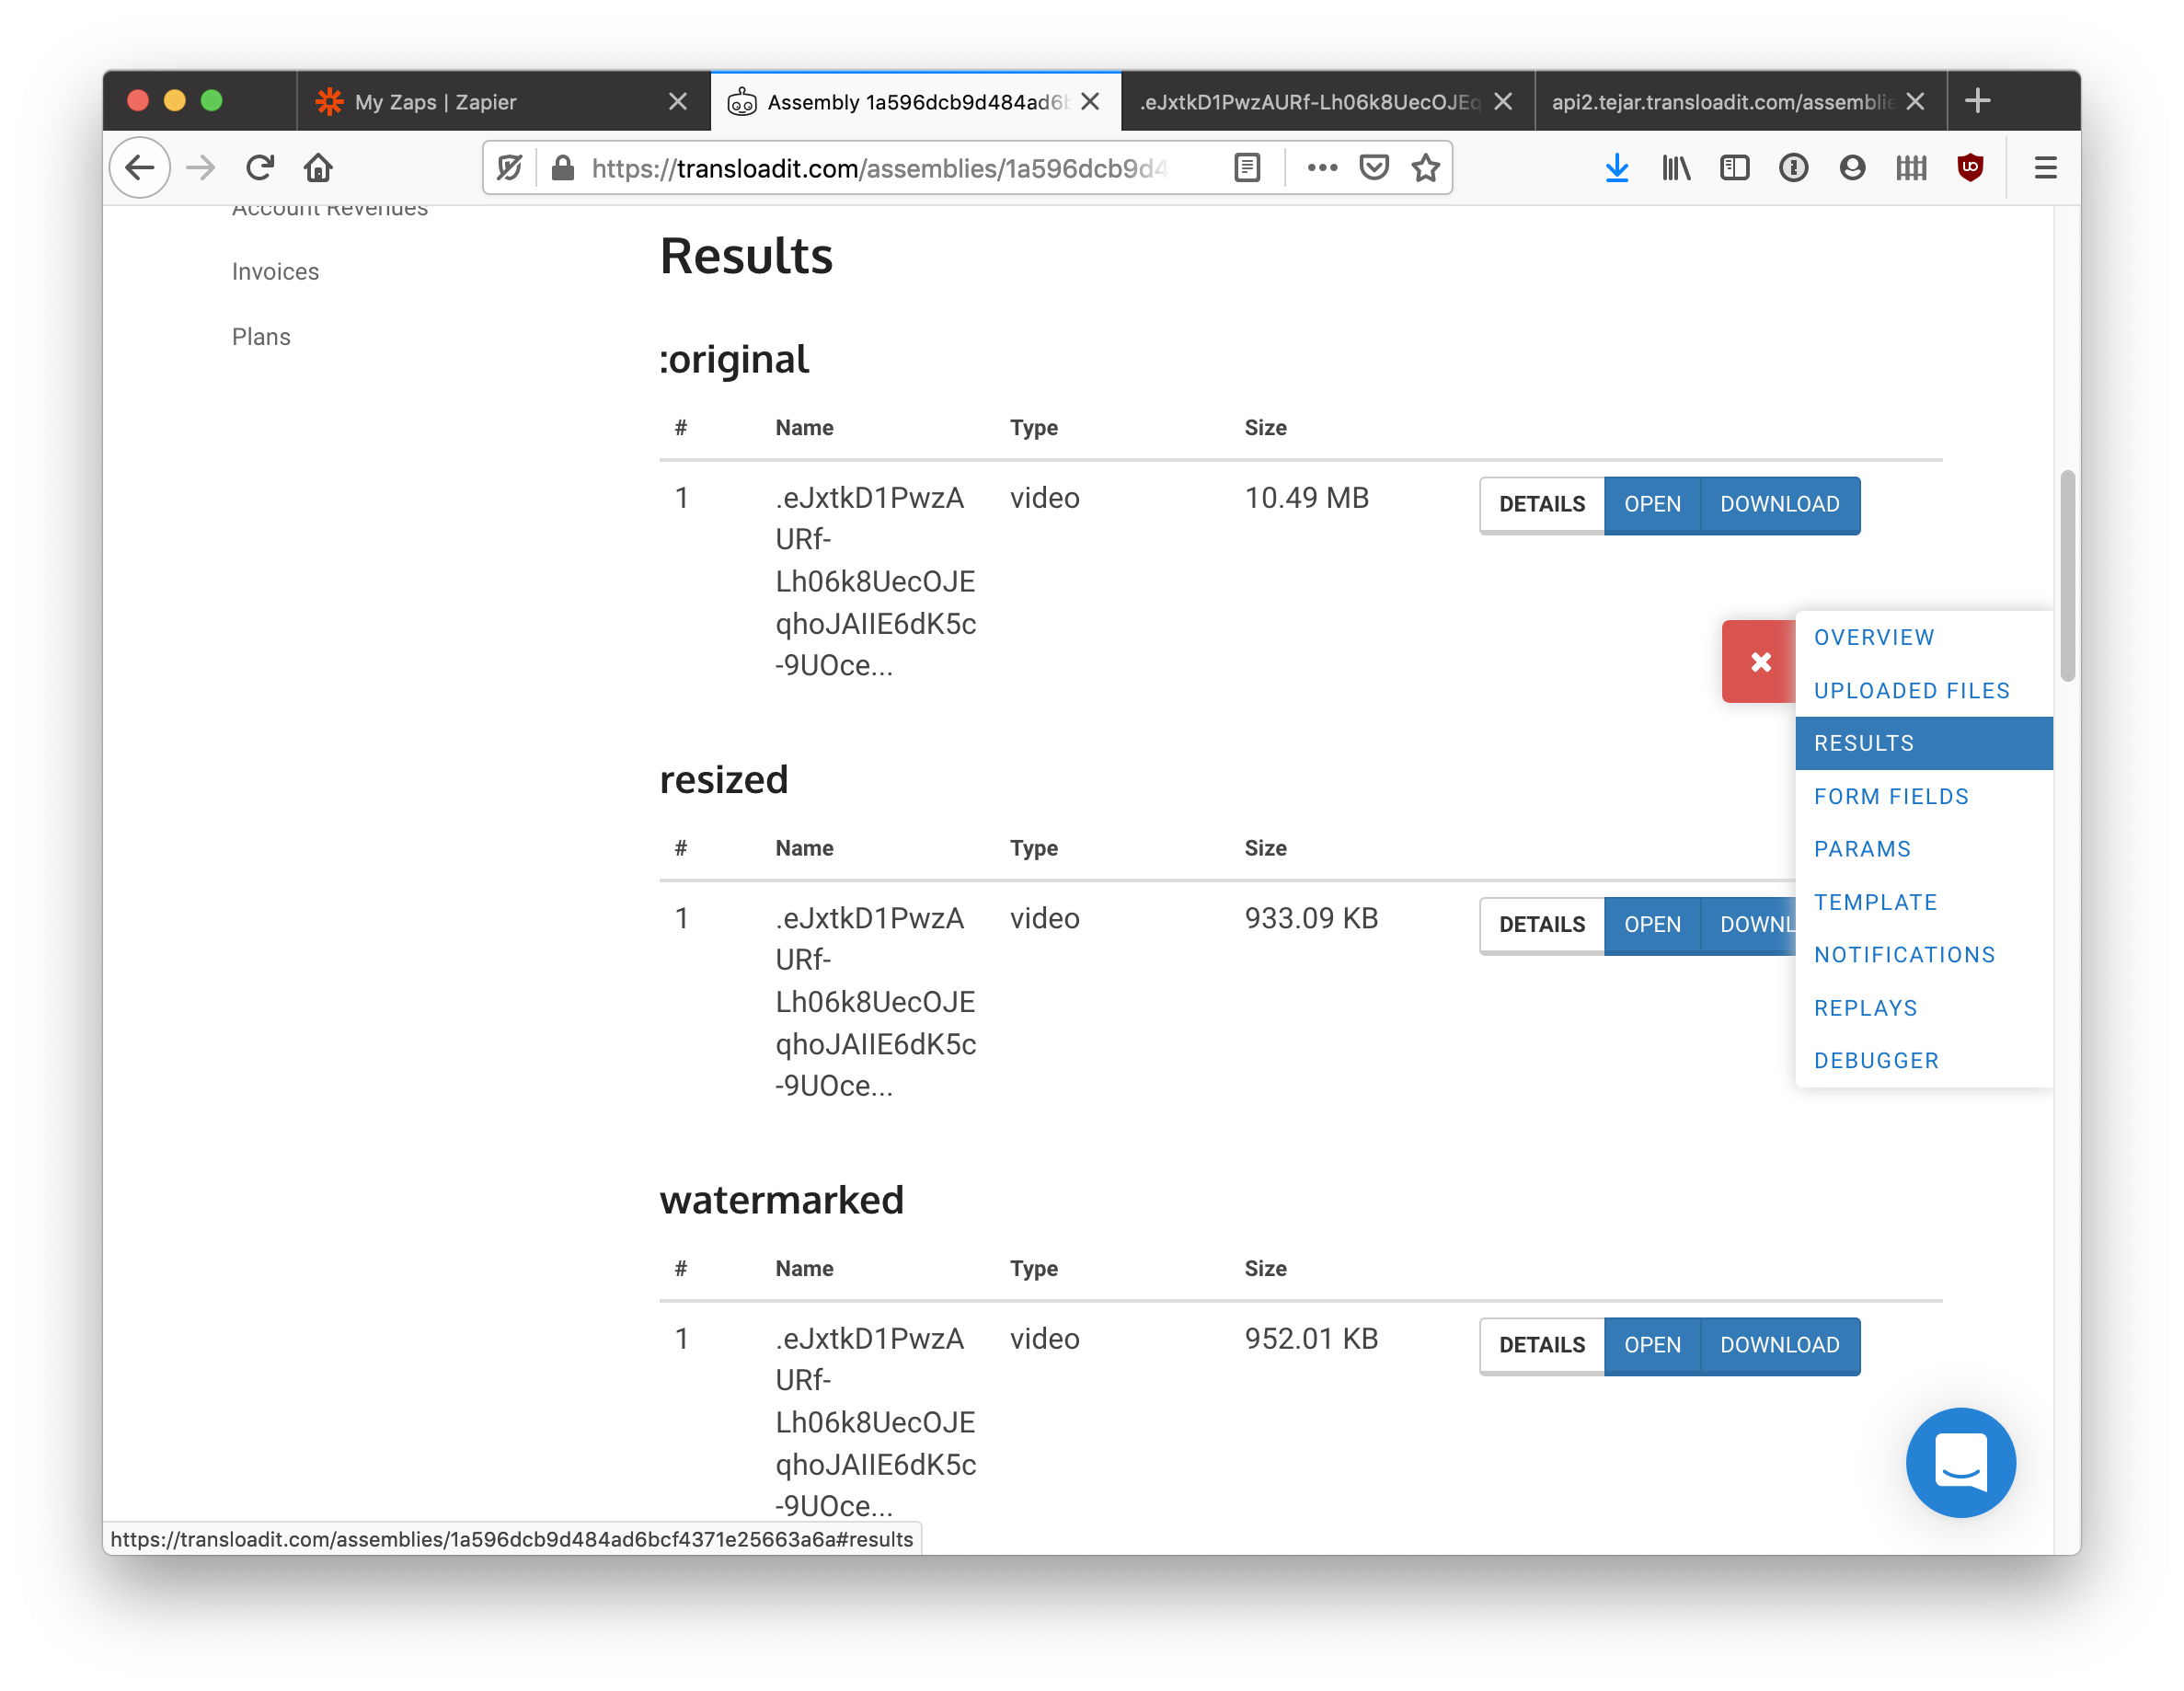
![The results from a single Assembly](/_next/static/immutable/media/Screenshot_2019-10-29_at_16.17.15.3b5r81f26ioun.png)

* You should see the input video, `alligators.avi` in my case, now watermarked with the Transloadit logo:
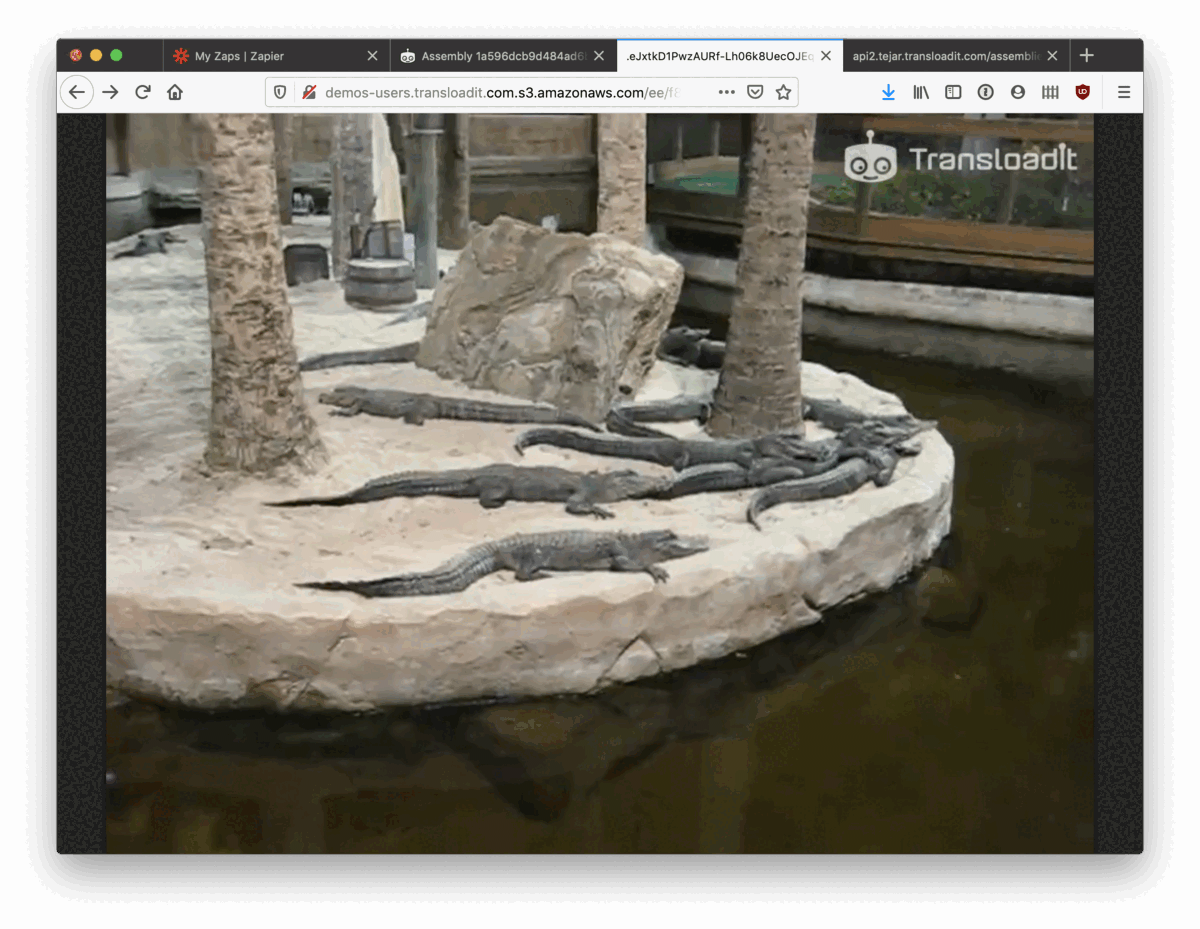
![The video being played in a browser window with a Transloadit logo in the top-right.](/_next/static/immutable/media/Screenshot_2019-10-29_at_16.18.38.3hxfjdw22p6to.png)

Without making any changes to your Zapier integration, you can now make changes to yourTemplate to further customize the encoding pipeline. For instance, what if you want to supply your own logo to burn into the video?

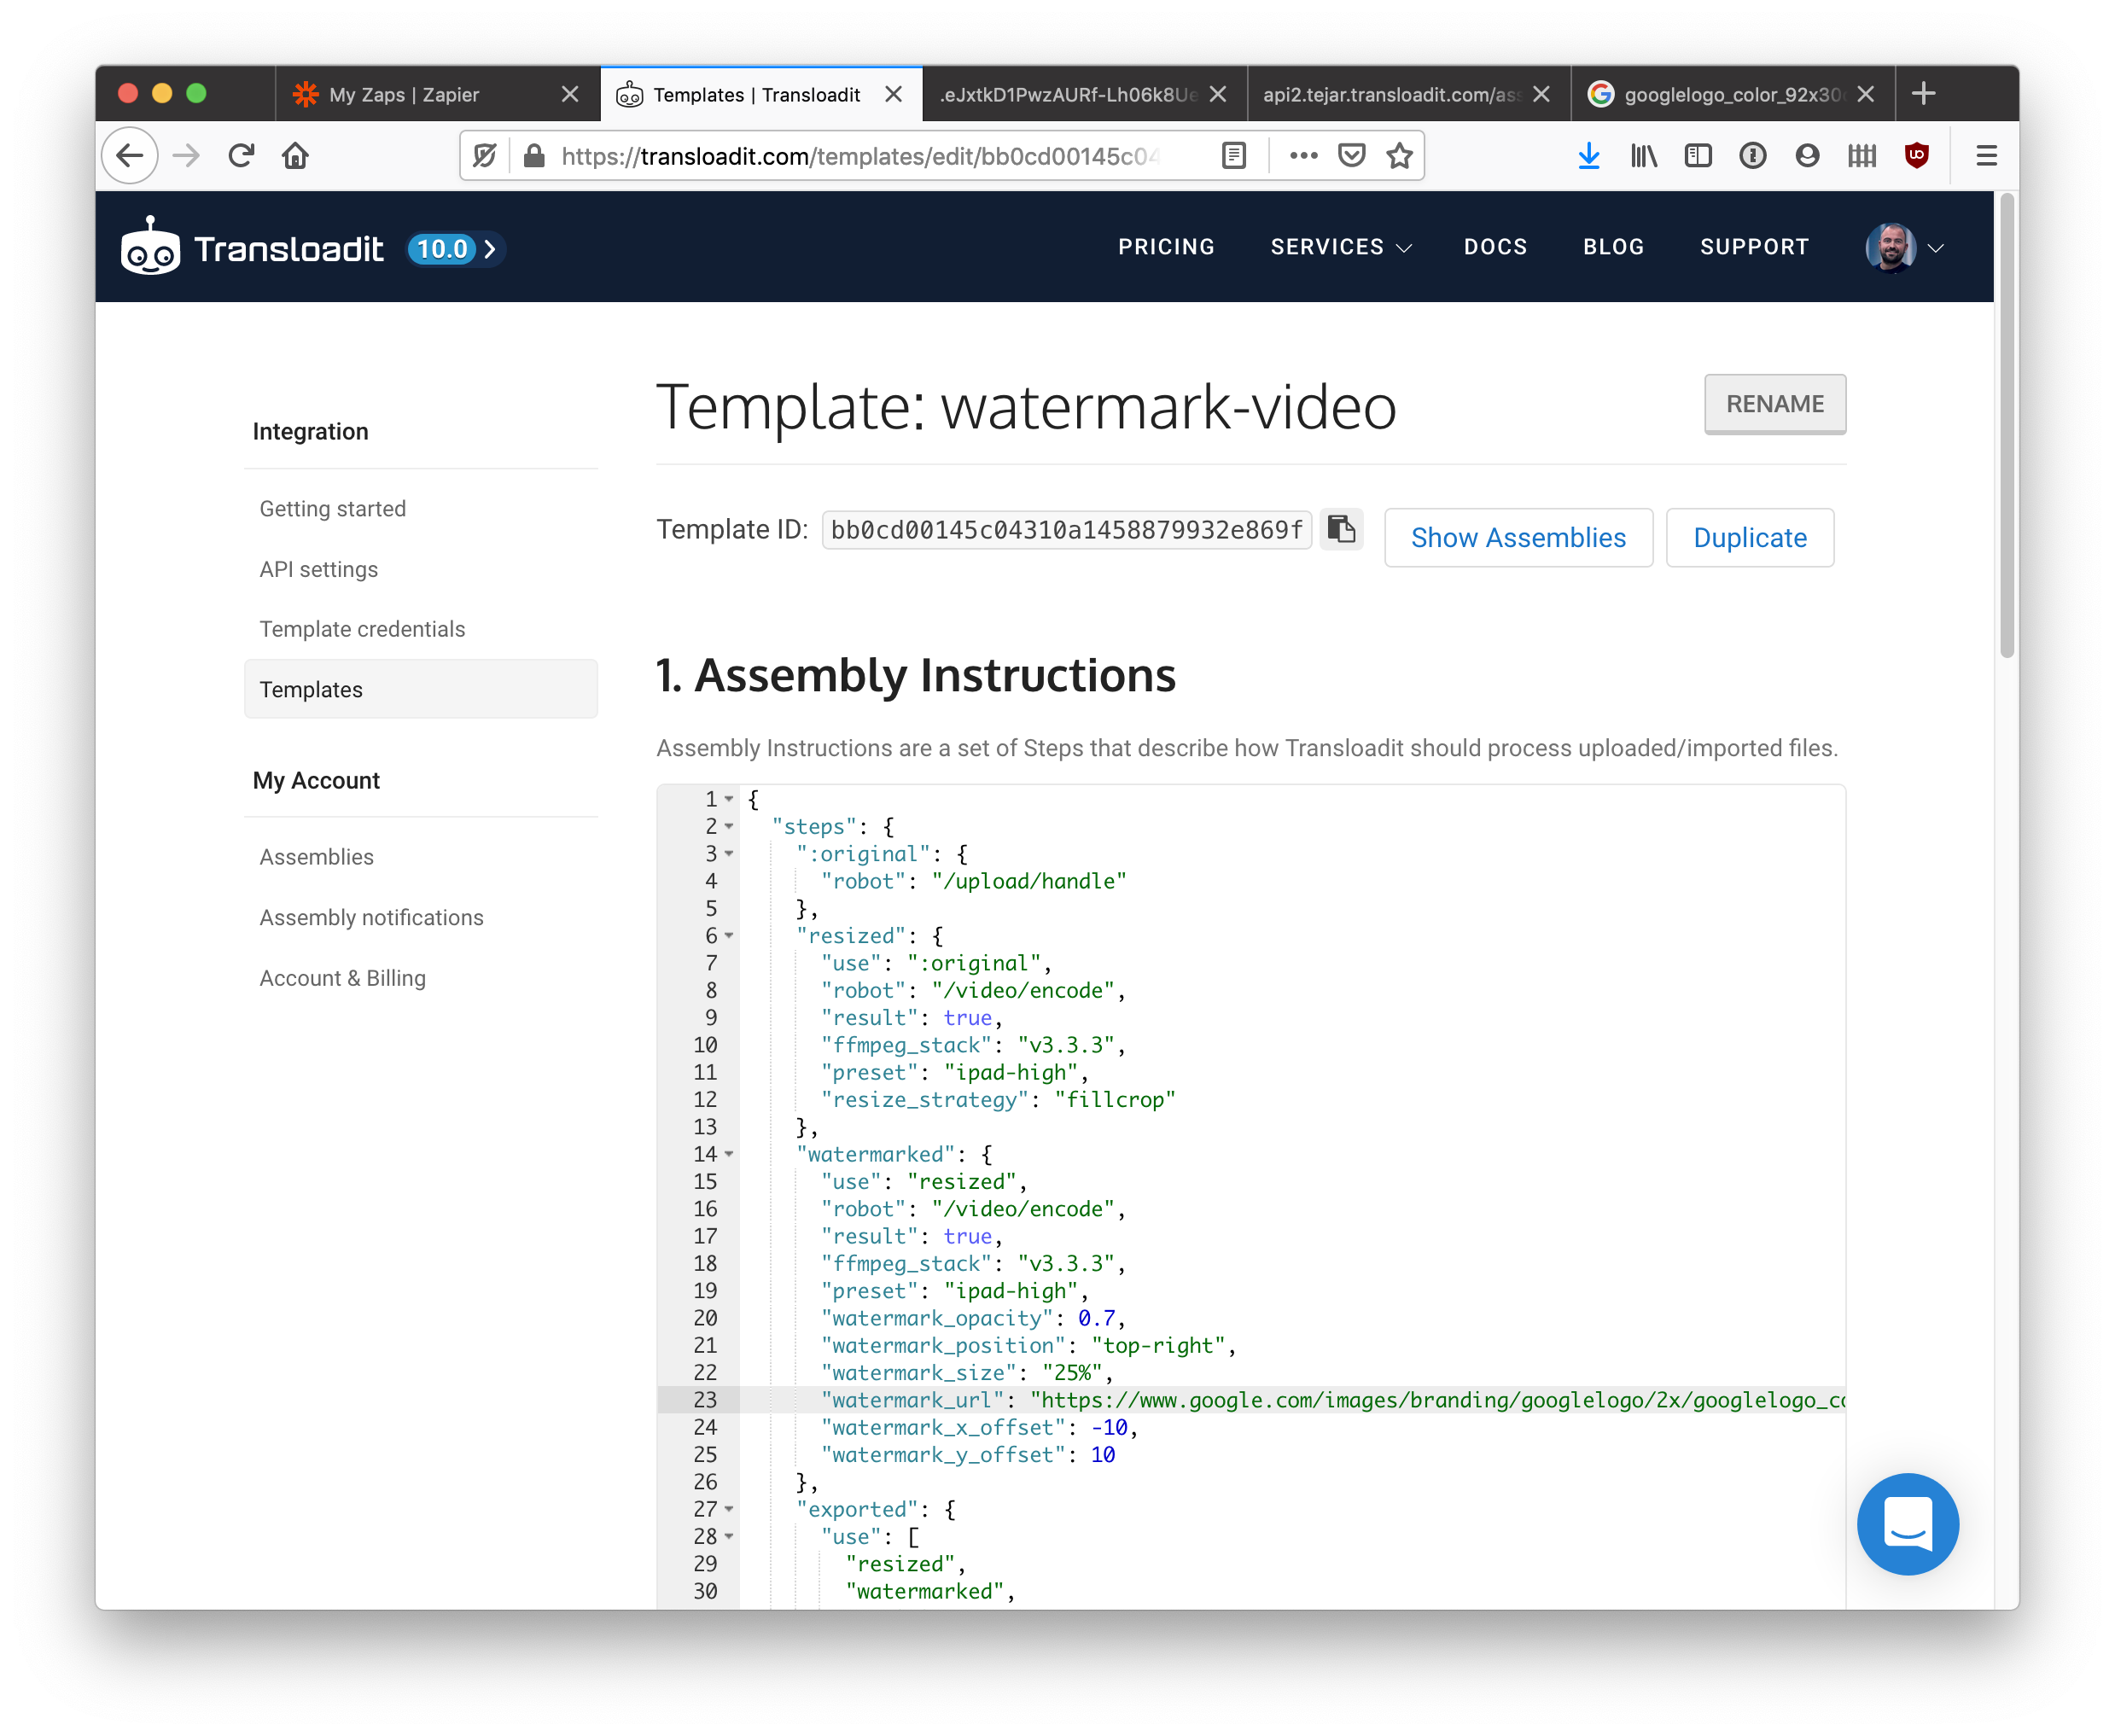
* Go back to the Template Editor, open your `watermark-video` Template and within the Assembly Instructions, change the `watermark_url` parameter in the`watermarked` Step with a URL to your own logo:

![The Template page with the Assembly Instructions at the bottom](/_next/static/immutable/media/Screenshot_2019-10-29_at_16.23.40.2x9qfe_fvujim.png)

Of course, burning logos into videos is just one thing Transloadit can do. We can transform many file types in many different ways. For a complete overview, check [the other Robots](/services.md).

Can’t wait to see what you’ll build with this!

[#integrations](/blog/tags/integrations.md)[#partnerships](/blog/tags/partnerships.md)[#zapier](/blog/tags/zapier.md)[#walkthrough](/blog/tags/walkthrough.md)[#google-drive](/blog/tags/google-drive.md)

### 👩‍💻 Join 20k+ developers

Sign up for our [monthly newsletter](/newsletters.md) to receive direct links to 3 exclusive tech — and 2 product updates. No less, no more.

Your email:

Get access

## File uploading and encoding. Made simple.

Transloadit streamlines file handling for developers, trusted by brands like Coursera and The New York Times. We’re known for a reliable API, top-notch support, and a strong commitment to open source, with projects like [Uppy⁠](https://uppy.io) and [Tus⁠](https://tus.io) setting standards in file processing.

[Sign up](/c/)[Book a Demo](https://survey.typeform.com/to/kRg47Xi5)

No credit card needed · 5 GB included in the free plan

Cancel anytime