
Bypassing Zapier's single field limit for Transloadit

Recently, a customer asked how many fields can be passed using our Zapier integration. Currently, we allow only one field to be passed to an Assembly, which may be restrictive in some cases. However, we investigated how to bypass this restriction, and we'll be sharing our solution today.
To follow along, you'll need:
- A Dropbox Storage
- A Zapier Account
- A Transloadit Account
For this guide, we will be using Dropbox Storage to import and export files. However, we offer a plethora of other exporting options you could use instead.
Dropbox
Before we get started, please ensure you have a Dropbox account set up, then click here to set up your Dropbox app.
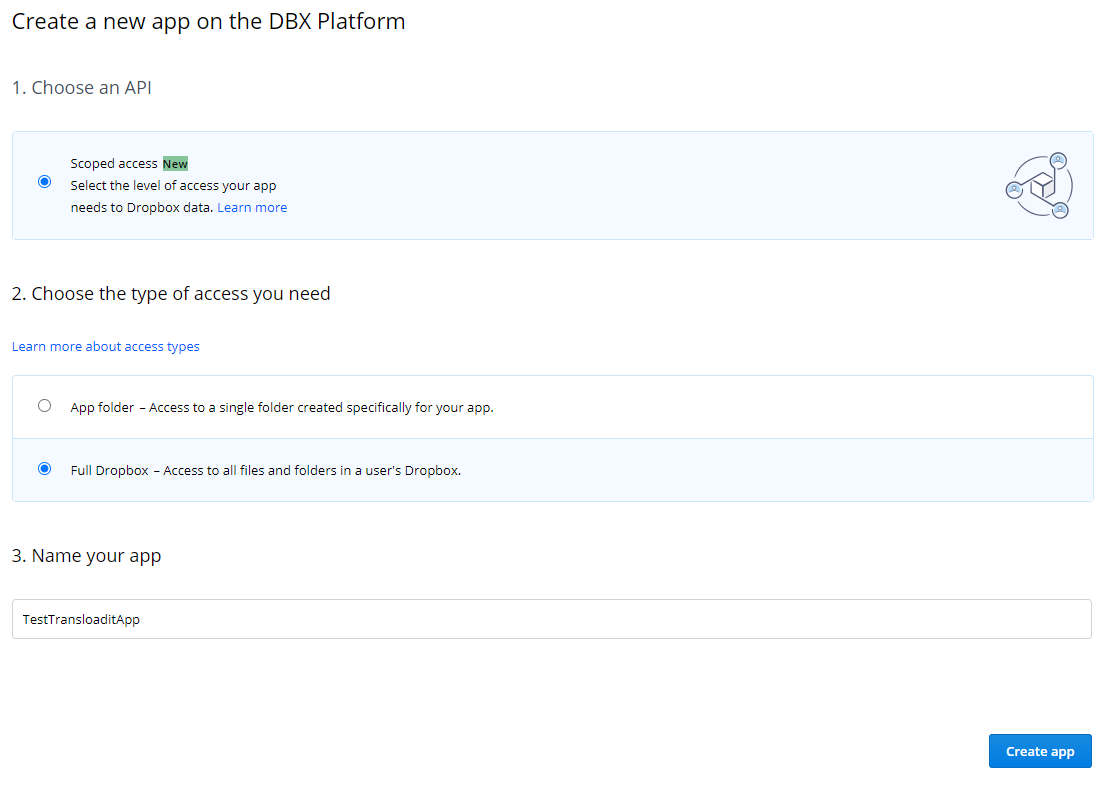
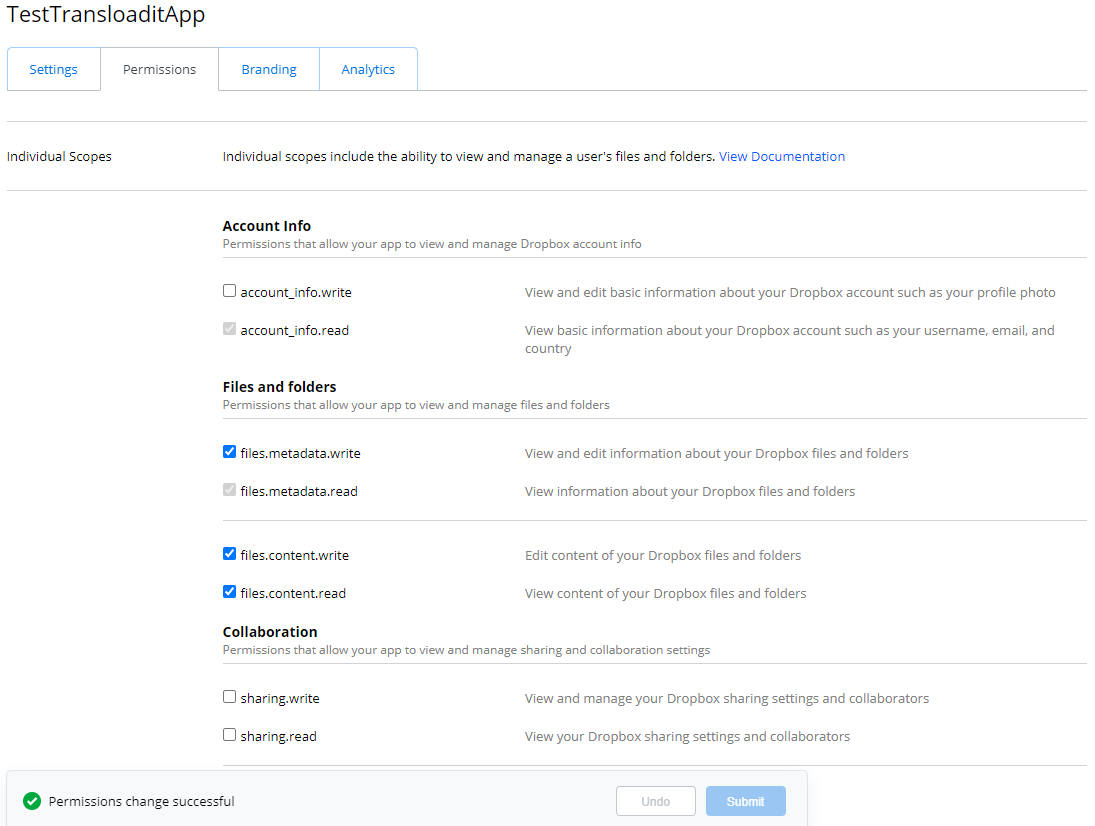
The screenshots show the 2021 Dropbox and Zapier interfaces. In Dropbox, choose Scoped access and grant access only to the files your workflow needs. The illustrated Full Dropbox option is broad; prefer App folder when all inputs and outputs can live there. Create the app and enable only the required read/write scopes in its permissions settings.
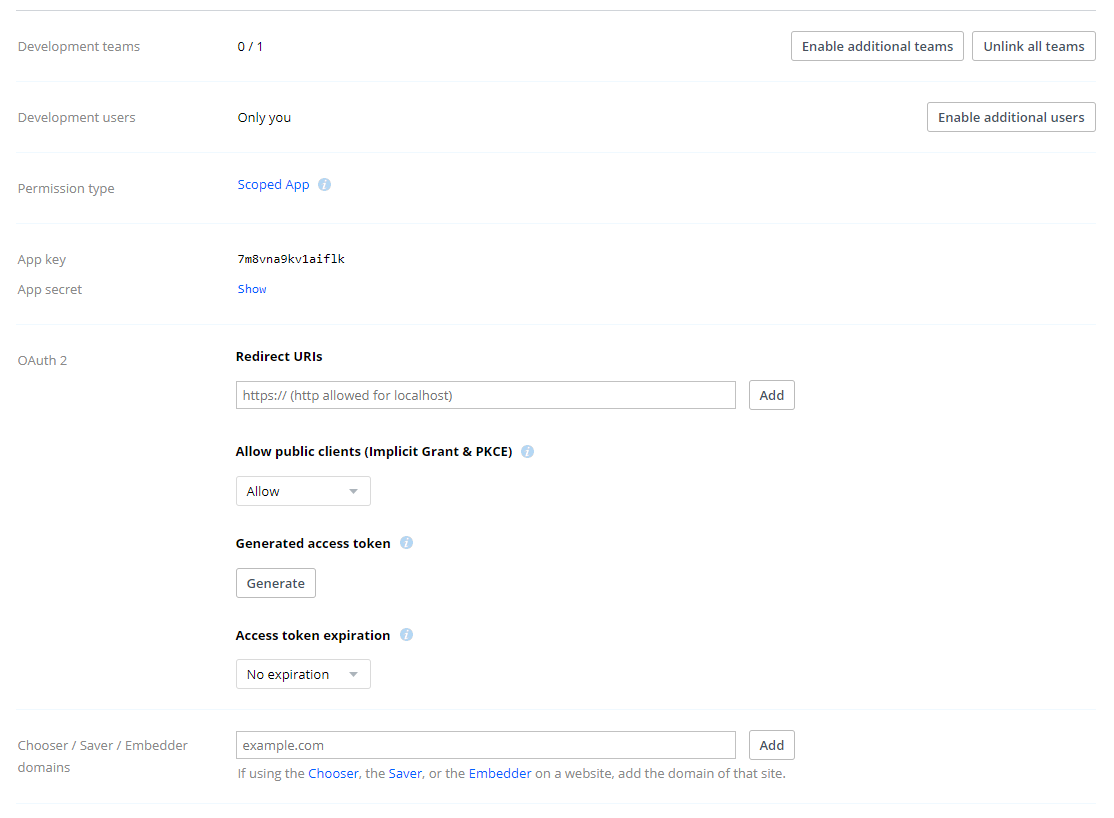
Go over to Settings, and in the OAuth 2 section, generate your access token and note down the given value. A generated token is suitable for a short test, not a permanent unattended integration. For an ongoing Zap, configure an OAuth connection with refresh-token support before enabling it. See the Dropbox OAuth guide; never publish tokens in code or screenshots.
In Dropbox, we have created a folder called importFolder. When new files are uploaded to this
folder, Zapier automatically detects the new file and passes the file onto Transloadit for
processing.
We have also created a folder for our Assembly results, named exportFolder.
With App folder access, create both folders inside your app's
Dropbox folder, for example /Apps/MyApp/importFolder and /Apps/MyApp/exportFolder. The Dropbox
API treats that app folder as its root, so Transloadit needs /importFolder/image.jpg, not
/Apps/MyApp/importFolder/image.jpg. The Zapier section below converts the trigger's account path.
With Full Dropbox access, both folders can be at your account
root and no conversion is needed. See Dropbox's API root guidance.
Transloadit
On the Transloadit side, we first need to set up our Template Credentials.
The Console screenshots below show the English interface.
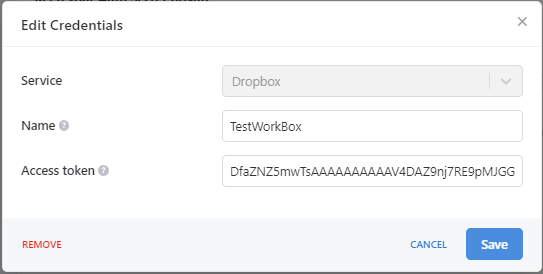
Go to your Template Credentials. Click Add new Credential,
select Dropbox and enter the required information. The name we opted to go with was
TestWorkBox.
Now we can create our Template. This Template handles importing an image from our Dropbox, resizes said image, then exports our Assembly's result.
Copy and save the JSON code below as a new Template, making sure to jot down your Template ID.
{
  "steps": {
    "imported": {
      "robot": "/dropbox/import",
      "path": "${fields.dropbox_file_path}",
      "credentials": "TestWorkBox",
      "result": true
    },
    "images": {
      "use": "imported",
      "robot": "/image/resize",
      "format": "png",
      "width": 500,
      "height": 500,
      "resize_strategy": "fit",
      "imagemagick_stack": "v3.0.1"
    },
    "exported": {
      "use": ["images"],
      "robot": "/dropbox/store",
      "credentials": "TestWorkBox",
      "path": "exportFolder/resized_${fields.file_name}.${file.ext}"
    }
  }
}
In the Template above, our credentials parameter is passed the previously set up Dropbox
Credential name, TestWorkBox. In the imported and exported Steps, we use the
Assembly Variables
${fields.dropbox_file_path} and ${fields.file_name} in the path Parameter. These are the two fields
we'll be manipulating using Zapier.
At Zapier
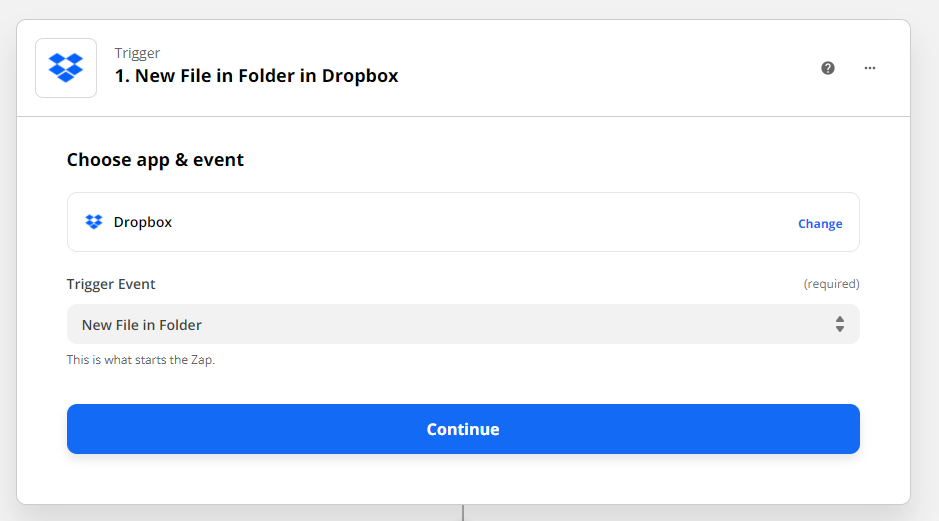
Now we will finally look at Zapier and how we overcame the single-field limitation. Create a new Zap with its Trigger being Dropbox and the Trigger Event being New File in Folder.
Click Continue then choose your Dropbox Account.
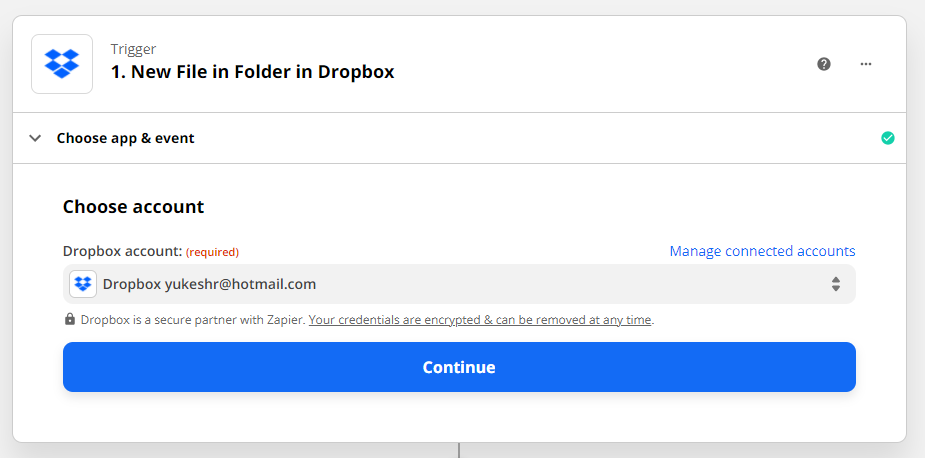
Now, we specify the folder our import Step will take our files from. This value needs to
match our previously created folder, importFolder. For app-folder access, select the folder
inside the app's Dropbox folder, such as /Apps/MyApp/importFolder.
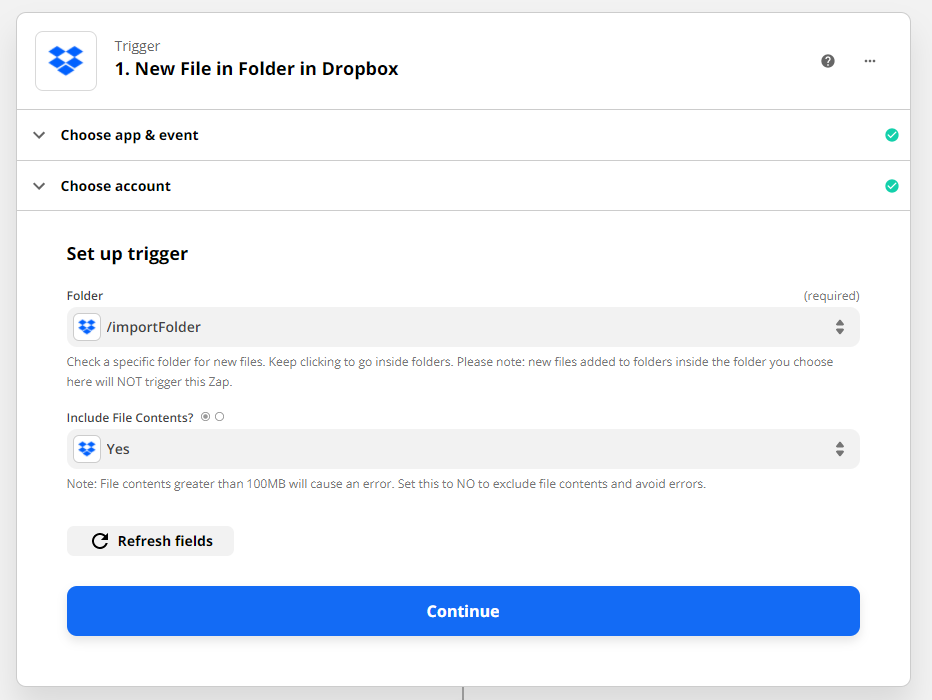
Click Continue, then Test Trigger. If all is well, after a few seconds, you should see the metadata of a random file from your specified folder display, signifying that your Dropbox has been successfully linked. Before we click Continue, let's set up the multiple fields that we pass from Zapier to Transloadit.
For app-folder access, first add a Code by Zapier action using
JavaScript. In Input Data, map
file_path to the Dropbox trigger's file path, not its file ID or download URL. Set app_folder
to the app-folder prefix copied exactly from that path, including its capitalization but no
trailing slash, such as /Apps/MyApp. Use this code:
const path = inputData.file_path
const appFolder = inputData.app_folder

if (
  typeof path !== 'string' ||
  typeof appFolder !== 'string' ||
  !appFolder.startsWith('/') ||
  appFolder.endsWith('/') ||
  !path.startsWith(`${appFolder}/`)
) {
  throw new Error('Select a file inside the configured Dropbox app folder.')
}

return { dropbox_file_path: path.slice(appFolder.length) }
Test the Code action: /Apps/MyApp/importFolder/image.jpg should produce
dropbox_file_path with /importFolder/image.jpg. If the trigger already returns an app-relative
path, skip this conversion. For full-account access, also skip it and use the original trigger path.
See Zapier's JavaScript guide
for the current Code editor.
Next, click + and select Format with the event set to Utilities.
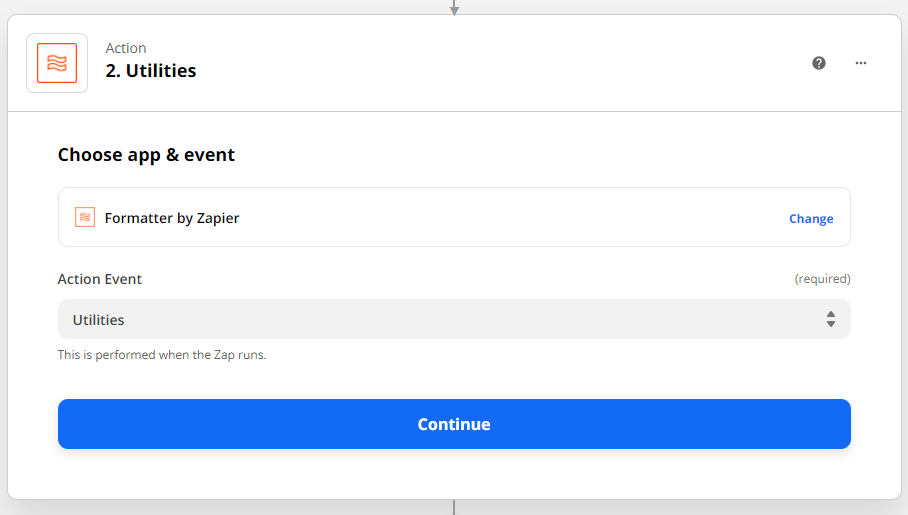
Click Continue, and in the Transform field, select Line Itemizer (Create/Append/Prepend). In the Line-Item Properties section, we'll add the field names we defined in our Template, as well as the values we want to pass in. Make sure there is no space after the comma when entering the field names. Zapier will assume the space is part of the field name. Furthermore, while picking field values, make sure to select them in the order of the field names.
Map dropbox_file_path to the normalized Code output when that step is needed, otherwise to the
original Dropbox trigger path. Map file_name to the trigger's file name. The export path in our
Template is already relative to the credential's root, so keep it unchanged.
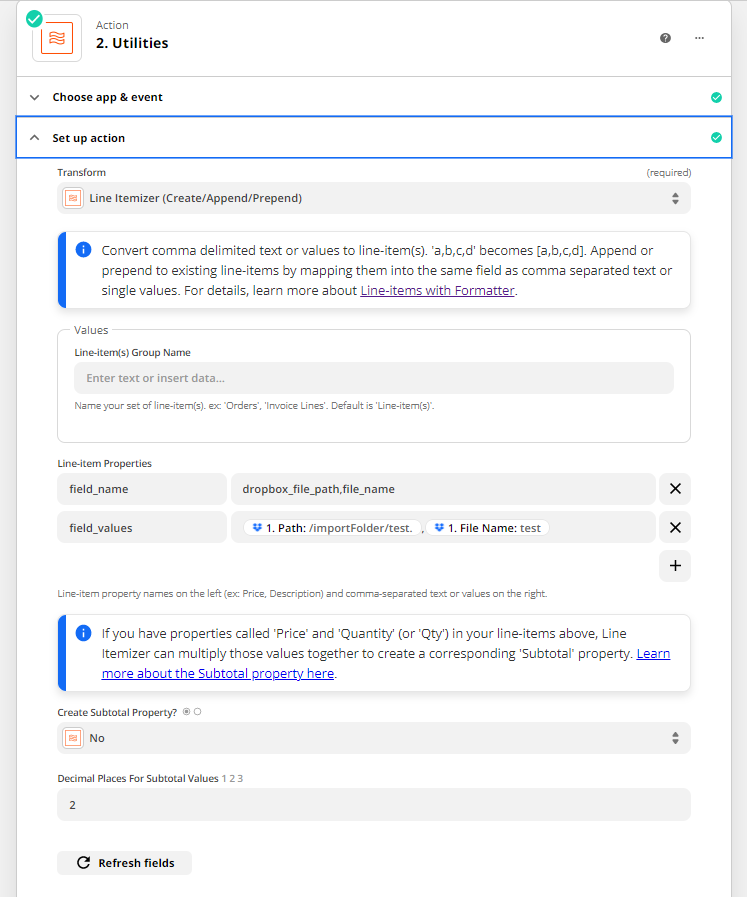
Click Continue then Test & Review, and you will see the field name with the corresponding field value. One more time, click Continue so that we can now set up the action.
For our Action App, we will be selecting Transloadit with the Action Event, Create Assembly.
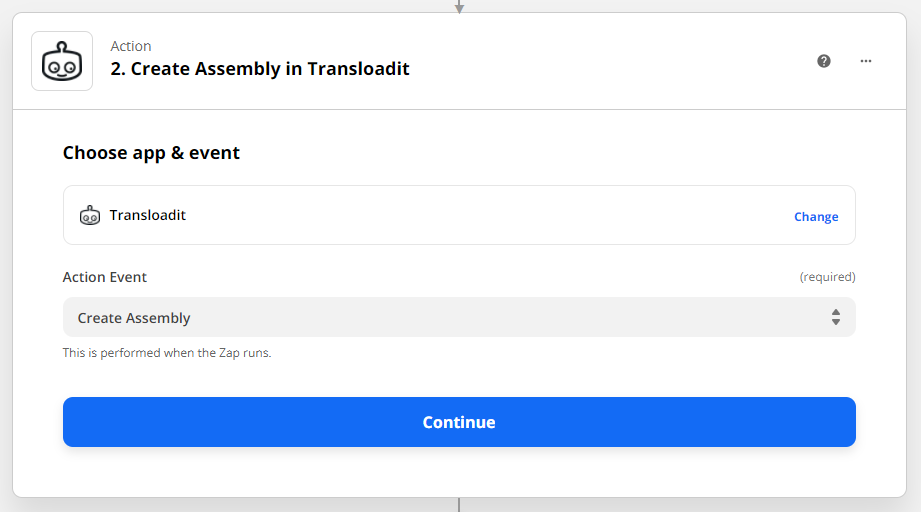
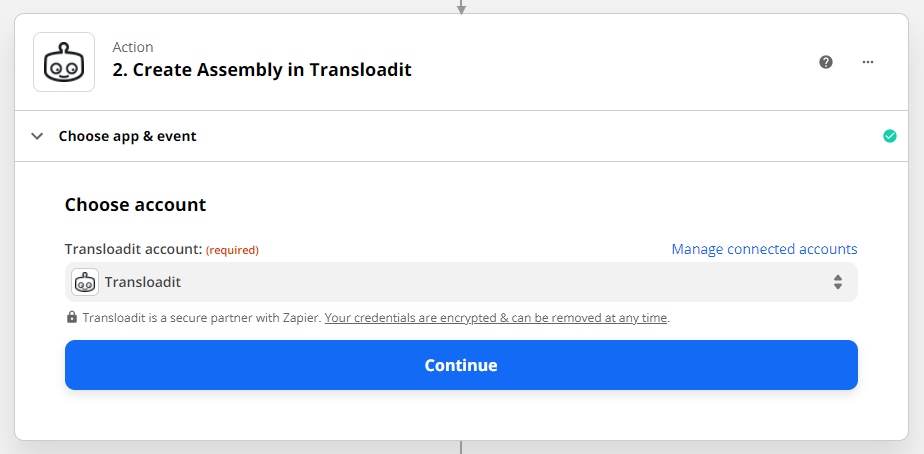
Click Continue like before and link your Transloadit Account.
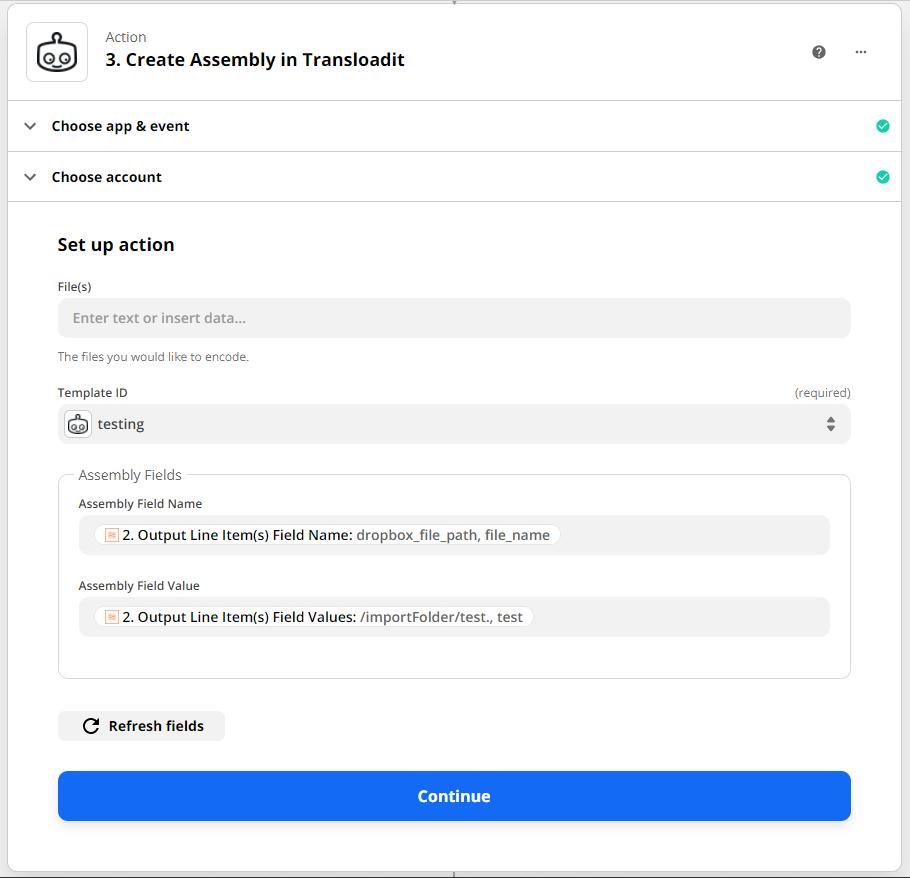
Now we can put the various fields we created earlier into action. Enter your saved Template ID in the Template field. For Assembly Field Name, select Output Line Item(s) Field Name from the formatter. For Assembly Field Value, select Output Line Item(s) Field Value. The Template ID does not belong in either Assembly field input.
One last time, click Continue and Test & Review. This will create a new Assembly and display the accompanying Assembly data on your screen.
Now that we have finalized creating our Zap, we can run it. Whenever a new file is uploaded to our
importFolder folder, within a few minutes, the Zap will be triggered, causing an
Assembly to be created.
Results
Once the Zap has been triggered, visit the Assemblies section in your console to view the results.

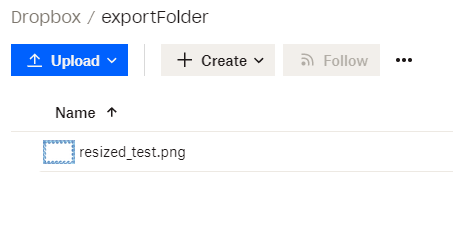
If you would like to see an example of this being implemented, have a look at my colleague, Joseph's blog. His blog demonstrates how you can use the multiple fields to automatically generate music previews from Spotify. That's all for today now! By following these simple steps, your Zaps should work smoothly and in the same way as they were before you knew about overcoming the single field limitation.