Tutorial: loop audio clips with Transloadit & Uppy

Recently, I've been wondering which of our Robots deserves some more attention. One of our true unsung heroes, a reliable workhorse that tends to be neglected, is the /audio/loop Robot.
Today, we are shining a spotlight on the /audio/loop Robot by building a website that loops an audio clip for a specified duration. To help with this, we'll also be leveraging the mighty file-uploading tool Uppy.

Our Assembly Instructions
Before we get into the nitty-gritty of making the website, let's go through the Assembly Instructions that we will use to loop our audio.
{
  "steps": {
    "encode": {
      "robot": "/audio/encode",
      "use": ":original"
    },
    "loop": {
      "robot": "/audio/loop",
      "use": "encode",
      "duration": 60
    },
    "export": {
      "robot": "/s3/store",
      "use": "loop",
      "credentials": "S3_CREDENTIALS",
      "result": true
    }
  }
}
We first encode the audio file to standardize our output file to MP3. Next, we pass this resultant
file to the /audio/loop Robot. When we send the
Assembly Instructions, we will change the duration parameter to the value
that the user set, but it will be set to 60 by default. Finally, let's store the result in an S3
bucket so we can present this file to the user. If you prefer, you can also use one of the other
export services that we integrate with.
The HTML scaffolding
Now that we have our Assembly Instructions, let's get started on the scaffolding. We will start by adding a little HTML for our website.
<!doctype html>
<html lang="en">
  <head>
    <meta charset="UTF-8" />
    <meta name="viewport" content="width=device-width, initial-scale=1.0" />
    <link href="https://releases.transloadit.com/uppy/v3.3.1/uppy.min.css" rel="stylesheet" />
    <title>Audio Looper</title>
  </head>
  <body>
    <div class="banner">
      <a href="https://uppy.io/"
        ><img src="../../../../../../_assets/images/artwork/logos-uppy-default-glyph.svg"
      /></a>
      <span id="cross">x</span>
      <a href="https://transloadit.com/"
        ><img src="../../../../../../_assets/images/artwork/logos-transloadit-default-glyph.svg"
      /></a>
    </div>
    <h1 class="title">Audio Looper</h1>
    <div class="input-container">
      <label for="duration">Duration:</label>
      <input type="number" id="duration" name="duration" max="300" />
    </div>
    <div id="dashboard"></div>
    <p class="label">Only accepts audio</p>
    <div class="result-container">
      <audio id="player" controls>
        <source id="result" type="audio/mp3" />
        Your browser does not support the audio element.
      </audio>
    </div>
  </body>
</html>
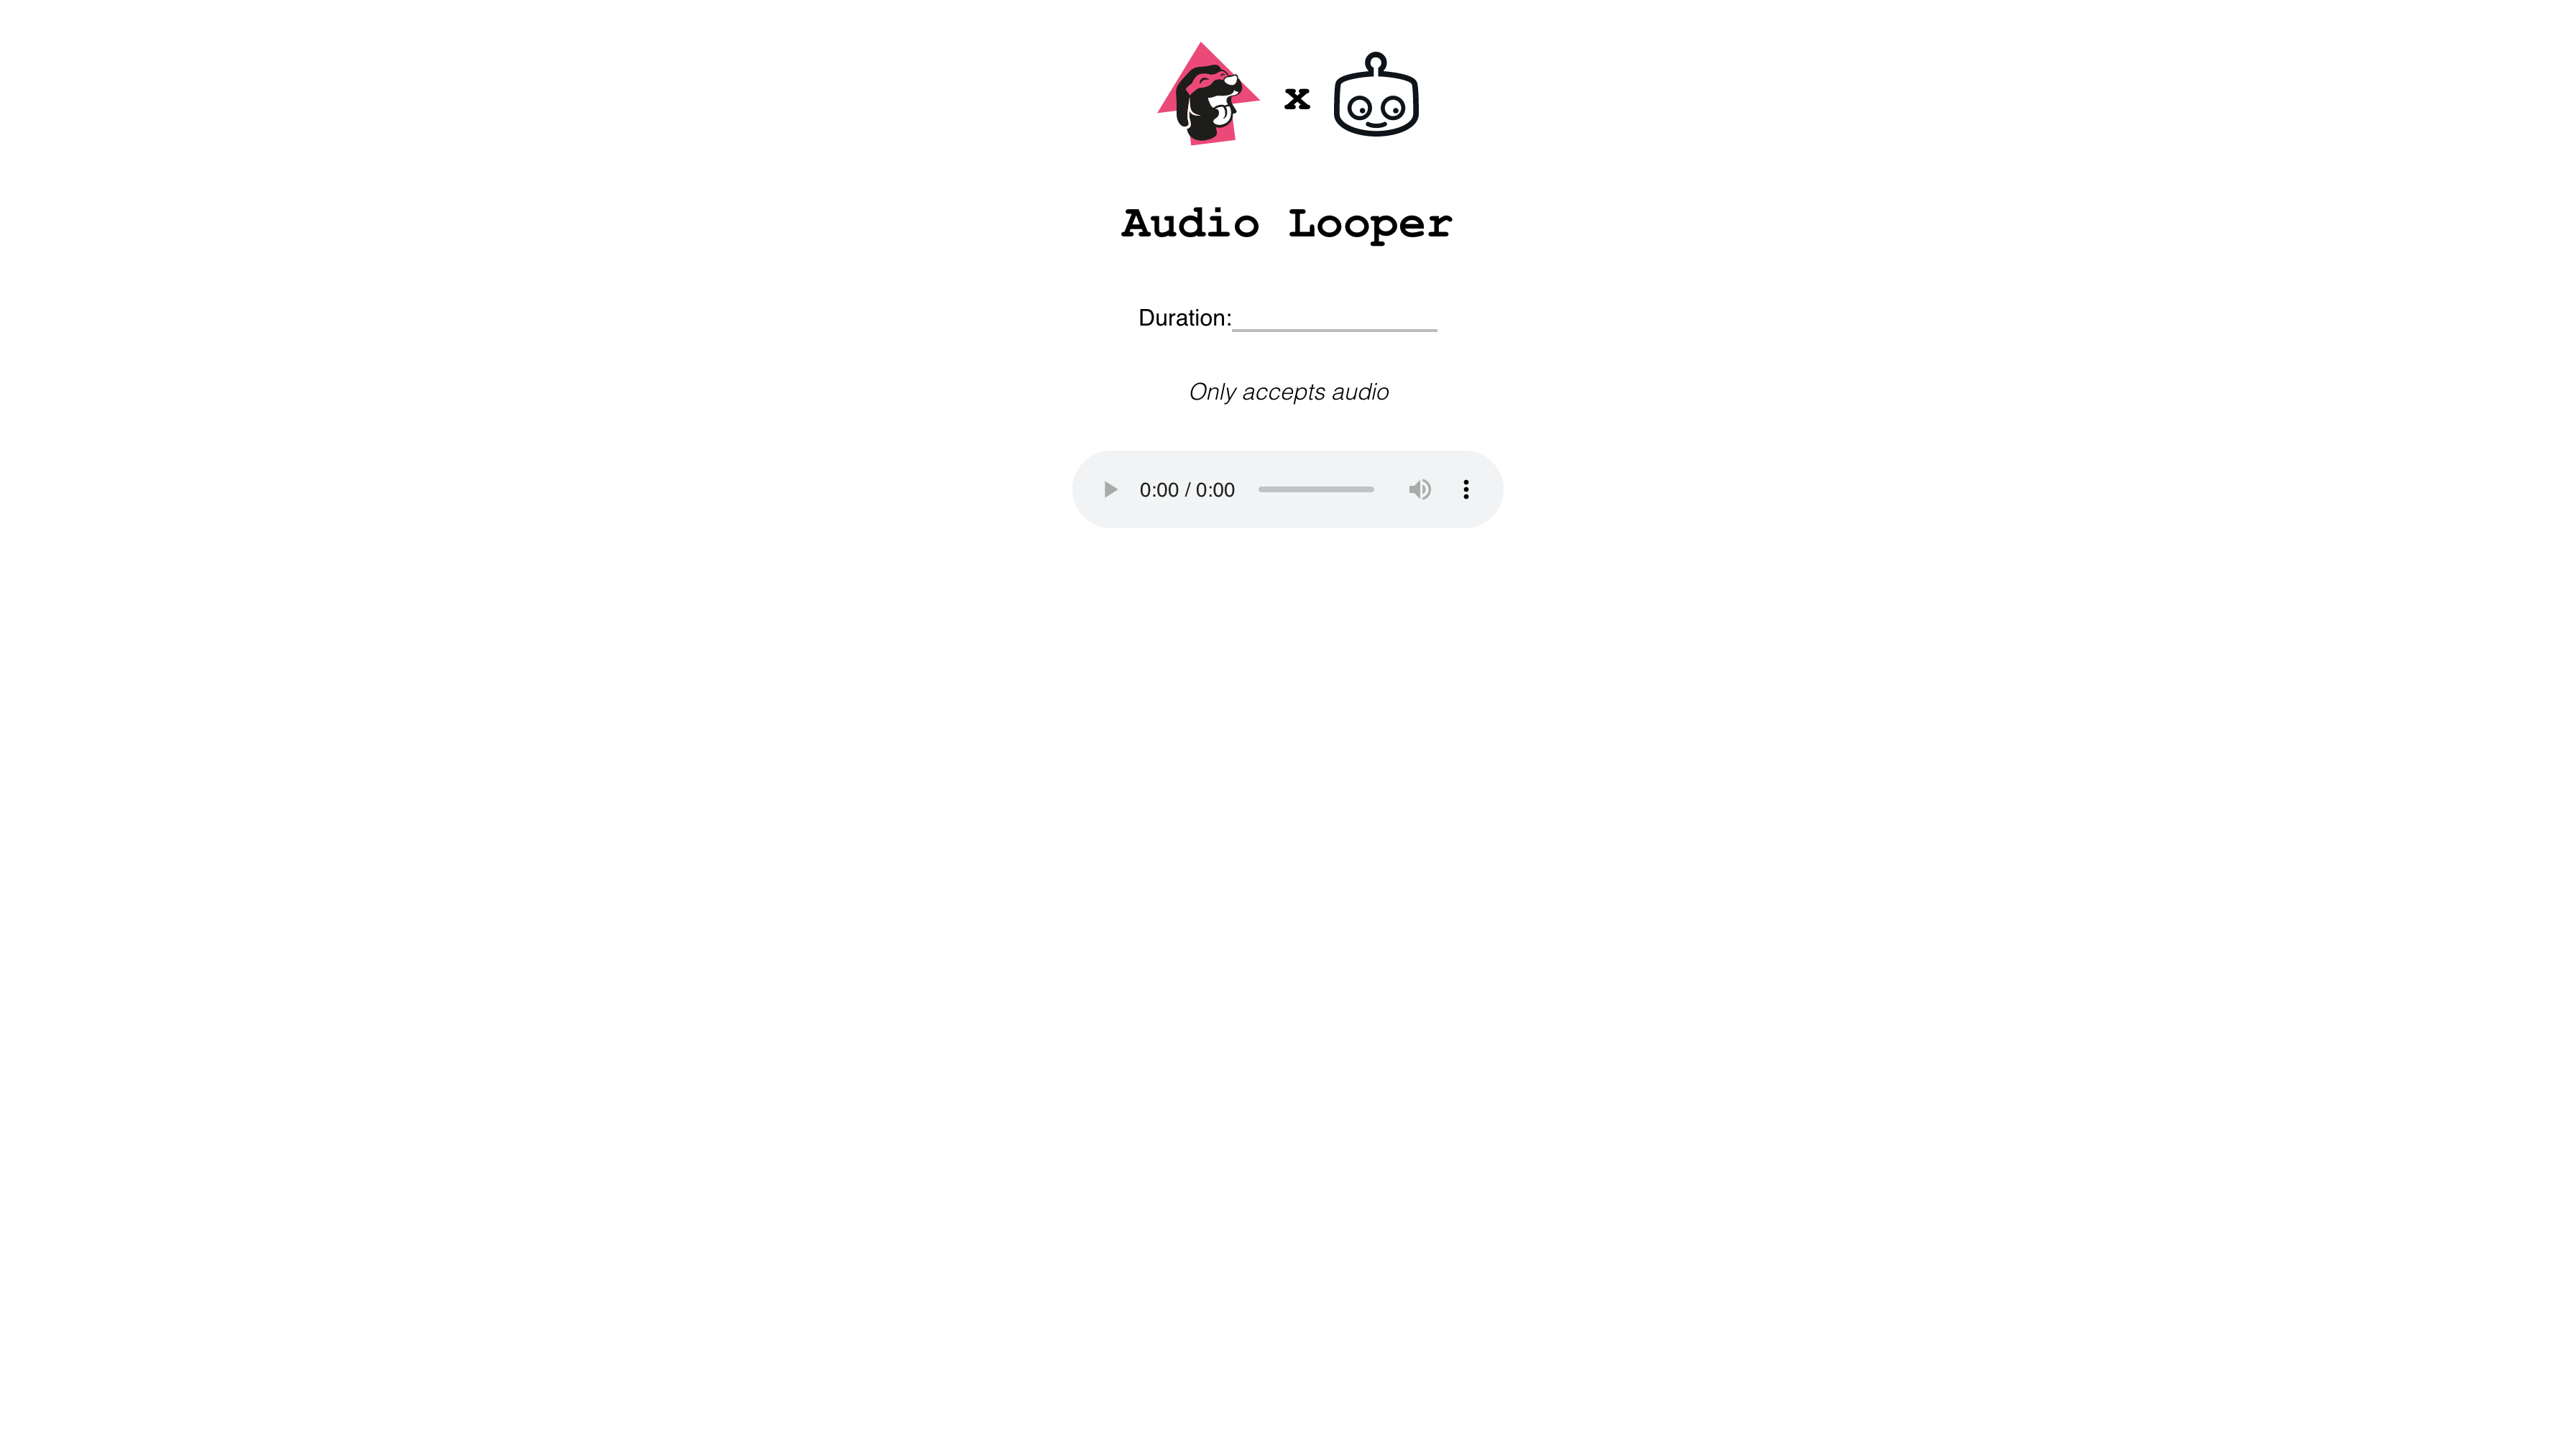
Which ends up looking like this:

As you can see, it is a pretty basic website. The default styling is a little hard to stomach, though, so let's add just a pinch of CSS to spruce things up.
Inside of two <style> tags, add the following CSS:
.title {
  text-align: center;
  font-size: 2rem;
  font-weight: 600;
  margin-top: 2rem;
  font-family: 'Courier New', Courier, monospace;
}
.label {
  text-align: center;
  font-size: 1rem;
  font-weight: 100;
  font-style: italic;
  margin-top: 1rem;
  font-family: 'Segoe UI', sans-serif;
}
.banner {
  display: flex;
  justify-content: center;
  align-items: center;
  gap: 1rem;
  margin-top: 2rem;
}
.result-container {
  display: flex;
  justify-content: center;
  margin-top: 2rem;
}
.input-container {
  display: flex;
  justify-content: center;
  padding: 1rem;
  font-family: 'Segoe UI', sans-serif;
}
input {
  border: none;
  border-bottom: 2px solid #bcbcbc;
  text-align: end;
}
input:focus {
  outline: none;
}
#cross {
  font-family: 'Courier New', monospace;
  font-size: 2rem;
  font-weight: 600;
}
#dashboard {
  display: flex;
  justify-content: center;
}
Now that looks a whole lot nicer!
The Uppy Dashboard
Now that the HTML and CSS are set up, we can shift our focus to the Uppy dashboard.
Inside of a script tag, add the following JavaScript:
import {
  Uppy,
  Dashboard,
  Transloadit,
} from 'https://releases.transloadit.com/uppy/v3.3.1/uppy.min.mjs'

const baseParams = {
  auth: { key: '72a70fba93ce41cba617cfd7c2a44b1a' },
  steps: {
    encode: {
      robot: '/audio/encode',
      use: ':original',
    },
    loop: {
      robot: '/audio/loop',
      use: 'encode',
      duration: 60,
    },
    export: {
      robot: '/s3/store',
      use: 'loop',
      credentials: 'S3_CREDENTIALS',
      result: true,
    },
  },
}

const uppy = new Uppy({
  restrictions: {
    maxNumberOfFiles: 1,
    allowedFileTypes: ['audio/*'],
  },
})
  .use(Dashboard, {
    inline: true,
    target: '#dashboard',
  })
  .use(Transloadit, {
    waitForEncoding: true,
    params: baseParams,
  })

uppy.on('complete', (result) => {
  const source = document.getElementById('result')
  source.src = result.transloadit[0].results.loop[0].ssl_url
  document.getElementById('player').load()
})

function updateDuration(val) {
  const params = baseParams
  params.steps.loop.duration = parseInt(val, 10)
  uppy.getPlugin('Transloadit').setOptions({
    params,
  })
}

document.getElementById('duration').addEventListener('change', function () {
  updateDuration(this.value)
})
Here, we are adding the Uppy Dashboard and
Transloadit plugins, and setting the target for our dashboard
component to the #dashboard div.
We are also passing our Assembly Instructions to the Transloadit plugin and setting the
waitForEncoding option to true, so that we can parse the result file from
the Assembly JSON, after our Assembly has finished encoding (rather than when
our upload completes).
Finally, we add an event listener to the input component, so that the duration
parameter in our Assembly Instructions is updated when the user changes the value.
The result
After all this, our page should look as follows. Feel free to play around with it and upload your own audio clips!
See the Pen Loop Audio Online Website bymissing-tech (@missing-tech) on CodePen.
When you upload an audio file and set the duration, you should notice the result file in the output audio element, with the duration set to the specified value.
This has hopefully encouraged you to take another look at the /audio/loop Robot, as well as the best file uploader in the world. If you want to be notified of future blog releases (and other relevant tech news!), sign up for our newsletter below.