

Sync files with Wasabi Cloud Storage via Transloadit

Transloadit offers importing and exporting to many third-party storage services, with Amazon S3 being one of the most popular choices. Today, however, we are shining a light on two of our lesser-known Robots, the Wasabi storage Robots: /wasabi/import and /wasabi/store.

What is Wasabi Storage?
Wasabi Storage is a cloud-based storage solution, with a storage model similar to that of Amazon S3. The main difference is that Wasabi aims to be 1/5 the price of S3. Moreover, Wasabi offers ransomware protection, data backups, and no fees for egress – making it a fierce competitor in the storage solution space. Sounds pretty good, doesn't it? Let's take a look at how to set yourself up with Wasabi!
Preparing Wasabi
Before we use the Wasabi Robots within our Template, we have to make a Wasabi account. If you do not already have an account, go on over to Wasabi's sign-up page and follow the instructions provided.
Once you have created an account and are logged in, navigate to Buckets and select Create Bucket.
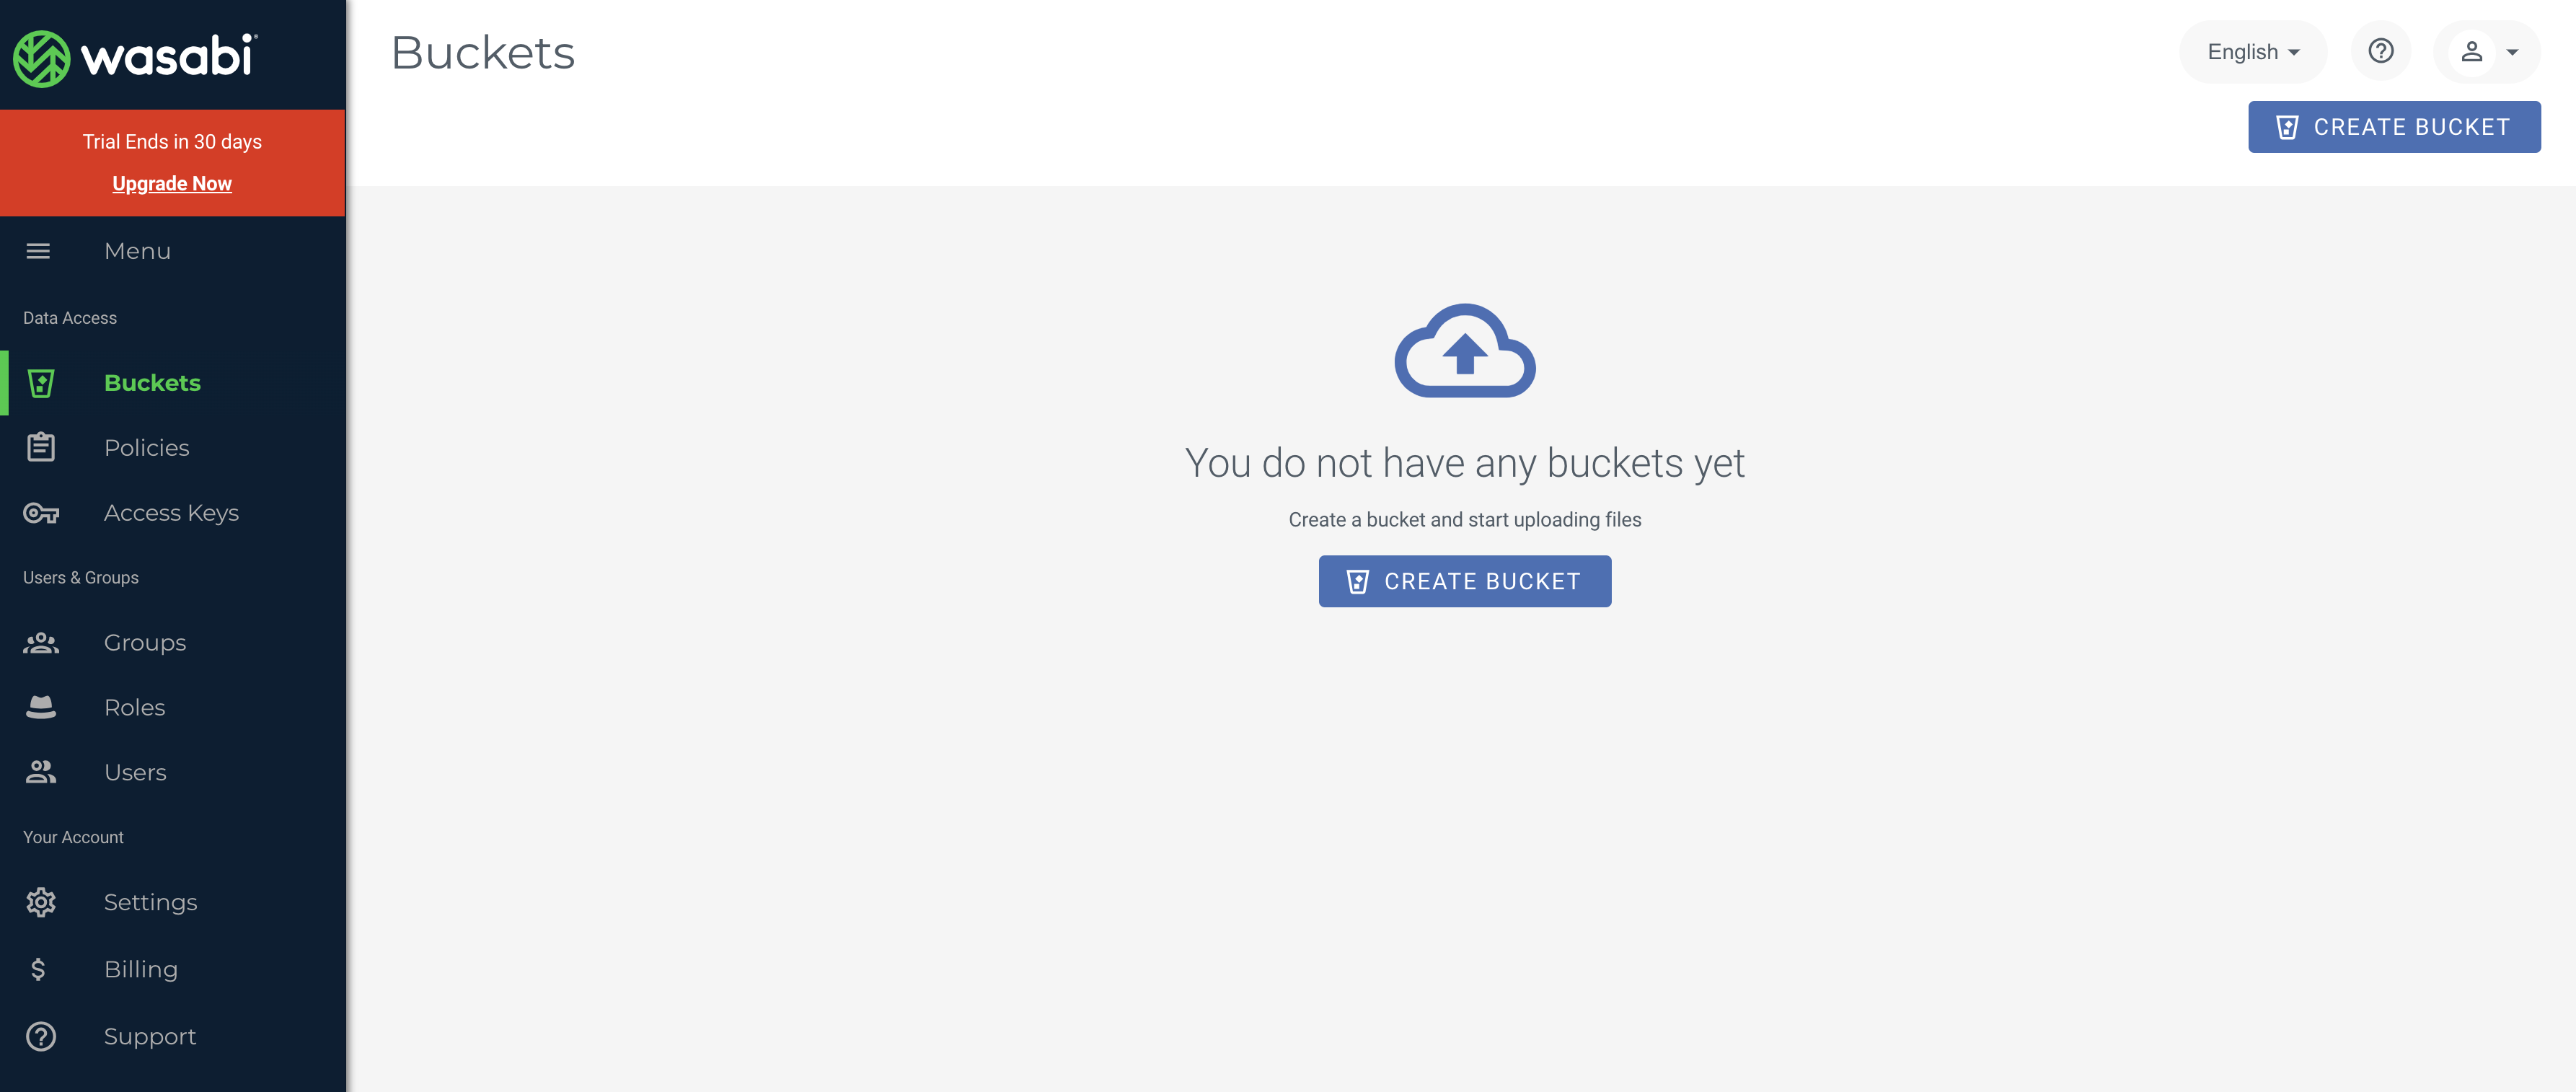
Give the bucket a name and pick an appropriate region, closest to your customers. Make sure to write down the bucket name and region, as we will need to pass both to Transloadit later on.
You can then click Create Bucket or Next, to proceed to a list of options regarding certain features that you can enable for your bucket, including Bucket Versioning, Bucket Logging and Object Locking. These features are dependent on your use case and don't prevent Transloadit from accessing your storage bucket. We recommend that you enable Bucket Logging, as it will help to keep track of the ways your bucket has been accessed.
Now that your bucket has been created, follow Wasabi's instructions to create a dedicated sub-user and access key. Grant that user only the permissions needed to read and write objects in this bucket. Do not use root-user access keys for this integration. Store the access key ID and secret access key securely; you will need them when creating your Transloadit credentials.
Preparing Transloadit Credentials
Our Wasabi Bucket has now been successfully set up and is ready to store any files we throw at it. Now it is time to store all the information we noted down previously, within our Template Credentials. Open the Template Credentials page in your Console and create a new third-party credential.
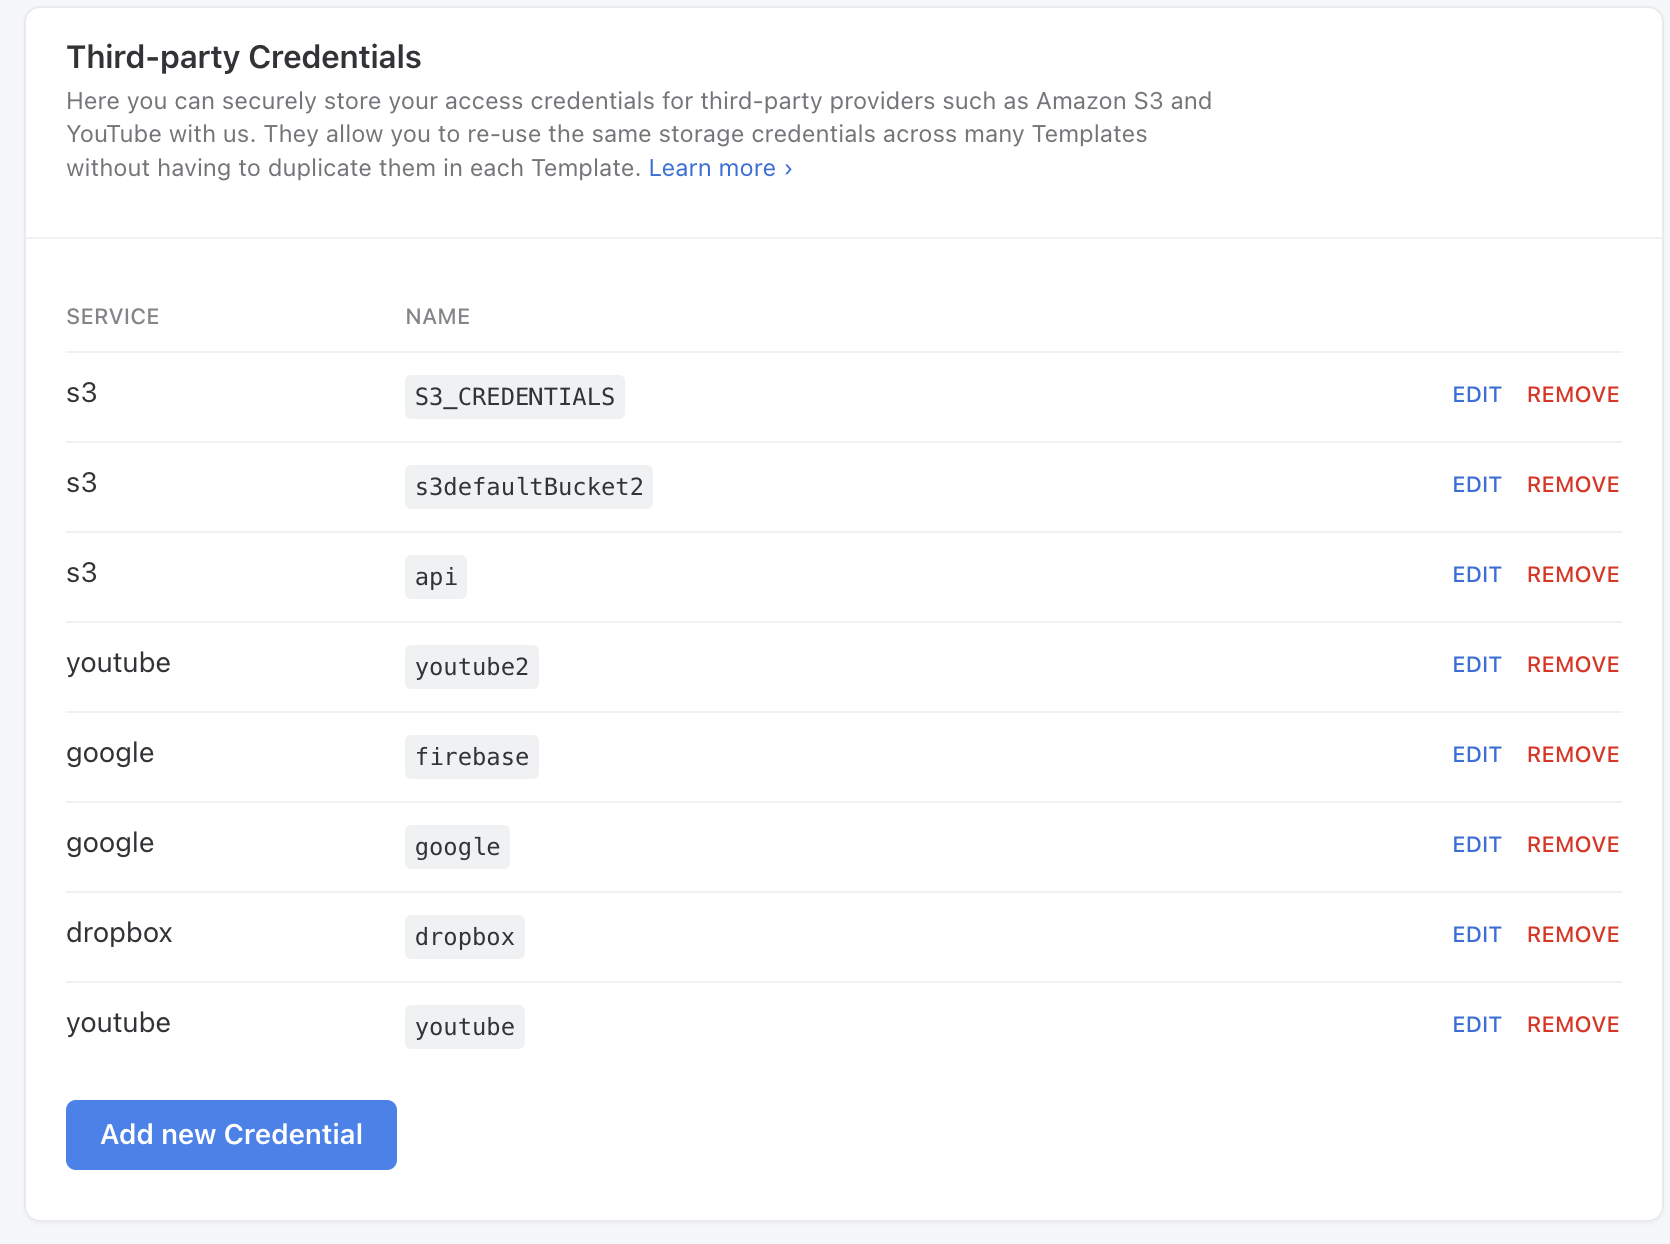
Select Wasabi as the service, assign a memorable name to the Template Credential you are about to create, and copy over the corresponding information you noted down in the previous steps into the appropriate sections.
The examples below use the name TransloaditWasabiDemo. Use that name or replace it in both
examples with the name of your credential.
Creating a Template
Now that we have everything in place, Transloadit and Wasabi can communicate in harmony – allowing you to import or export files seamlessly!
The Template below resizes an image to 300x300 using the fillcrop strategy. Once the
image has been resized, both the original and resized file will be stored in your Wasabi bucket. The
value that you pass into credentials is the name of your Wasabi credentials on the Transloadit
Template Credentials page.
{
  "steps": {
    ":original": {
      "robot": "/upload/handle"
    },
    "resize": {
      "use": ":original",
      "robot": "/image/resize",
      "result": true,
      "height": 300,
      "width": 300,
      "imagemagick_stack": "v3.0.1",
      "resize_strategy": "fillcrop"
    },
    "exported": {
      "use": [":original", "resize"],
      "robot": "/wasabi/store",
      "credentials": "TransloaditWasabiDemo"
    }
  }
}
The next Template imports a file from a folder within our bucket, called importFolder,
and resizes the image to 300x300 as well. Before you run this Template, make sure to
either change the import path to point to a file within your bucket, or create your very own
importFolder. Once the image has been imported and resized, it will be sent back to your bucket
for storage.
{
  "steps": {
    "import": {
      "robot": "/wasabi/import",
      "credentials": "TransloaditWasabiDemo",
      "path": "importFolder/sun.png"
    },
    "resize": {
      "use": "import",
      "robot": "/image/resize",
      "result": true,
      "height": 300,
      "width": 300,
      "imagemagick_stack": "v3.0.1",
      "resize_strategy": "fillcrop"
    },
    "exported": {
      "use": ["import", "resize"],
      "robot": "/wasabi/store",
      "credentials": "TransloaditWasabiDemo"
    }
  }
}
Once you run both Templates, you will see all of the new files in your bucket.
That's all for our look into the Wasabi family of Robots! We hope this blog post got you interested in giving them a try. Let us know if there are any bumps along the way and we will be happy to help smooth them out!