
Exploring the /google/store Robot in Re-Loadit series

This blog post is the fourth installment in the series that we're calling Re-loadit. In this series, we will be covering a number of Transloadit's features that haven't yet received a proper introduction to our users.
Similar to other Robot introductions, we will give you some examples, explain the key functionality of the Robot and offer some tips on how to get started. We hope you'll enjoy learning more about leveraging Transloadit's breadth of features.
The /google/store Robot
Over the last few years, developers have been steadily moving away from local systems to the cloud for storing data. One important reason to move to the cloud is better protection of your data, particularly in the event of a natural disaster. Some reports have confirmed this and predict that the cloud storage market will grow to $88.91 billion by 2022, marking an enormous annual growth rate of 23.7%. Billions of people and thousands of companies are opting for online storage because it’s comfortable, convenient, secure and economical. One of the more popular cloud storage services out there is Google Cloud Storage.
We want to ensure our users have the freedom to integrate this service directly into their Transloadit Templates.
That is why we introduced the /google/store Robot, which has been part of the Transloadit Robot family since early 2018.

What can it do?
The /google/store Robot will export all encoding results from your Assembly to a Google storage bucket of your choice.
So you could, for instance, have your users upload a video, then use the /video/thumbs Robot to make thumbnails of the video, before exporting the thumbnails to Google Cloud Storage — all in a single Assembly.
Let's take a step-by-step look at how you would go about creating such an Assembly!
Creating the Assembly
Before we can get started with creating our Assembly, we need to get the service account JSON file. This is necessary for our Assemblies to use the Google Cloud API. To generate your JSON file, go to the service account section of the Google Cloud Console to create a new service account. After giving the new service account a role, in the final step, click on Create key, and select JSON as the type (the key will be downloaded automatically).
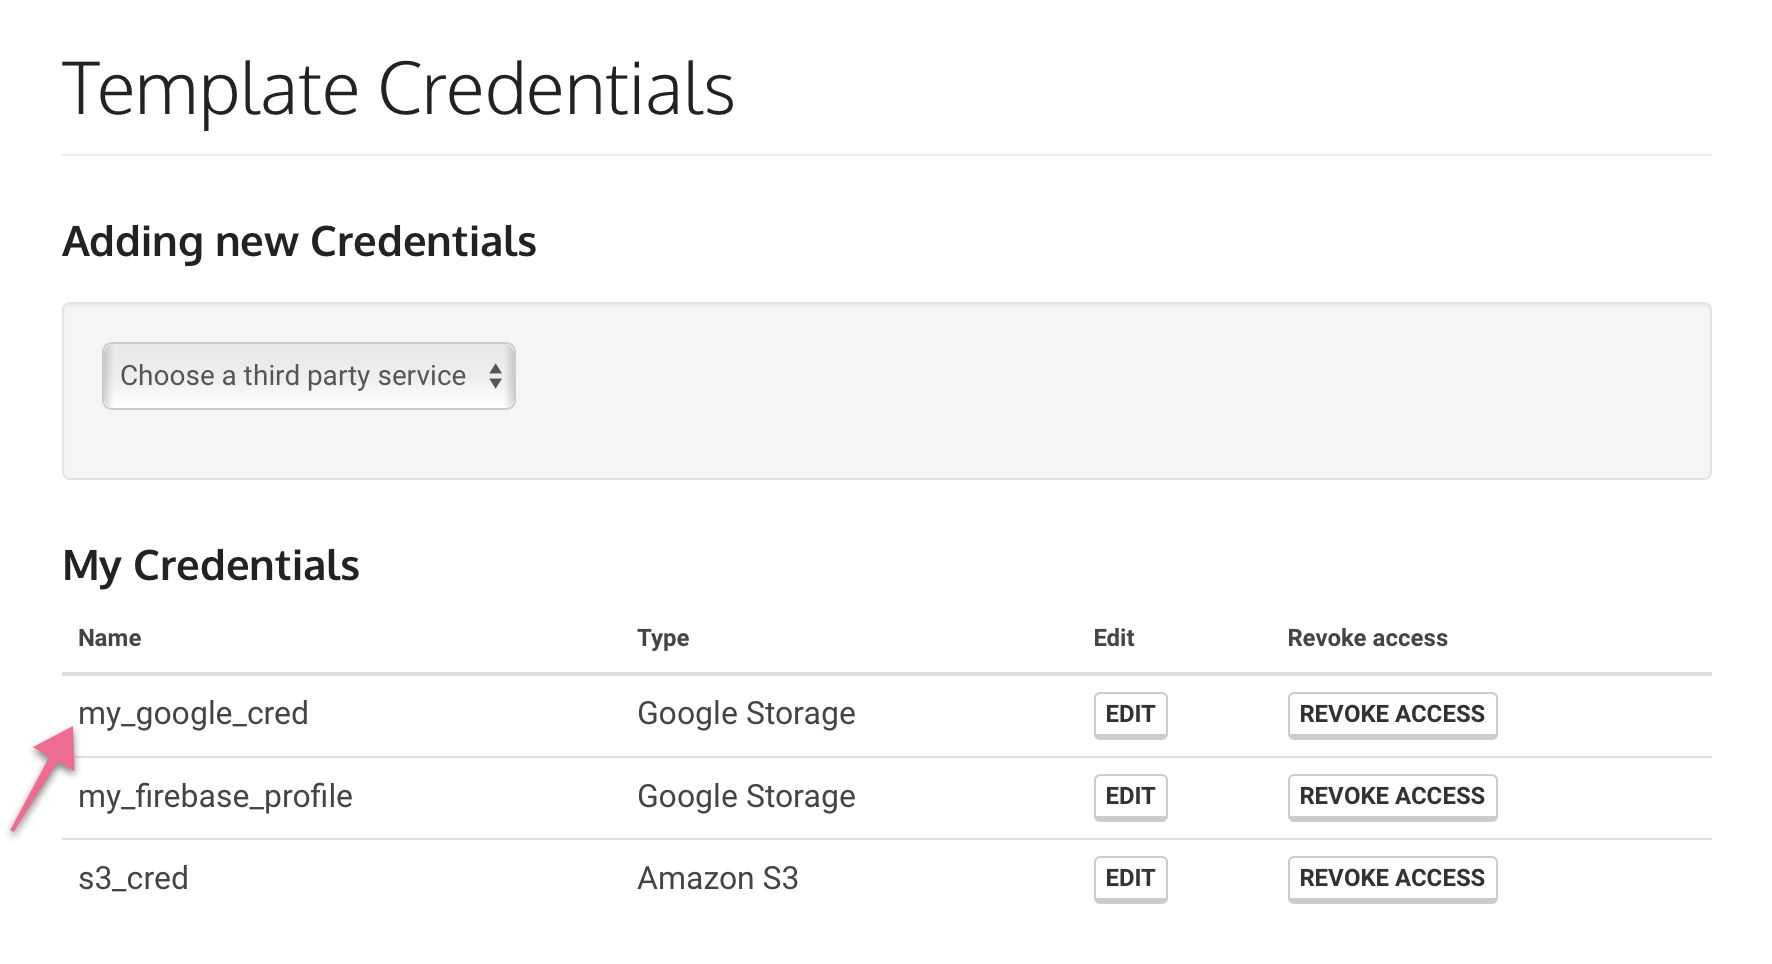
We highly recommend you store your access token in the Template Credentials here at Transloadit. To do so, first select Google Storage as your credential type, then fill in your Google Project Id and bucket name, as well as the JSON file we downloaded earlier.
This keeps your access key encrypted in our database and helps prevent malicious users from gaining access to it. As you can see in the screenshot below, I've named my Google credentials my_google_cred. We will need this name later when we begin creating our Assembly.
These are the Assembly Instructions I used after setting up my Template Credentials correctly:
{
  "steps": {
    ":original": {
      "robot": "/upload/handle"
    },
    "thumbnailed": {
      "use": [":original"],
      "robot": "/video/thumbs",
      "result": true,
      "count": 1,
      "ffmpeg_stack": "v7"
    },
    "exported": {
      "use": ["thumbnailed"],
      "robot": "/google/store",
      "credentials": "my_google_cred",
      "path": "screenshots/${file.original_basename}.${file.ext}"
    }
  }
}
In the first two Steps, the /upload/handle Robot uploads a video file to Transloadit and the /video/thumbs Robot then takes screenshots of the video.
In the next Step, the screenshots are exported to the
/google/store Robot. The credentials parameter
accesses the Google Storage credentials, which I stored in my Template Credentials under
the name my_google_cred. The path parameter then stores the exported images into a folder named
screenshots in my Google storage and names each file by their original filename. If you are
worried about collisions, you could add additional
Assembly Variables to this path, such as
an MD5 hash (${file.md5hash}), or the ${unique_prefix}.
To try out these Assembly Instructions, run the following Node.js code on your server, taking the path to a local video file as an argument.
const { Transloadit } = require('transloadit')

const transloadit = new Transloadit({
  authKey: process.env.TRANSLOADIT_AUTH_KEY,
  authSecret: process.env.TRANSLOADIT_AUTH_SECRET,
})

const options = {
  files: { video: process.argv[2] },
  params: {
    steps: {
      ':original': {
        robot: '/upload/handle',
      },
      thumbnailed: {
        use: [':original'],
        robot: '/video/thumbs',
        result: true,
        ffmpeg_stack: 'v7',
        count: 1,
      },
      exported: {
        use: ['thumbnailed'],
        robot: '/google/store',
        credentials: 'my_google_cred',
        path: 'screenshots/${file.original_basename}.${file.ext}',
      },
    },
  },
}

transloadit.createAssembly(options)
  .then((result) => console.log({ result }))
  .catch((error) => {
    console.error(error)
    process.exitCode = 1
  })
The results
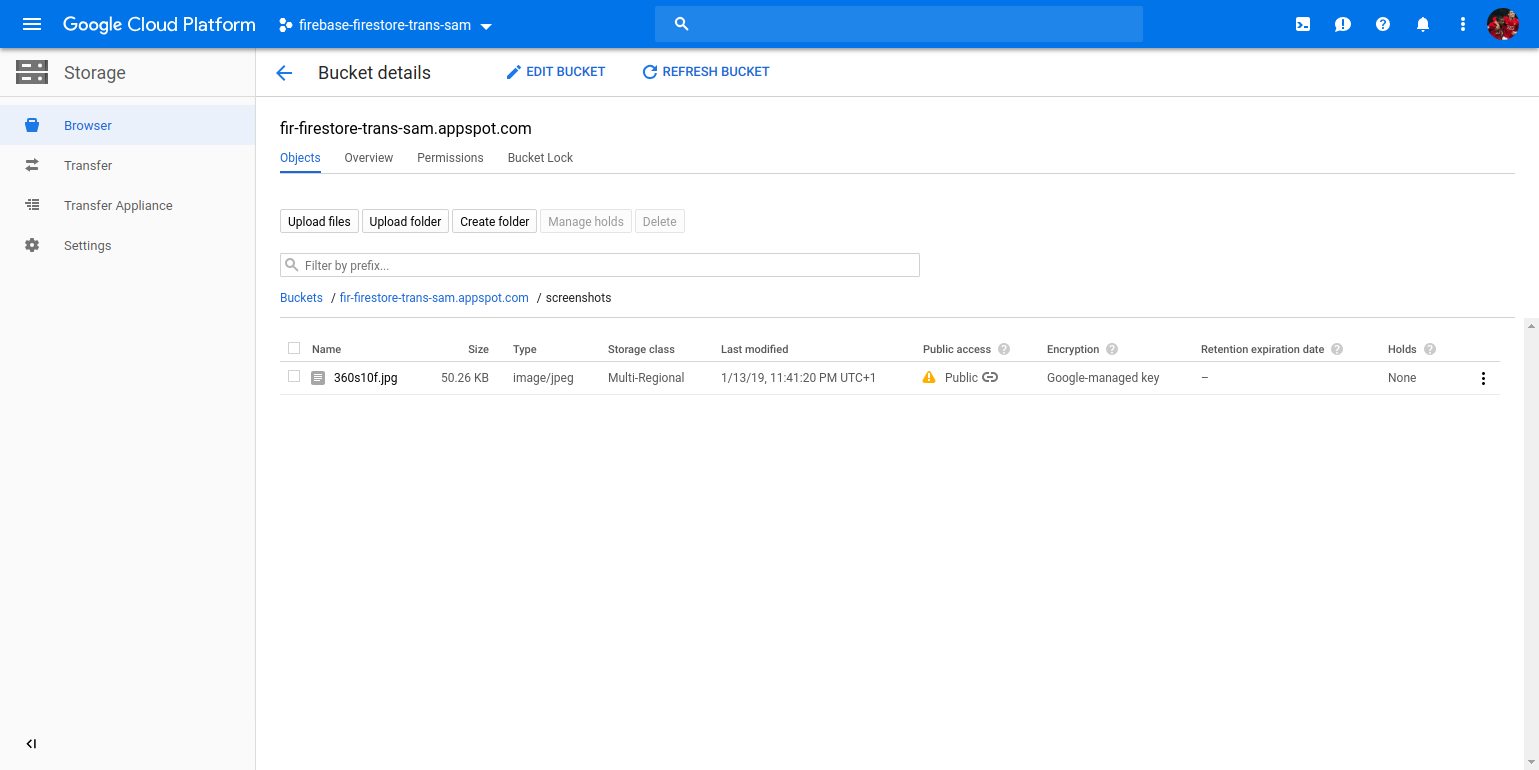
Our Assembly seems to be working perfectly! After running the Node.js code above, an image with the same name as my video file appears in my screenshots folder.
We hope this post has shed some more light on what the /google/store Robot can do for you and how it can be implemented.
See you at the next post in our Re-loadit series!