
Let's Build: video from album art with Transloadit

Welcome to another installment of 'Let's Build', our series of blog posts where we try to come up with creative ways to use and combine the powers of Transloadit's versatile Robot family. Today, we are building a simple application that automatically generates video files using album art.
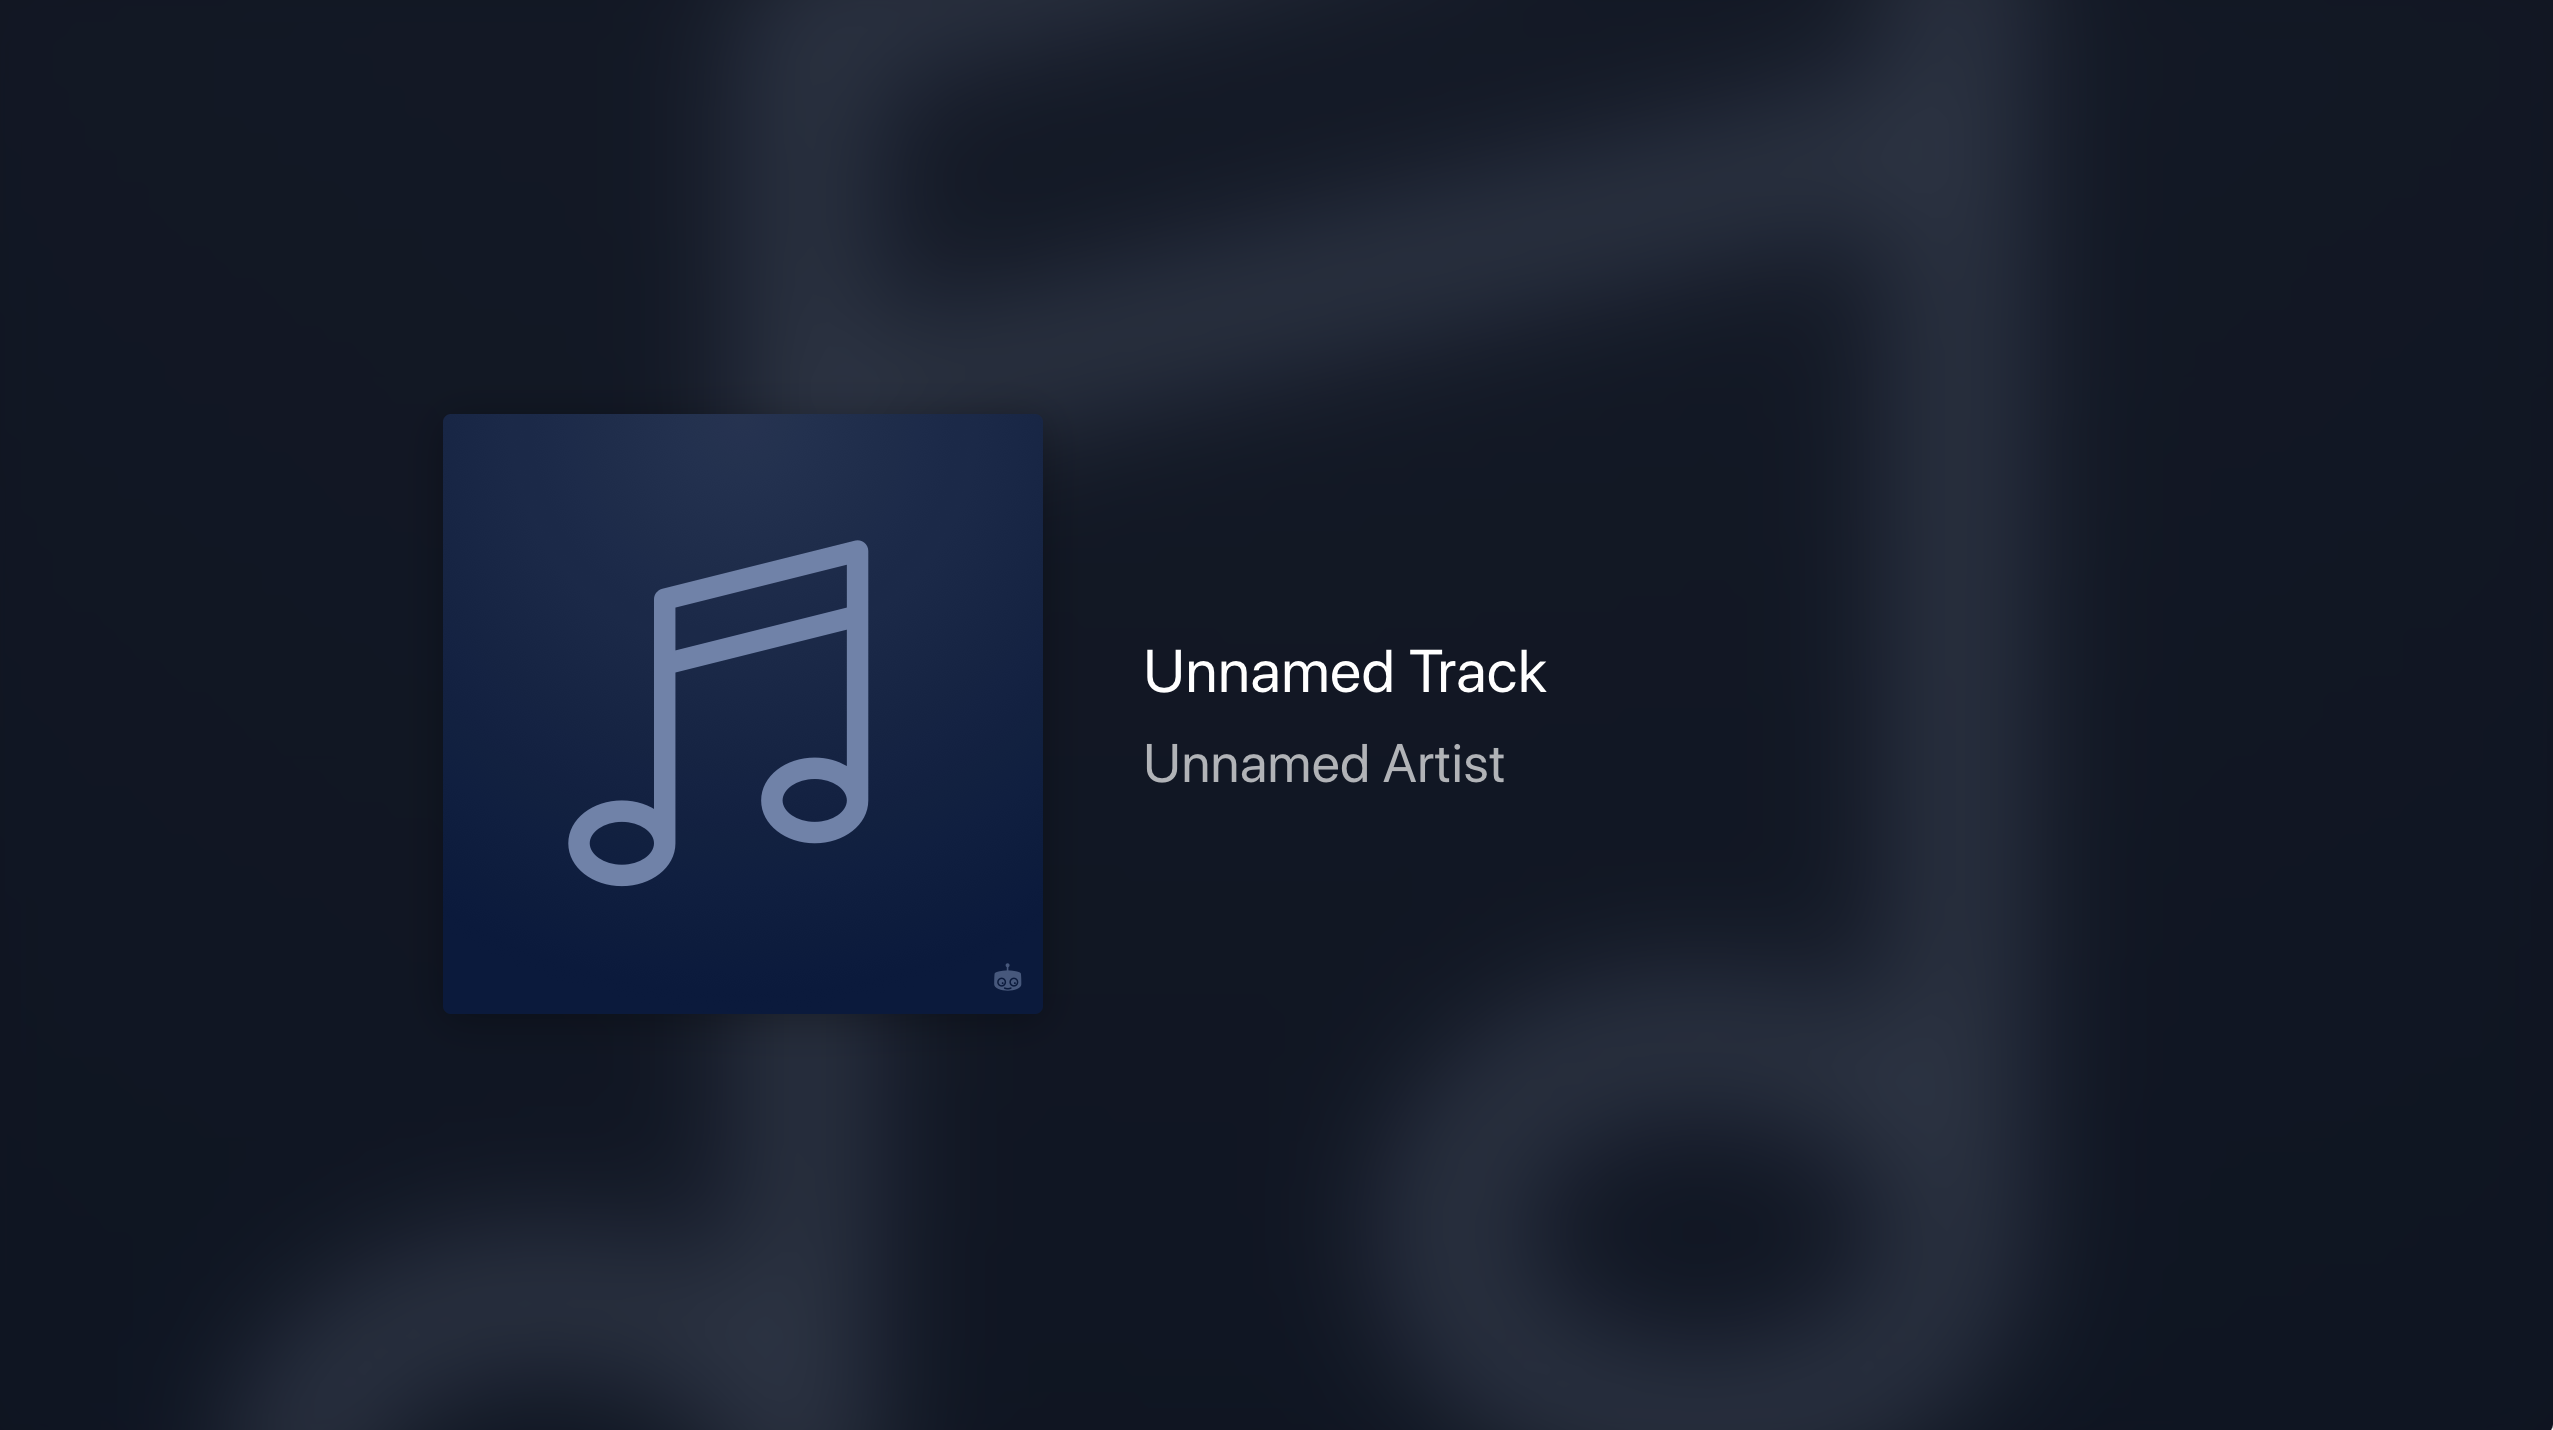
If, like us, you happen to be a YouTube lover, you probably see this type of video fairly often as people tend to use this method when uploading music that doesn't have an official video. Creating these videos isn't complicated, but can be time-consuming when done by hand. Reason enough to build an app for it, so let's do just that! In just a few minutes, we'll build a system that allows us to generate videos from cover art without having to manually create them.
How are we building this?
Creating this application will actually be quite easy. First, we create a quick HTML, CSS and JS page that renders the artwork for us. Once done, we supply the page with our artwork image and song title. Next, we use Transloadit's /audio/artwork Robot to extract the artwork from an MP3 file we provide. We will then use the /html/convert Robot to obtain the screenshot of our rendered artwork and finally, we'll use the /video/merge Robot to create the video.
Creating the HTML page
Create a new folder and initiate a new NPM project inside it:
mkdir video_from_artwork
cd video_from_artwork
npm init
Next, create a folder called pages, then a file named watermark.html and paste the following:
<html lang="en">
  <head>
    <meta charset="UTF-8">
    <style>
      *,
      *::before,
      *::after {
        box-sizing: border-box;
      }

      html,
      body {
        height: 100%;
        line-height: 1.33;
        overflow: hidden;
      }

      html {
        -webkit-font-smoothing: antialiased;
        -moz-osx-font-smoothing: grayscale;
      }

      body {
        background: #101010b8;
        color: #fff;
        font-family:
          -apple-system, BlinkMacSystemFont, 'Segoe UI', Helvetica, Arial, sans-serif,
          'Apple Color Emoji', 'Segoe UI Emoji', 'Segoe UI Symbol';
      }

      .wrapper {
        padding: 30px;
        height: 100%;
        display: flex;
        align-items: center;
        justify-content: center;
      }

      .background {
        filter: blur(30px) saturate(125%);
        background-position: center;
        background-repeat: no-repeat;
        background-size: 130%;
        position: absolute;
        top: -50px;
        right: -50px;
        bottom: -50px;
        left: -50px;
        opacity: 0.33;
        z-index: -1;
      }

      .song {
        display: flex;
        align-items: center;
        justify-content: space-between;
        margin-top: -20px; /* Optical adjustment */
      }

      .song__cover {
        margin-right: 50px;
      }

      .song__info {
        flex: 1;
        width: 30em;
      }

      .song__cover-image {
        width: 100%;
        min-width: 240px;
        max-width: 300px;
        height: auto;
        display: block;
        border-radius: 4px;
        box-shadow: 0 3px 20px rgba(0, 0, 0, 0.3);
      }

      .song__title {
        font-size: 30px;
        margin-bottom: 10px;
      }

      .song__details {
        font-size: 27px;
        color: rgba(255, 255, 255, 0.67);
      }
    </style>
  </head>
  <body id="body"></body>
  <script>
    const params = new URLSearchParams(window.location.search)
    const logo_url = params.get('logo_url')
    const song_details = params.get('song_details')
    const song_title = params.get('song_title')
    if (logo_url) {
      const innerHTML = `
        <div class="background" id="background"></div>
        <div class="wrapper">
        <div class="song" id="song">
            <div class="song__cover">
            <img class="song__cover-image" id="song__cover-image" alt="">
          </div>
          <div class="song__info">
            <div class="song__title" id="song__title">
            </div>
            <div class="song__details" id="song__details">
            </div>
          </div>
          </div>
        </div>
        `
      document.getElementById('body').innerHTML = innerHTML.trim()
      document.getElementById('background').style.backgroundImage = `url("${encodeURI(logo_url)}")`
      document.getElementById('song__cover-image').src = logo_url
      document.getElementById('song__title').innerText = song_title
      document.getElementById('song__details').innerText = song_details
    }
  </script>
</html>
In the code above, we created a simple HTML page that uses JavaScript to extract query parameters and uses them to generate the artwork we'll screenshot later.
Creating the landing page
We'll also need an entry page for our app, where users can add an audio file to be automatically processed and have it returned as a video. To make this process a breeze, we will use Uppy, which enables us to implement file uploads easily.
Let's create a file named index.html in our pages folder and add:
<link
  href="https://netdna.bootstrapcdn.com/bootstrap/3.0.0/css/bootstrap.min.css"
  rel="stylesheet"
  id="bootstrap-css"
>
<link href="https://releases.transloadit.com/uppy/v2.1.0/uppy.min.css" rel="stylesheet">
<script src="https://releases.transloadit.com/uppy/v2.1.0/uppy.min.js"></script>

<div class="container">
  <br>
  <div class="row">
    <div class="col-md-12">
      <div class="panel panel-default">
        <div class="panel-heading"><strong>Upload files</strong> <small> </small></div>
        <div class="panel-body">
          <div class="input-group file-preview">
            <input
              placeholder=""
              type="text"
              class="form-control file-preview-filename"
              disabled="disabled"
            >
            <!-- don't give a name === doesn't send on POST/GET -->
            <span class="input-group-btn">
              <!-- file-preview-clear button -->
              <button
                type="button"
                onclick="openUppyModal(this)"
                class="btn btn-labeled btn-primary"
              >
                <span class="btn-label"><i class="glyphicon glyphicon-upload"></i> </span>Upload
              </button>
            </span>
          </div>
        </div>
      </div>
    </div>
  </div>
</div>

<script>
  var uppy = new Uppy.Core({
    id: 'uppy',
    autoProceed: false,
    allowMultipleUploads: false,
    debug: true,
    restrictions: {
      allowedFileTypes: ['audio/*'],
    },
  })
  uppy.use(Uppy.Dashboard, {
    disablePageScrollWhenModalOpen: false,
    closeModalOnClickOutside: true,
    note: 'Please upload an audio file which has an artwork',
  })
  uppy.use(Uppy.XHRUpload, { endpoint: 'http://PATH_TO_SERVER/artwork' })
  uppy.on('complete', (result) => {
    console.log('Upload complete! We’ve uploaded these files:', result.successful)
  })

  let openUppyModal = (event) => {
    uppy.getPlugin('Dashboard').openModal()
  }
</script>
The simple HTML page we just created only has one button. This button triggers Uppy, which we have
instantiated to use the XHRUpload plugin, thereby sending our file to our own server endpoint.
Creating the server
Now, we'll need to create a server that listens on the port and also answers to the route that we have asked Uppy to listen to. Let's go back to the root of our project, then run the following on our terminal:
npm install express body-parser formidable cors transloadit
A quick look at what we are installing:
- express: a Node library that helps to run our server.
- body-parser: a Node library that helps to parse the request body.
- formidable: a Node library that helps with file uploads.
- cors: a Node library that helps manage CORS requests.
- transloadit: the official Node client for Transloadit.
Create a file named index.js and add the following:
const path = require('node:path')

const bodyParser = require('body-parser')
const cors = require('cors')
const express = require('express')
const formidable = require('formidable')
const { Transloadit } = require('transloadit')

const app = express()

const port = 4000

const transloadit = new Transloadit({
  authKey: 'XXX_TRANSLOADIT_AUTH',
  authSecret: 'XXX_TRANSLOADIT_SECRET',
})

app.use(cors())
app.use(bodyParser.urlencoded({ extended: true }))
app.use(bodyParser.json())

app.get('/', (req, res) => {
  res.sendFile(path.join(`${__dirname}/pages/index.html`))
})

app.get('/watermark', (req, res) => {
  res.sendFile(path.join(`${__dirname}/pages/watermark.html`))
})

app.post('/artwork', (req, res) => {
  const form = formidable.IncomingForm()

  form.parse(req, async (err, fields, files) => {
    if (err) {
      return res.status(400).send({ err })
    }
    const path = files['file']['path']
    return createVideoStep(path, res)
  })
})

const createVideoStep = async (path, res) => {
  try {
    const steps = {
      ':original': {
        robot: '/upload/handle',
      },
      artwork_extracted: {
        robot: '/audio/artwork',
        use: ':original',
        ffmpeg_stack: 'v4.3.1',
        result: true,
      },
    }

    const opts = {
      files: {
        audio: path,
      },
      params: {
        steps,
      },
      waitForCompletion: true,
    }
    const status = await transloadit.createAssembly(opts)

    // Lowlevel errors (e.g. connection errors) would throw, Assembly errors are in status.error.
    if (status.error) {
      throw new Error(`${status.error}. ${status.message}.`)
    }

    return watermarkAndMergeStep(
      status.uploads[0].meta,
      status.uploads[0].ssl_url,
      status.results.artwork_extracted[0].ssl_url,
      res,
    )
  } catch (err) {
    console.error({ err })
    return res.status(400).send({ err })
  }
}

const watermarkAndMergeStep = async (metadata, uploadUrl, artwork, res) => {
  try {
    const steps = {
      audio_imported: {
        robot: '/http/import',
        url: uploadUrl,
      },
      watermark_screenshot: {
        robot: '/html/convert',
        omit_background: true,
        background: 'eff2f5d6',
        format: 'png',
        width: 1920,
        height: 1080,
        url: `http://PATH_TO_SERVER/watermark?logo_url=${encodeURIComponent(
          artwork,
        )}&song_title=${encodeURIComponent(metadata.title)}&song_details=${encodeURIComponent(
          metadata.album,
        )}`,
        result: true,
      },
      image_converted: {
        result: true,
        ffmpeg_stack: 'v3.3.3',
        width: 1920,
        height: 1080,
        robot: '/video/merge',
        preset: 'ipad-high',
        use: {
          steps: [
            {
              name: 'audio_imported',
              as: 'audio',
            },
            {
              name: 'watermark_screenshot',
              as: 'image',
            },
          ],
        },
      },
    }

    const opts = {
      params: {
        steps,
      },
      waitForCompletion: true,
    }

    const status = await transloadit.createAssembly(opts)

    if (status.error) {
      // Lowlevel errors (e.g. connection errors) would throw, Assembly errors are in status.error.
      throw new Error(`${status.error}. ${status.message}.`)
    } else {
      console.log(`✅ Success`, status.results.image_converted[0].ssl_url)
      return res.send({ url: status.results.image_converted[0].ssl_url })
    }
  } catch (err) {
    console.error({ err })
    return res.status(400).send({ err })
  }
}
app.listen(port, () => console.log(`Example app listening on port ${port}!`))
In the code above, we have a very basic express setup with three separate routes:
- The
/GET route: renders our entry point, which we created using Uppy to upload files to the backend. - The
/watermarkGET route: renders the watermark file that we created earlier on. - The
/artworkPOST route: handles the main logic of our app.
We use node-formidable to parse and upload the file coming from Uppy. We take the path where the
file was uploaded to and then pass it into the step1 function. You might be wondering why we are
using both a step1 and step2 function. This is because our watermark HTML template requires us
to provide the URL of the artwork. Currently, there is no way to include the URL of the uploaded
artwork within the Steps, so we split the Assembly Instructions up into two
different parts.
Assembly Instructions
In step1, we use the /upload/handle Robot to
upload the image to Transloadit from the initial upload part from node-formidable. Next, we use
the /audio/artwork Robot to extract the artwork
included with the song. Once done, we return the result to the Node process and extract the meta
information of the files, as well as the upload URL of both the uploaded file and the generated
artwork.
We then pass these parameters to the step2 function. In step2, we send the URL of the audio to
the /http/import Robot, so we can use it for the audio
layer of the video. After that, we order the /html/convert
Robot to take a screenshot of our watermark template with the appropriate parameters sent
as query string. Finally, we use the /video/merge
Robot to merge the screenshot with the original audio to create our new video file. When
Transloadit returns the response to our Node process, we extract the download URL of the video and
send it back to Uppy with the URL key. This enables Uppy to display the link beneath the link
button, allowing users to easily download it.
Construction complete
And just with that, we have a fully-functioning application to generate videos from artwork! To use it, we just need to supply Uppy with an audio file that has artwork and this small app automatically generates a video file. We hope this post manages to spark some creativity or at least help out anyone looking for help with creating videos using just the MP3 track.