

Store uploads and results without setting up a bucket

Every Transloadit integration starts with the same detour: before you can keep a single result you have to create an S3 bucket, write an IAM policy, paste credentials into a Template, and hope the region matches. It is the first thing new users get stuck on, and it has nothing to do with the problem they came to solve.
Transloadit Storage removes that detour. Your workspace comes with private object storage; the
/transloadit/store Robot puts files there, the Console shows them in a File Library, and the Smart
CDN serves them — with on-the-fly derivatives if you want — from a signed URL. Because the storage
speaks the S3 protocol, aws, s3cmd, and every S3 SDK keep working too.
Transloadit Storage is in private preview. If you want to try it before general availability, ask us to enable it for your workspace.
This tutorial takes a file from your disk into Transloadit Storage and back out through the Smart CDN in four short steps, with Node.js and the official SDK. No bucket is created at any point.
What you need
- Node.js 22 or newer.
- A Transloadit account with two Auth Keys from Console → Credentials → Auth Keys: your regular API key (for Assemblies and the S3 endpoint) and a key enabled for Smart CDN (Smart CDN keys are separate on purpose: they can only sign URLs, so leaking one cannot create Assemblies).
- The slug of your workspace — the part after
/c/in the Console URL, for examplemytransloadit-toystory-app.
Create a project and a .env file:
mkdir zero-config-storage && cd zero-config-storage
npm init -y && npm pkg set type=module
npm install @transloadit/node @transloadit/utils
curl -o photo.jpg https://demos.transloadit.com/inputs/chameleon.jpg
TRANSLOADIT_KEY=your-api-auth-key
TRANSLOADIT_SECRET=your-api-auth-secret
TRANSLOADIT_CDN_KEY=your-smart-cdn-auth-key
TRANSLOADIT_CDN_SECRET=your-smart-cdn-auth-secret
TRANSLOADIT_WORKSPACE=your-workspace-slug
Node reads it with --env-file, so there is no dotenv dependency; for the one shell command in Step 2,
load it with set -a; . ./.env; set +a. During the preview you may also
have received endpoint overrides from us (TRANSLOADIT_ENDPOINT, TRANSLOADIT_STORAGE_S3_ENDPOINT,
TRANSLOADIT_SMART_CDN_BASE_URL, TRANSLOADIT_SMART_CDN_EXTRA_PARAMS); the scripts below pick
those up when present and fall back to the production defaults otherwise.
Step 1: Store a file with /transloadit/store
/transloadit/store is a storing Robot like /s3/store, except that it needs no credentials and no
bucket: it writes into your workspace's storage. path is where the file ends up; folders are
created on demand, and ${file.name} is substituted per file.
import { Transloadit } from '@transloadit/node'

const client = new Transloadit({
  authKey: process.env.TRANSLOADIT_KEY,
  authSecret: process.env.TRANSLOADIT_SECRET,
  endpoint: process.env.TRANSLOADIT_ENDPOINT,
})

const assembly = await client.createAssembly({
  files: { photo: './photo.jpg' },
  params: {
    steps: {
      stored: {
        robot: '/transloadit/store',
        use: ':original',
        path: 'uploads/${file.name}',
        // Uploading the same name again creates a new version instead of failing.
        conflict_strategy: 'overwrite',
      },
    },
  },
  waitForCompletion: true,
})

// Storing Robots do not add a result key of their own: they annotate the file they stored,
// which is still listed under the step that produced it — here the upload, `:original`.
const [stored] = assembly.results[':original']
console.log(`Stored ${stored.path} (${stored.size} bytes, asset ${stored.asset_id})`)
node --env-file=.env store.js
# Stored uploads/photo.jpg (9309370 bytes, asset 8kLg…)
That is the whole "set up storage" part of this tutorial. The file now lives at
uploads/photo.jpg inside your workspace. Store the same path again and you get a new version
(conflict_strategy: 'overwrite'); earlier versions are kept, so an accidental overwrite is not a
loss.
Step 2: See it — in the Console or with the S3 tools you already have
The Console File Library is currently limited to signed-in Transloadit staff; enabling Storage for a customer workspace does not enable this page. Preview customers can use the S3 commands below to inspect the same files.
For staff, open the Console, pick your workspace, and go to File Library
(https://transloadit.com/c/<workspace-slug>/file-library/). The uploads folder is there with
photo.jpg in it. You can rename, move, and delete files here, create folders, and copy a Smart
CDN URL for any file — the same kind of URL Step 3 produces from code.
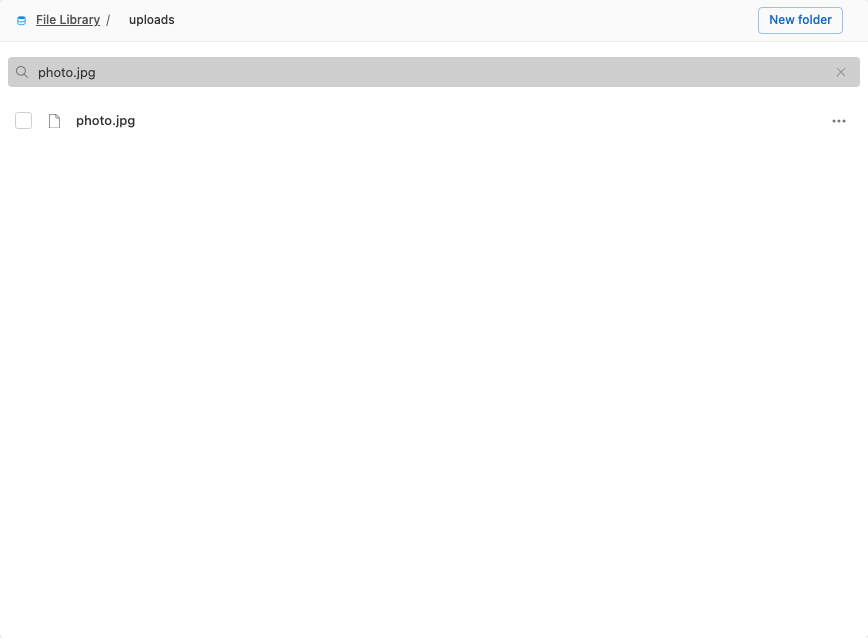
Prefer a terminal? Transloadit Storage is S3-compatible, and your Auth Key and Secret are its credentials. Your workspace slug is the bucket:
set -a; . ./.env; set +a
export AWS_ACCESS_KEY_ID="$TRANSLOADIT_KEY" AWS_SECRET_ACCESS_KEY="$TRANSLOADIT_SECRET"
aws --endpoint-url "${TRANSLOADIT_STORAGE_S3_ENDPOINT:-https://storage.transloadit.com}" \
  s3 ls "s3://$TRANSLOADIT_WORKSPACE/uploads/"
# 2026-08-31 10:12:04    9309370 photo.jpg
aws s3 cp, aws s3 sync, s3cmd, and the S3 SDKs work the same way, multipart uploads included,
so an existing pipeline can start writing into Transloadit Storage by changing one endpoint. The
versions from Step 1 are ordinary S3 object versions:
aws --endpoint-url "${TRANSLOADIT_STORAGE_S3_ENDPOINT:-https://storage.transloadit.com}" \
  s3api list-object-versions --bucket "$TRANSLOADIT_WORKSPACE" --prefix uploads/photo.jpg \
  --query 'Versions[].[VersionId,IsLatest,LastModified]' --output text
# 9G2…   True    2026-08-31T10:12:04+00:00
# 7Kq…   False   2026-08-31T10:05:41+00:00
Fetch the earlier one by its version ID (here: the newest version that is not the current one):
PREVIOUS=$(aws --endpoint-url "${TRANSLOADIT_STORAGE_S3_ENDPOINT:-https://storage.transloadit.com}" \
  s3api list-object-versions --bucket "$TRANSLOADIT_WORKSPACE" --prefix uploads/photo.jpg \
  --query 'Versions[?IsLatest==`false`] | [0].VersionId' --output text)
aws --endpoint-url "${TRANSLOADIT_STORAGE_S3_ENDPOINT:-https://storage.transloadit.com}" \
  s3api get-object --bucket "$TRANSLOADIT_WORKSPACE" --key uploads/photo.jpg \
  --version-id "$PREVIOUS" photo-previous.jpg
Step 3: Serve it through the Smart CDN
Stored files are private. To hand one to a browser you sign a Smart CDN URL for the built-in
builtin/storage-serve@0.0.1 Template, which reads the file from your storage and serves it. The
signature carries an expiry, so a leaked link stops working on its own.
import { getSignedSmartCdnUrl } from '@transloadit/utils/node'

const url = getSignedSmartCdnUrl({
  workspace: process.env.TRANSLOADIT_WORKSPACE,
  template: 'builtin/storage-serve@0.0.1',
  input: 'uploads/photo.jpg',
  authKey: process.env.TRANSLOADIT_CDN_KEY,
  authSecret: process.env.TRANSLOADIT_CDN_SECRET,
  expiresAt: Date.now() + 60 * 60 * 1000, // valid for one hour
  // Preview environments only; omit in production.
  baseUrl: process.env.TRANSLOADIT_SMART_CDN_BASE_URL,
  urlParams: Object.fromEntries(
    new URLSearchParams(process.env.TRANSLOADIT_SMART_CDN_EXTRA_PARAMS ?? ''),
  ),
})

console.log(url)
curl -sI "$(node --env-file=.env serve.js)" | head -1
# HTTP/2 200
The URL looks like
https://your-workspace-slug.tlcdn.com/builtin%2Fstorage-serve%400.0.1/uploads%2Fphoto.jpg?auth_key=…&exp=…&sig=sha256%3A….
Treat it like a credential: anyone holding it can fetch the file until exp passes, so pipe it
into curl or hand it to a browser rather than logging it. The same URL without its auth_key,
exp and sig parameters is refused: stored files are never served unsigned, whatever your
workspace's Signature Authentication setting says.
This serves the original — all 9.3 MB of it, also to a phone. Step 4 shows how to serve a resized version instead; in a real page you would use that for anything larger than a thumbnail.
Step 4 (optional): Derivatives on the fly
builtin/storage-serve serves the original. For thumbnails, watermarks, or format conversions you
create your own Template around the same two Robots and let the Smart CDN render on demand. This
one resizes to a width passed in the URL:
import { Transloadit } from '@transloadit/node'

const client = new Transloadit({
  authKey: process.env.TRANSLOADIT_KEY,
  authSecret: process.env.TRANSLOADIT_SECRET,
  endpoint: process.env.TRANSLOADIT_ENDPOINT,
})

const name = 'storage-thumb'
const template = {
  steps: {
    imported: { robot: '/transloadit/import', path: '${fields.input}' },
    resized: { robot: '/image/resize', use: 'imported', width: '${fields.w}', imagemagick_stack: 'v3.0.0' },
    served: { robot: '/file/serve', use: 'resized' },
  },
}

// Template names are unique per workspace: update the Template if this script ran before.
const { items } = await client.listTemplates({ pagesize: 50 })
const existing = items.find((item) => item.name === name)
if (existing) {
  await client.editTemplate(existing.id, { name, template })
  console.log(`Template ${name} updated`)
} else {
  await client.createTemplate({ name, template })
  console.log(`Template ${name} created`)
}
Signing a URL for it is the same call with your own Template name and the width as a URL parameter:
import { getSignedSmartCdnUrl } from '@transloadit/utils/node'

const url = getSignedSmartCdnUrl({
  workspace: process.env.TRANSLOADIT_WORKSPACE,
  template: 'storage-thumb',
  input: 'uploads/photo.jpg',
  authKey: process.env.TRANSLOADIT_CDN_KEY,
  authSecret: process.env.TRANSLOADIT_CDN_SECRET,
  expiresAt: Date.now() + 60 * 60 * 1000,
  baseUrl: process.env.TRANSLOADIT_SMART_CDN_BASE_URL, // preview environments only
  urlParams: {
    w: 300,
    ...Object.fromEntries(new URLSearchParams(process.env.TRANSLOADIT_SMART_CDN_EXTRA_PARAMS ?? '')),
  },
})

console.log(url)
node --env-file=.env create-template.js && curl -sI "$(node --env-file=.env serve-thumb.js)" | head -1
# Template storage-thumb created
# HTTP/2 200
The Smart CDN returns a 300-pixel-wide version of uploads/photo.jpg, cached at the edge for the
next request.
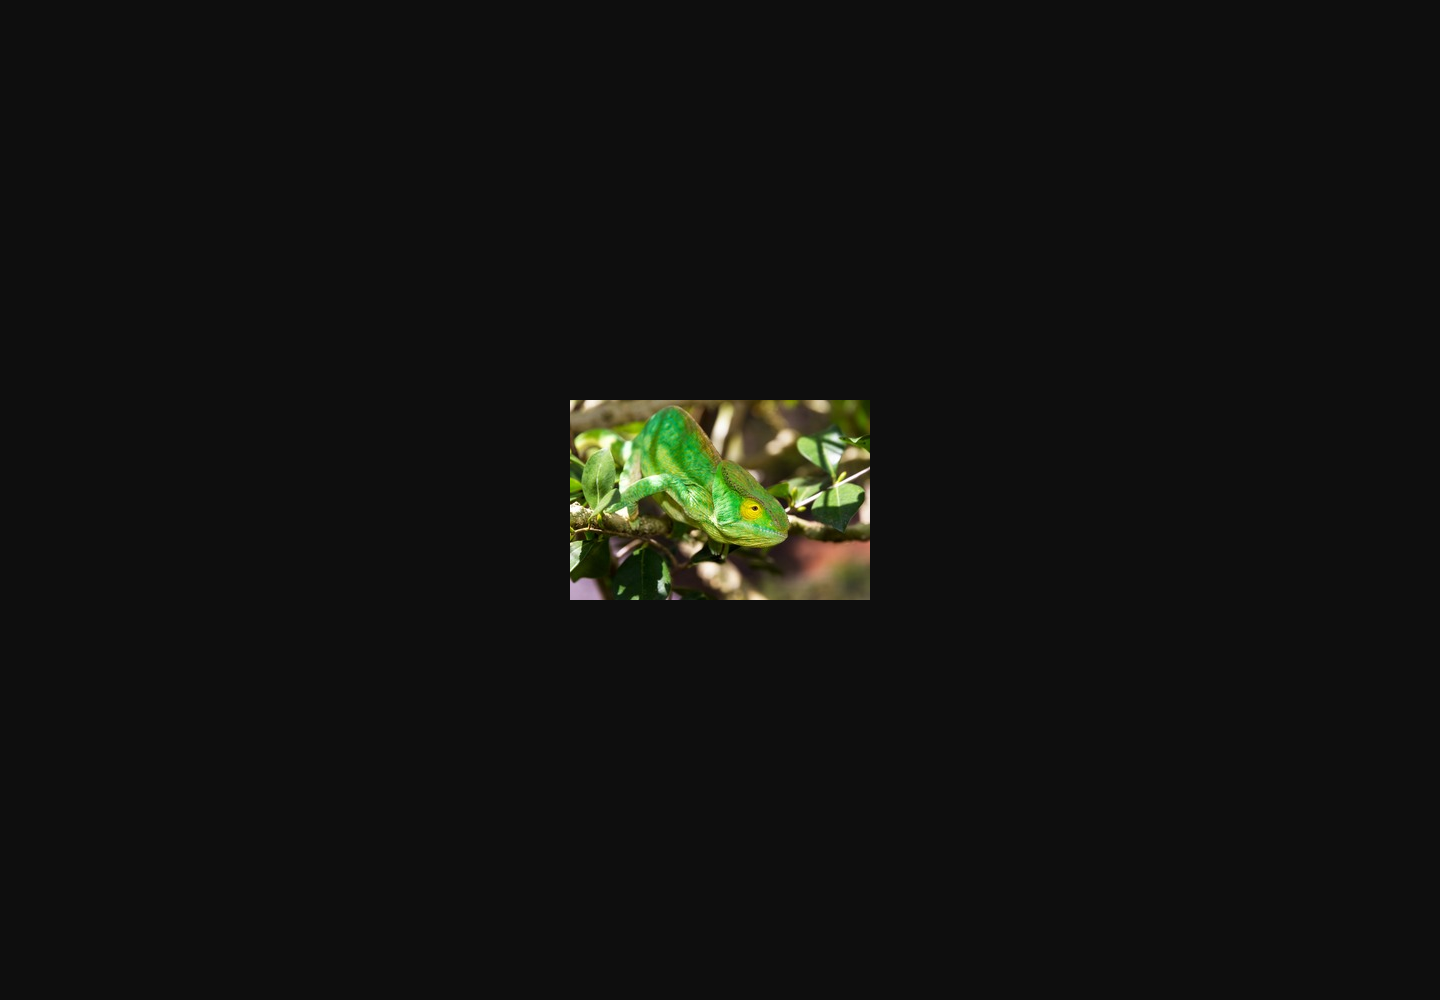
storage-serve Template always is.
Reference: the two Robots
/transloadit/store—path(required; folders are created on demand;${file.name},${file.url_name}and the other Assembly variables work),conflict_strategy(overwrite= new version,rename= numbered copy,error= fail). It does not create a result key: the stored file stays under the step that produced it, withpath,asset_id,size, andmimefilled in andurlset tonull(stored files are private)./transloadit/import—path: a file (uploads/photo.jpg) or a folder (uploads/, oruploadswhen no file has that exact name), which imports everything in it, recursively. Its output is a normal file that any other Robot canuse.
What just happened
- One Robot,
/transloadit/store, kept the file in your workspace's storage. No bucket, no IAM, no credentials in Templates. - The Console File Library and any S3 client show the same files.
- A signed Smart CDN URL serves the original, and a small Template of your own serves derivatives.
Where to go next
- The embeddable File Library is being developed in
Uppy's Storage provider PR. Its
@uppy/transloadit-storagepackage is not published yet; use the S3 client workflow above until a reviewed release is available. - Use
/transloadit/importwith a folder path to re-process everything you have stored — new thumbnails for a whole campaign, a fresh video codec for the entire library. - To migrate from another S3 service, first download its files to a local directory using that
service’s endpoint and credentials. Then upload the directory with
aws s3 syncusing the Transloadit Storage endpoint and Auth Key/Secret. A bucket-to-bucketaws s3 syncdoes not connect two different S3 service endpoints.