
Zapier Integration
Zapier lets you send files from Dropbox, Gmail, Slack, Google Drive, and thousands of other apps into Transloadit without writing code. Transloadit then runs a saved Template for each Zapier action, such as converting a video, extracting text from a document, optimizing an image, or storing a finished file in your cloud bucket.
For new workflows, use Zapier’s Create Assembly action. It works with any saved Transloadit Template. The integration’s preset actions, such as Optimize Video, remain available for older Zaps, but Templates give you control over the complete file-processing workflow.
The important mental model is:
- Create and test the file-processing workflow in Transloadit first.
- Save that workflow as a Template.
- Connect Zapier to the Transloadit Workspace that owns the Template.
- In Zapier, choose the Template and map files or fields from the previous Zap step.
For a full workflow example, see our tutorial on how to automatically burn logos into videos as they are added to Google Drive.
The fastest path to a successful Zap
Use this checklist to prove the connection before building your production workflow:
- Create a Template named
zapier-smoke-testusing the JSON below. - Create an Auth Key in the same Workspace with
templates:read,assemblies:read, andassemblies:writepermissions. Full access also works, but grants more access than this integration needs. - In Zapier, create and test your source-app trigger with a fresh, small file.
- Add Transloadit’s Create Assembly action and connect the Auth Key and matching Auth Secret.
- Select
zapier-smoke-testunder Template ID and map the source file into File(s). - Test the action, then verify that the Assembly appears on your Assemblies page
and reaches
ASSEMBLY_COMPLETED.
Once that works, select your production Template. If a later Zap step needs the processed file, follow Use a finished result in another app before turning on the workflow.
Create a smoke-test Template
Create a Template named zapier-smoke-test with these Instructions:
{
  "steps": {
    ":original": {
      "robot": "/upload/handle"
    },
    "metadata": {
      "use": ":original",
      "robot": "/meta/read",
      "result": true
    }
  }
}
This Template accepts one upload and reads its metadata without storing or transforming it. It is a cheap, fast way to isolate Zapier authentication and file mapping from the complexity of your real workflow.
Before you open Zapier
Prepare these values before you open Zapier:
- A Transloadit Workspace with an active Auth Key and
Auth Secret. You can find them on the
Credentials page. A narrowly scoped key needs
templates:readso Zapier can populate the Template dropdown,assemblies:readso it can test the connection and poll completion triggers, andassemblies:writeso it can create Assemblies. - A saved Template in the same Workspace. Zapier runs the Template; it does not replace the Template Editor.
- A test file from the app that starts the Zap, such as a Dropbox file, Google Drive file, email attachment, or form-upload URL. Use fresh trigger test data and keep the first file well below 100 MB so Zapier can retrieve it reliably.
Use credentials from the same Workspace that owns the Template. If you connect Zapier with an Auth Key from another Workspace, Zapier can authenticate successfully but won’t see or run the Template you expected.
If you use separate Transloadit Workspaces for staging and production, name the Zapier connection
after the environment. For example, use Transloadit staging for a staging Auth Key and
Transloadit production for a production Auth Key. This makes it much harder to test a Zap against
one Workspace and later wonder why the production Template is missing.
Connect Zapier to Transloadit
In Zapier, add a Transloadit action and choose Create Assembly. When Zapier asks you to connect a Transloadit account, click Sign in to Transloadit.
Zapier updates its editor regularly, so its layout may differ from these screenshots. The action and field labels in this guide match the current Transloadit integration.
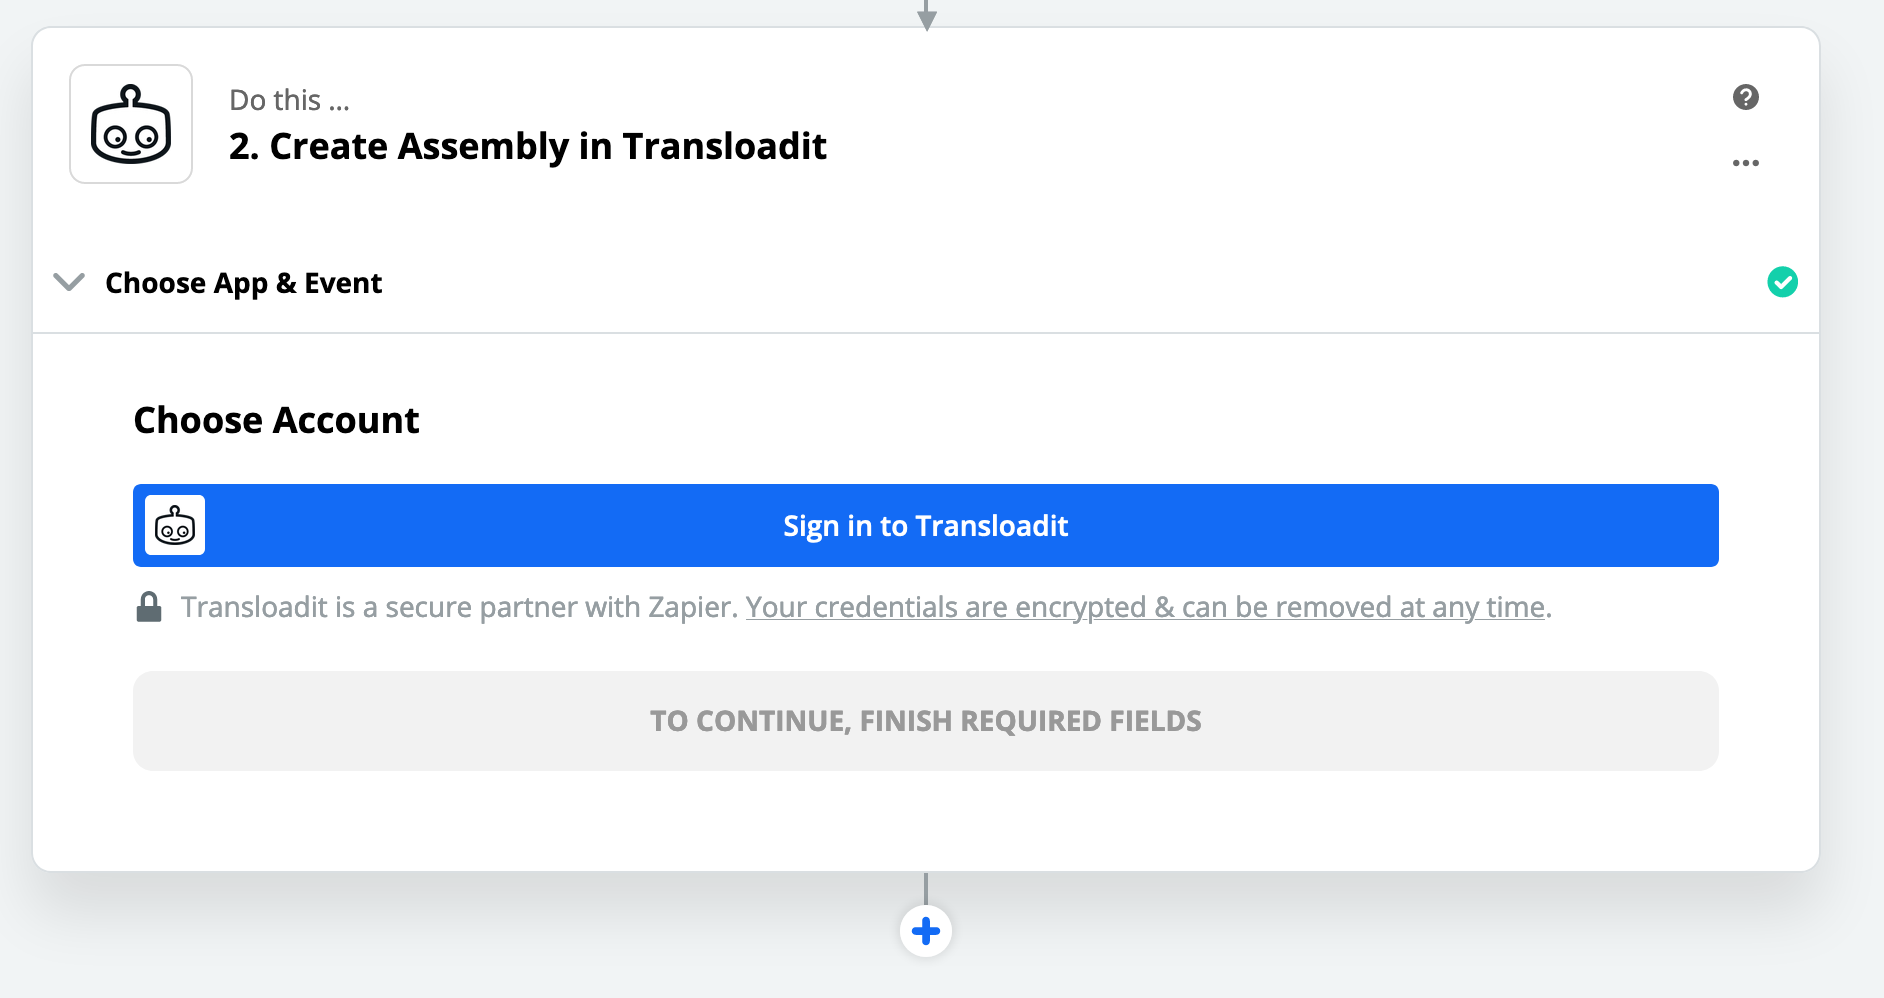
Zapier then opens a small authentication window. Depending on the Transloadit app version shown by Zapier, the fields use either the specific or older generic labels:
- Transloadit Auth Key or Key is your Transloadit Auth Key.
- Transloadit Auth Secret or Secret is the matching Transloadit Auth Secret.
Transloadit does not ask Zapier for your Transloadit account password. The Auth Secret is also not your Workspace slug, Template ID, or Zapier password.
Zapier stores this connection in your Zapier account. Future Zaps can reuse it, so give the
connection a name that makes the Workspace obvious, for example Transloadit production or
Transloadit staging.
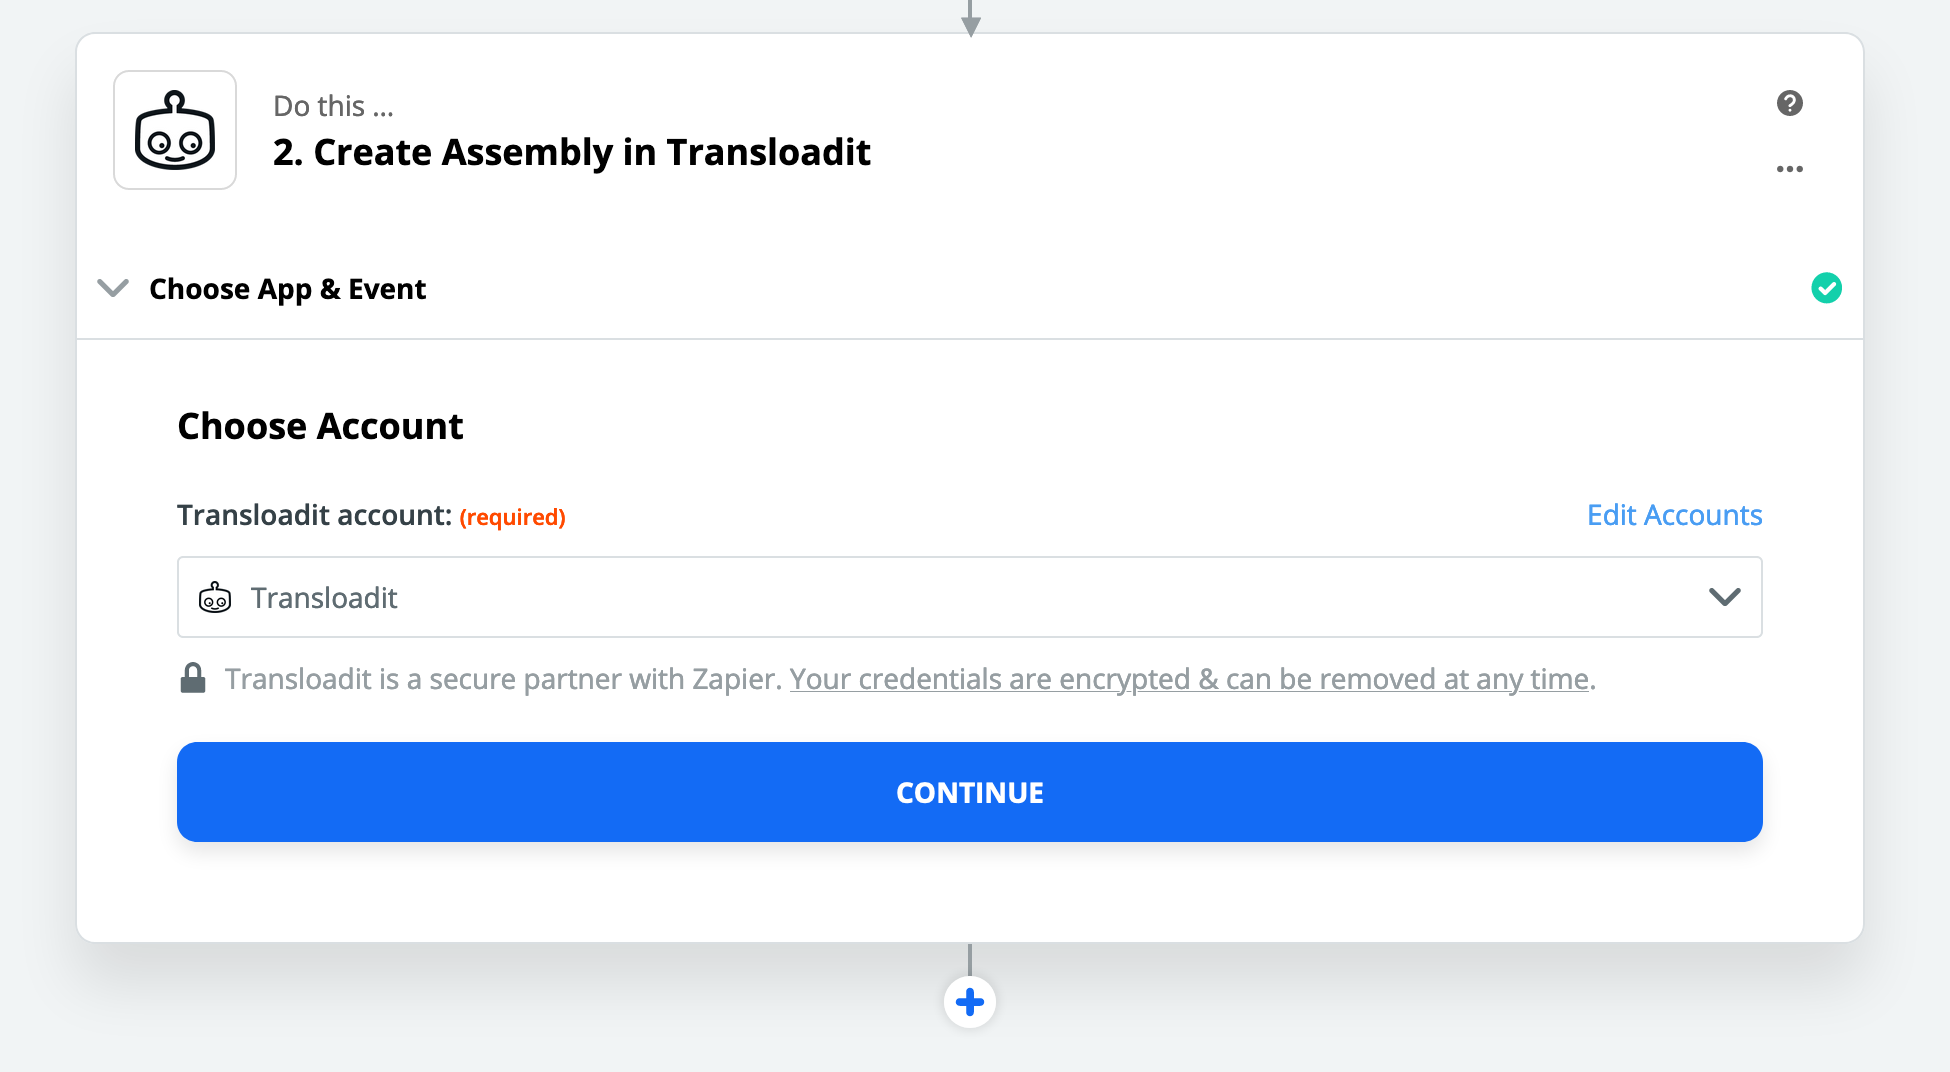
If you rotate, deactivate, or delete the Auth Key in Transloadit, reconnect the Zapier account with a new key pair. Existing Zaps that use the old connection can no longer create Assemblies.
Configure the Create Assembly action
After authentication, Zapier asks how the Transloadit Assembly should be created.
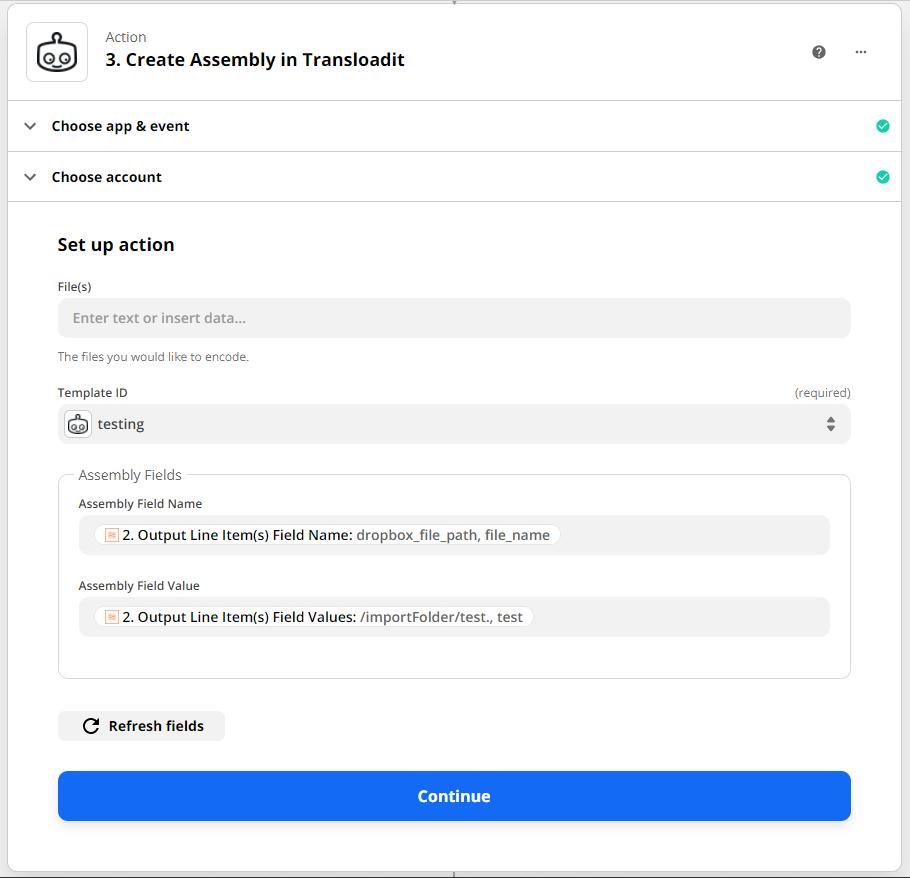
At minimum, configure:
- Template ID: choose the saved Transloadit Template that should process the file.
- File(s): for upload-based Templates, map the file object or direct download URL from the previous Zap step. Leave this empty only when the Template obtains its own input, for example with an Import Robot or an AI generation Robot.
- Assembly Fields: optionally pass values such as customer IDs, order IDs, or filenames into the Assembly so they appear in the Assembly Status JSON.
Zapier apps often expose several similar-looking fields, such as a preview URL, a web-view URL, a file object, and a direct download URL. For Transloadit, choose the field that points to the actual file bytes. A browser preview page is not enough. Prefer the source app’s file object; Zapier may display its test value as (Exists but not shown). If you use a URL, it must be publicly accessible and point directly to the file rather than a preview page. See Zapier’s guide to sending files in Zap workflows.
File(s) is a list field. Map each attachment into a separate list item when a single Assembly needs multiple uploads. Do not paste several comma-separated URLs into one list item, because Zapier may silently send only the first. One Create Assembly action always creates one Assembly; use a Zapier loop before the action if each source file must create a separate Assembly.
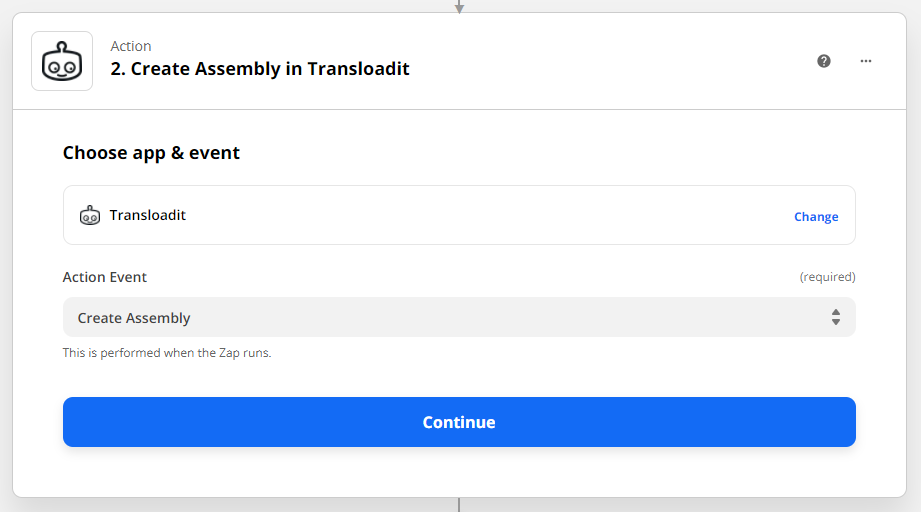
Run Zapier’s test step once. Then open the Transloadit
Assemblies page in the same Workspace and confirm that a new Assembly appeared. It
may still be executing when the Zapier action returns; wait for it to reach ASSEMBLY_COMPLETED. If
it does, authentication, Template selection, and file mapping are working.
The action returns the Assembly ID, current Assembly Status, and Assembly Status URL. Save the Assembly ID in the originating record when you need a durable reference for auditing or support. These outputs identify the Assembly, but they do not contain a processed file while asynchronous work is still running.
The test Assembly is the source of truth. If Zapier’s test succeeds but you do not see a new Assembly, the Zap is probably connected to a different Workspace than the one you are checking.
Use a finished result in another app
Create Assembly starts the work asynchronously. Do not map a result URL from that action directly into its next Zap step. A metadata-only test may finish quickly enough to make this appear reliable, while video, document, and larger image workflows finish later.
Use two Zaps when another app needs the processed file:
- Input Zap: source-app trigger → Transloadit Create Assembly.
- Result Zap: Transloadit Assembly Result trigger → your destination-app action.
In the Assembly Result trigger, select the same
Template ID and enter the exact result Step name from the Template.
For the smoke-test Template above, the Step is metadata. Map the trigger’s
File value into the destination app’s file field, or use
SSL URL when that app accepts a public URL.
Use Transloadit’s Finished Assembly trigger instead if the second Zap only needs completion metadata rather than a particular result file. These are polling triggers, so the delay before the result Zap starts depends on your Zapier plan and is separate from Transloadit’s processing time.
Common authentication problems
Zapier says the credentials are invalid
Check that you copied the Auth Key into Zapier’s
Transloadit Auth Key or Key
field and the matching Auth Secret into
Transloadit Auth Secret or
Secret. The Auth Secret is not your account password and it is not
the Workspace slug. Also confirm that the key is active and has assemblies:read access, which
Zapier uses to test the connection.
Zapier connects, but the Template is missing or fails
The most common reason is a Workspace mismatch. Zapier authenticates against the Workspace that owns the Auth Key. Make sure the Template you want to run belongs to that same Workspace.
If the Template dropdown is empty, reconnect Transloadit in Zapier with an Auth Key from the
Workspace that owns your Template and confirm that the key has templates:read access. If the
Template appears but Zapier cannot create an Assembly, confirm assemblies:write access. If an
Assembly is created but fails, open it in Transloadit and inspect the first errored Step. At that
point authentication worked, and the problem is usually Template configuration or an unusable input
file field.
The Zap worked before, but now fails
Check whether the Auth Key was rotated, deactivated, deleted, or had its scopes changed. Reconnect Transloadit in Zapier after credential changes.
The Zap creates an Assembly, but later Zap steps do not see the result file
Use the two-Zap setup under Use a finished result in another app. In the result Zap, check that Step exactly matches a result Step name in the Template; it is not a Robot name or filename.
Dropbox or Google Drive does not provide a usable file URL
Some app triggers expose metadata before the file is available, or provide a URL that Zapier cannot send as a downloadable file. Use Zapier’s test result panel to confirm that the selected field points to the binary file, not only to a preview page.
If the file lives behind private app permissions, use the file object that Zapier received from the trigger step, not a copied browser URL from Dropbox or Google Drive. Re-test the trigger if its sample shows no file or an expired reference. Zapier warns that files over 100 MB may time out and that it must retrieve a file within 30 seconds, so use a smaller file for setup even when Transloadit itself supports larger uploads.
What to collect before contacting support
If you still get stuck, send us:
- the Zapier app and trigger you are using, for example Dropbox New File in Folder;
- the Transloadit Workspace name;
- the Template name or Template ID;
- the public Auth Key ID, but not the Auth Secret;
- the Assembly ID from the failed test, if one was created;
- the Zap run URL;
- which Zapier field you mapped into File(s).
With those details we can tell whether the issue is authentication, Workspace selection, Template configuration, async result handling, or the upstream file field.
Ready-made Zaps
Browse ready-made workflows in the Transloadit integration directory on Zapier. Choose a workflow there, then follow the setup steps above to connect your account.
Creating your own Zaps
These older walkthroughs use a previous Zapier interface, but still demonstrate the same two-Zap input/result architecture described above.
-
Sending videos from Dropbox to Transloadit for iPad Optimization:
-
Sending videos back from Transloadit to Dropbox after iPad Optimization:
Under the hood, the integration adds a zapier_action_type field to each
Assembly.
Create Assembly uses the Template ID as its value, while the older
preset actions use a fixed action identifier. Completion triggers use this field to find matching
Assemblies, except for the unfiltered Finished Assembly trigger.
This makes workflows such as “when the iPad conversion is ready → message Slack” possible.
Troubleshooting
- Avoid Zap loops: in order to avoid Zap loops, be sure not to trigger Assembly actions in the same folder where your completed Templates files are received. In the case of Dropbox, use one folder for input, and a different one for output. For more information on this, see this Zapier help page.
- If you have issues with Dropbox and large files, check out: Common Problems With Dropbox on Zapier.
- Transloadit’s processing is non-blocking. Use the Assembly Result trigger in a second Zap instead of assuming a result file is ready in the step immediately after Create Assembly.
Documentation
See Transloadit’s supported Zapier triggers and actions and Zapier’s file-field documentation.