
Create custom Valentine's cards with Transloadit & Uppy

As Valentine's Day approaches, we want to share a fun project that you can build using Transloadit and Uppy. We'll be using the /image/resize Robot to create a custom Valentine's Day card generator. Add a name to the card too, and you'll have a personalized card to send to your loved one.

Our Assembly Instructions
Let's first take a look at the Assembly Instructions we'll be using.
{
  "steps": {
    "watermark": {
      "use": ":original",
      "robot": "/image/resize",
      "width": "1921",
      "height": "1921",
      "resize_strategy": "fillcrop",
      "watermark_url": "https://transloadit.com/assets/images/blog/2023-01-26-valentines-card-generator-1.png",
      "watermark_size": "100%",
      "watermark_position": "center",
      "imagemagick_stack": "v3.0.1"
    },
    "add_text": {
      "use": "watermark",
      "robot": "/image/resize",
      "text": [
        {
          "text": "${fields.message}",
          "size": 80,
          "color": "#ffffff",
          "valign": "bottom",
          "y_offset": -90,
          "x_offset": 0
        }
      ],
      "imagemagick_stack": "v3.0.1",
      "result": true
    }
  }
}
Here we need to use two separate /image/resize Steps. Our first Step adds a decorative frame around our original image, while also cropping and resizing it to fit. The second Step then adds text on top of our watermarked image, which we'll be modifying later with JavaScript. If we did this in the same Step, our image frame would be placed in front of the text – obscuring it in our final result.
Save these Instructions as a Template. The JavaScript below sends the message as a field, keeping the processing Instructions in one place. Before deploying publicly, use server-generated signatures and validate the message on your server. Never put an Auth Secret in browser code.
The generated card URL is temporary and expires after 24 hours. Save the card before it expires, or add an export Robot such as /s3/store for durable storage.
HTML & CSS
Sadly, we have nowhere to show off our new Template. Let's fix that! Copy the below HTML into a new HTML file.
One thing to take note of is our input element. We'll be using this in the next section to allow
the user to change what name to add to their card.
<!doctype html>
<html lang="en">
  <head>
    <meta charset="UTF-8" />
    <meta name="viewport" content="width=device-width, initial-scale=1.0" />
    <title>Transloadit Valentine</title>
    <link href="https://releases.transloadit.com/uppy/v3.3.1/uppy.min.css" rel="stylesheet" />
  </head>

  <style></style>

  <body>
    <h1>Transloadit Valentine</h1>
    <p>Upload a picture of your Valentine and we'll make it a Valentine's Day card!</p>

    <div class="input-container">
      <label for="name">Name:</label>
      <input id="name" name="name" maxlength="12" />
    </div>

    <div id="drag-drop-area"></div>

    <img id="result" alt="Your personalized Valentine's Day card" hidden />
    <p id="status" role="status"></p>
  </body>
</html>
Now, let's add some nice styling to our page. Inside of the style tag, add the following CSS.
:root {
  --primary: #7f626a;
  --secondary: #f8edeb;
  --accent: #ff4d6d;
  --accent-highlight: #f9ccd2;
}

body {
  display: flex;
  flex-direction: column;
  align-items: center;
  background-color: var(--secondary);
  color: var(--primary);
  font-family: sans-serif;
}

h1,
p {
  margin: 0 0 0.5rem;
}

#result {
  border-radius: 10px;
  width: 480px;
  max-width: calc(100vw - 2rem);
  border: none;
  contain: content;
  aspect-ratio: 1/1;
  margin: 2rem;
}

.input-container {
  margin: 1rem;
  color: var(--primary);
}

input {
  border: none;
  border-bottom: 2px var(--primary) dashed;
  background-color: transparent;
  text-align: start;
  font: inherit;
  color: var(--accent);
}

input:focus {
  outline: 2px solid currentColor;
  outline-offset: 2px;
}

.uppy-Dashboard {
  max-width: 90vw;
}

.uppy-Dashboard-innerWrap {
  background-color: var(--secondary);
  border: var(--primary) 2px dashed;
}

.uppy-Dashboard-AddFiles {
  border: 0 !important;
}

.uppy-Dashboard-poweredBy,
.uppy-Dashboard-poweredByIcon {
  color: var(--primary) !important;
  stroke: var(--primary);
}

.uppy-Dashboard-AddFiles-title,
.uppy-DashboardTab-name {
  color: var(--primary);
}

.uppy-DashboardTab-btn:hover {
  background-color: var(--accent-highlight) !important;
}

.uppy-Dashboard-browse,
.uppy-ProviderIconBg,
.uppy-DashboardContent-back,
.uppy-StatusBar-actionBtn {
  color: var(--accent);
  fill: var(--accent);
}

.uppy-DashboardContent-bar,
.uppy-StatusBar-actions,
.uppy-StatusBar,
.uppy-StatusBar::before {
  border: none !important;
  background-color: transparent !important;
}

.uppy-StatusBar-actionBtn--upload {
  background-color: var(--accent) !important;
  color: var(--secondary) !important;
  border: none;
  border-radius: 5px;
}
While it may look intimidating, the majority of our CSS here exists only to restyle our Uppy Dashboard component. Other than that, we're just using a color palette generated from Coolors.
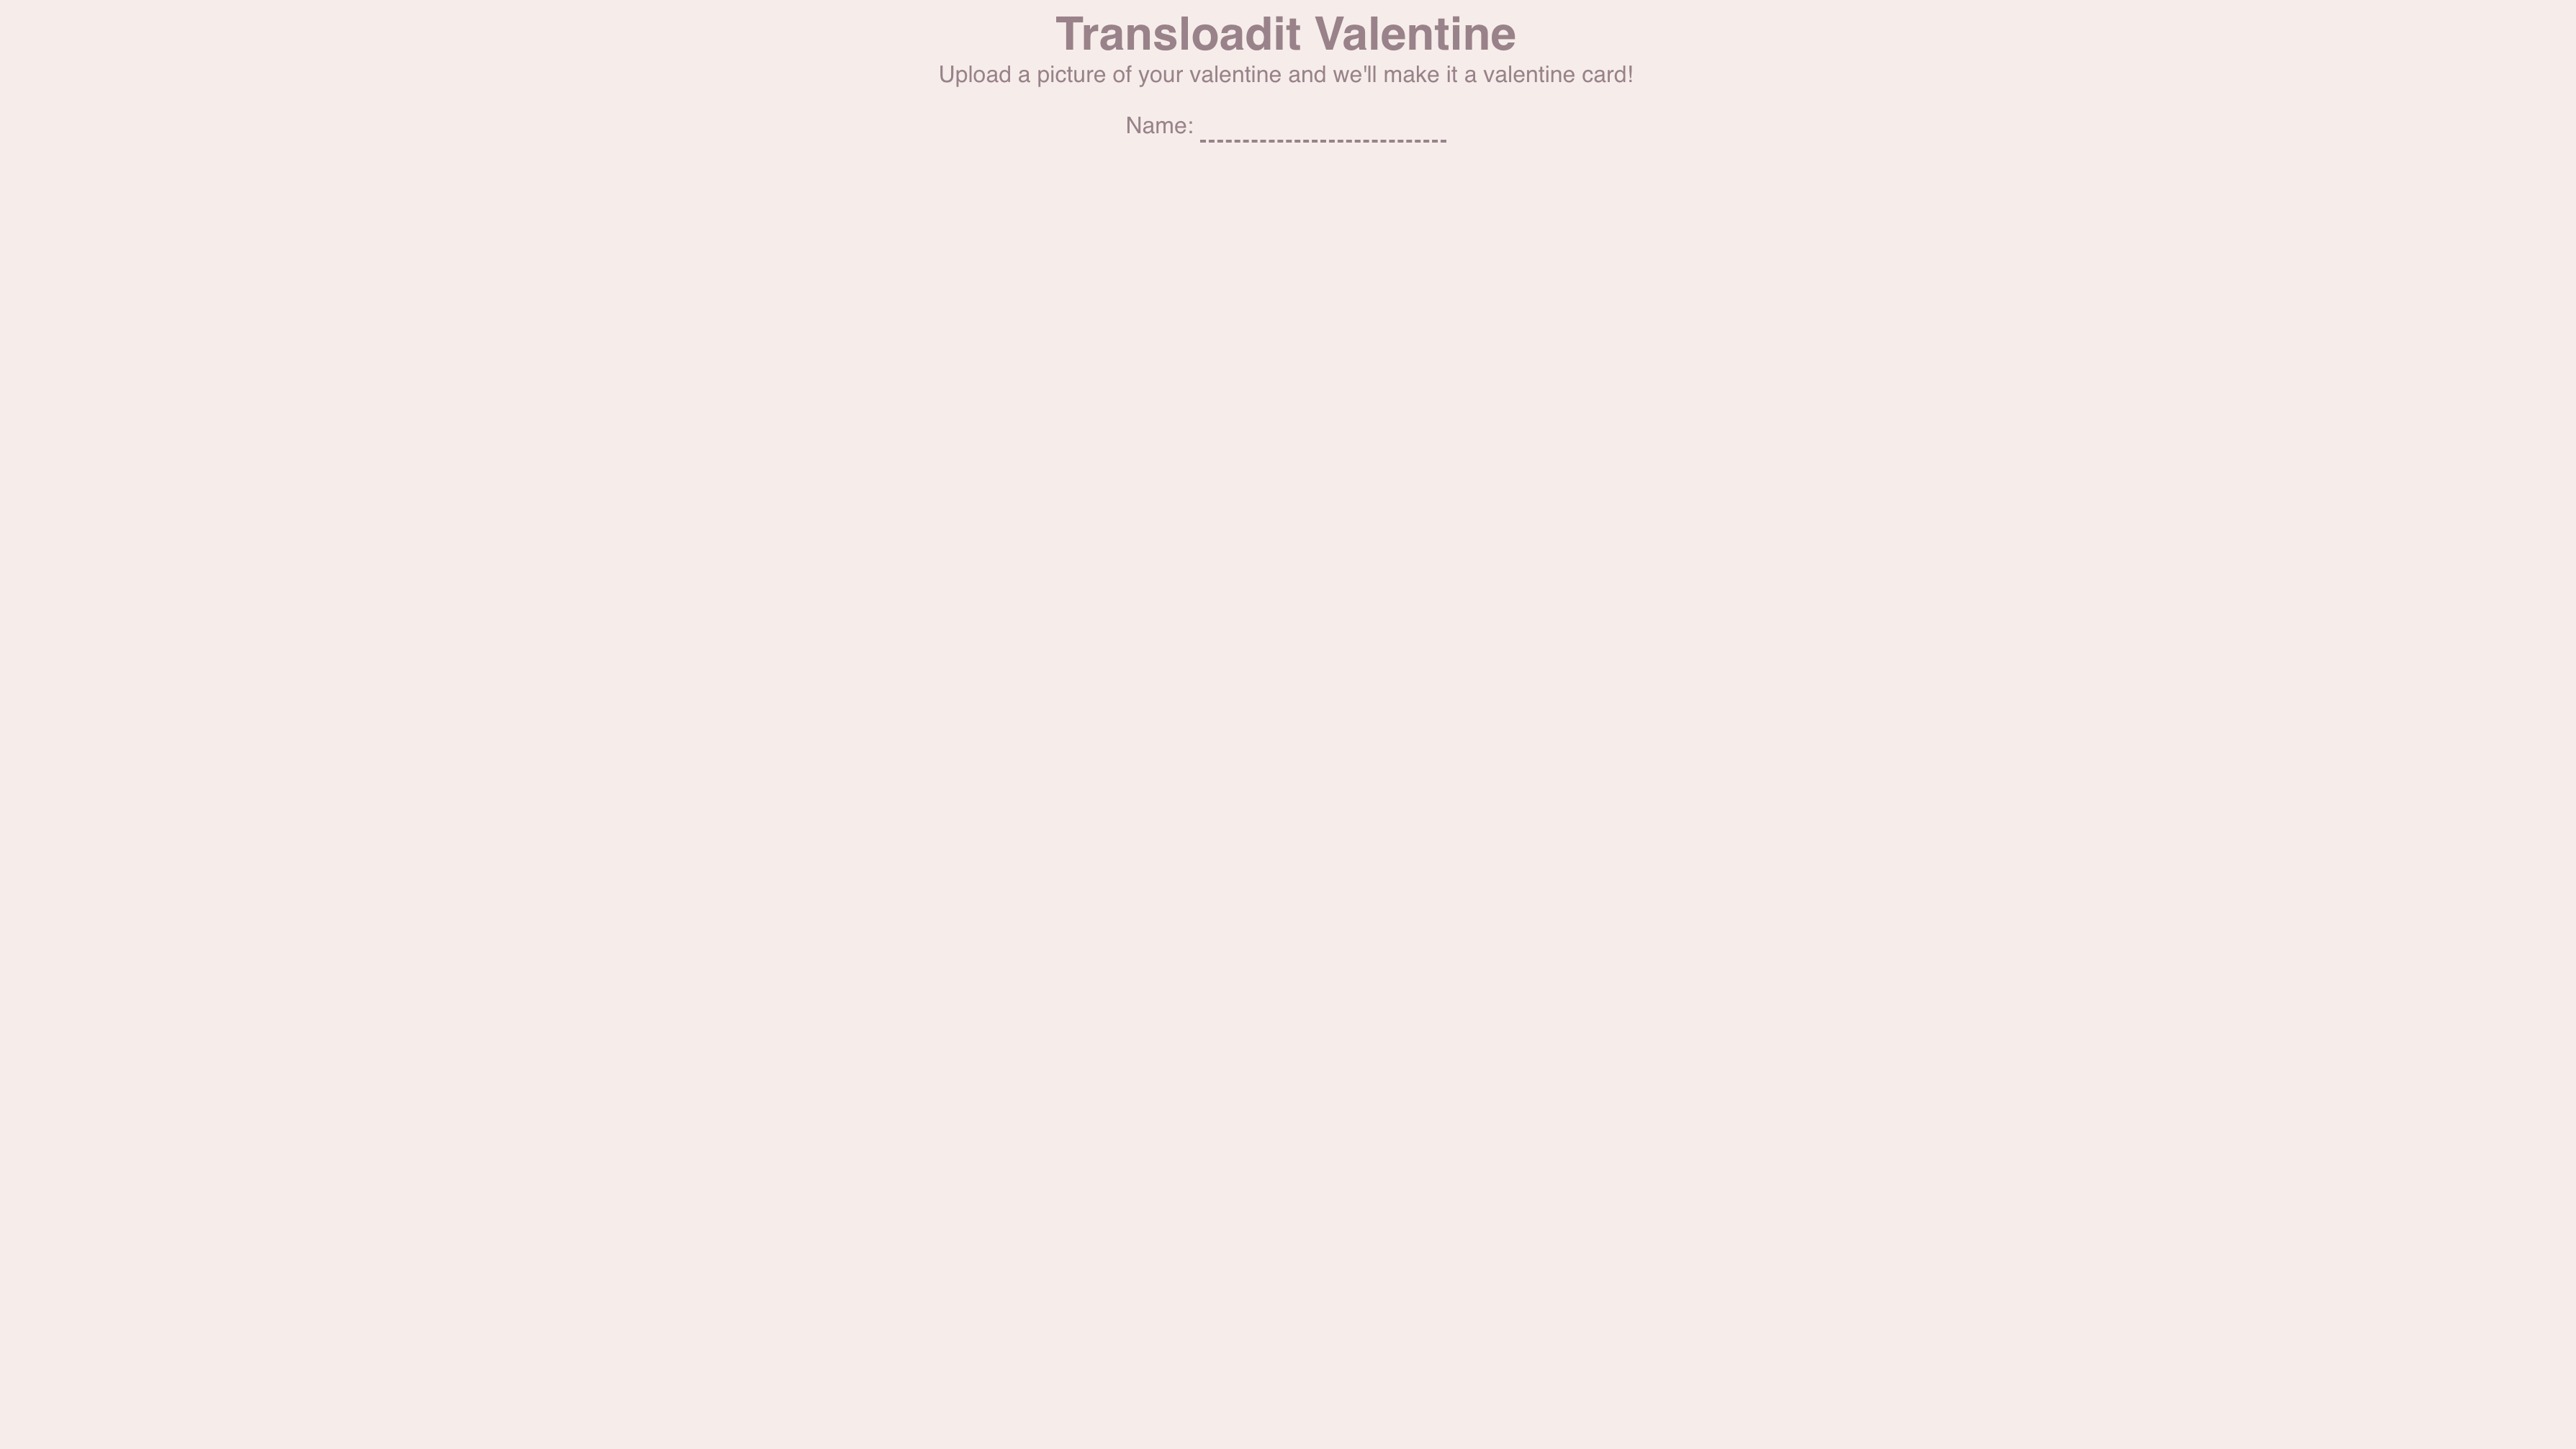
Here's what our page should now look like:
JS
Now onto the fun part! After the HTML, add the following JavaScript inside a <script type="module">
tag, replacing the Auth Key and Template ID placeholders with your own values.
import {
  Uppy,
  Dashboard,
  Transloadit,
  ImageEditor,
} from 'https://releases.transloadit.com/uppy/v3.3.1/uppy.min.mjs'

const nameInput = document.getElementById('name')
const status = document.getElementById('status')

function cardMessage(name) {
  const recipient = name.trim()
  return recipient ? `Happy Valentine's Day, ${recipient}!` : "Happy Valentine's Day!"
}

const uppy = new Uppy({
  restrictions: {
    maxNumberOfFiles: 1,
    allowedFileTypes: ['image/*'],
  },
})
  .use(Dashboard, {
    inline: true,
    target: '#drag-drop-area',
  })
  .use(ImageEditor, {
    target: Dashboard,
    quality: 0.8,
    cropperOptions: {
      aspectRatio: 1 / 1, // Same aspect ratio as our overlay
    },
  })
  .use(Transloadit, {
    waitForEncoding: true,
    getAssemblyOptions: () => ({
      params: {
        auth: { key: 'YOUR_AUTH_KEY' },
        template_id: 'YOUR_TEMPLATE_ID',
      },
      fields: { message: cardMessage(nameInput.value) },
    }),
  })

uppy.on('transloadit:complete', (assembly) => {
  const url = assembly.results.add_text?.[0]?.ssl_url
  if (typeof url !== 'string') {
    status.textContent = 'No card was returned. Please try again.'
    return
  }
  const resultImg = document.getElementById('result')
  resultImg.src = url
  resultImg.hidden = false
  status.textContent = 'Your card is ready.'
})

uppy.on('upload', () => {
  document.getElementById('result').hidden = true
  status.textContent = 'Creating your card.'
})
uppy.on('error', () => {
  status.textContent = 'Card generation failed. Please try again.'
})
We leverage the Uppy Dashboard, ImageEditor and Transloadit components here, and luckily we can mostly use the default settings. Notably however, we set the aspect ratio of the ImageEditor crop tool to the same as our overlay image. In our case, it's 1:1.
The pinned Uppy version calls getAssemblyOptions when an upload starts. It reads the current name,
so clearing the input restores the generic greeting instead of retaining the previous recipient.
Wrapping up
Combine the HTML, CSS and module script, configure your own Template, and serve the page locally to try it. The screenshot shows the original prototype; the code above includes the corrected watermark URL, message handling and result handling.
That's all from us for now. Happy Valentine's Day, and make sure to send your special someone a beautiful, personalized card. And if you managed to take the tools used in this blog post even further, we would love to hear about it on Twitter!